Hello my BondBeautys,
Happy Friday, today is a special friday because its my wonderful husbands birthday! I wouldn’t be where I am at today, and I wouldn’t have this blog if it wasn’t for him. So Thank you!
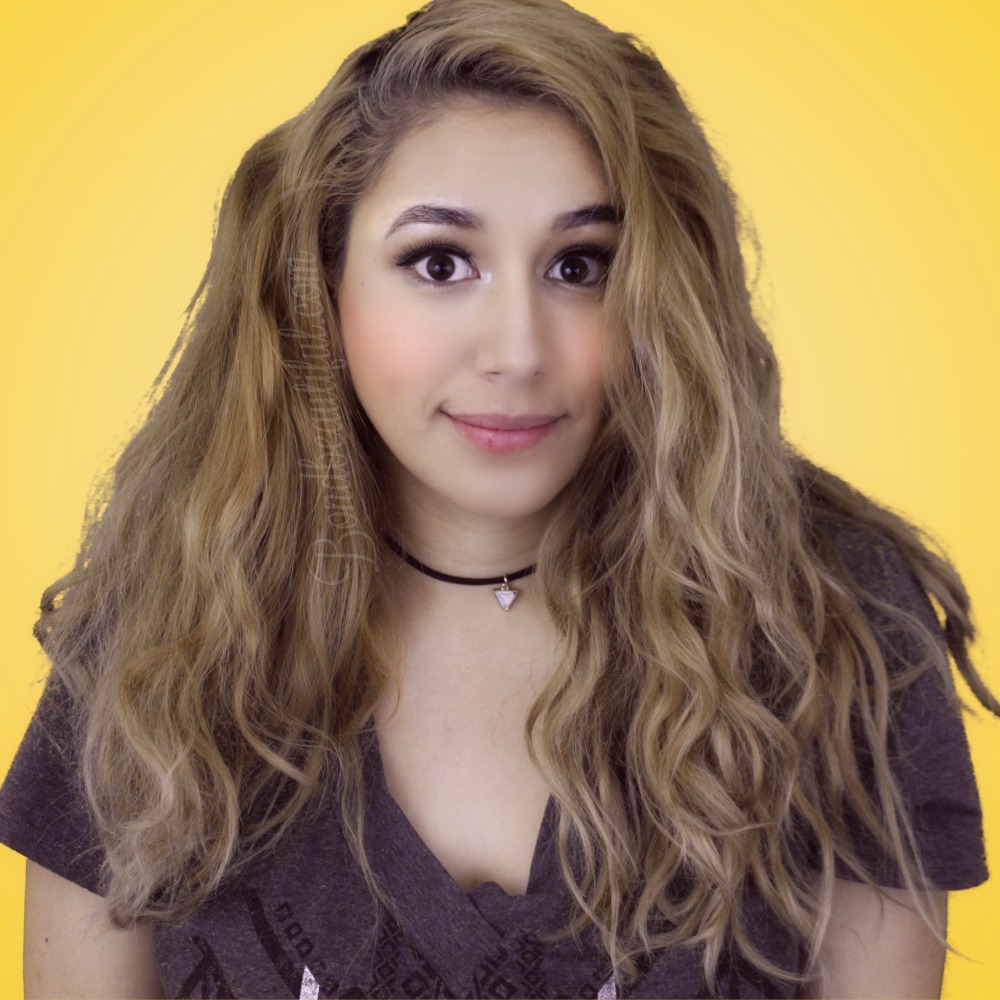
Im so excited to share another InstaTutorial with you guys. So what this is for those of you that are new; On Instagram I sometimes like to do fantasy/editorial/themed Makeup looks that will just look beautiful in pictures. Sometimes when I do these I like to turn on the camera and film it in a tutorial form. But, whats different than other tutorials is that at the very end I share some of my edited picture and you can vote in the comments on which pic you like. And which pic you think I should put on my Instagram Feed! This is a fun way to kind of join both the youtube & instagram platform. Don’t worry I’m going to be showing you those pics and you can vote too, right here!
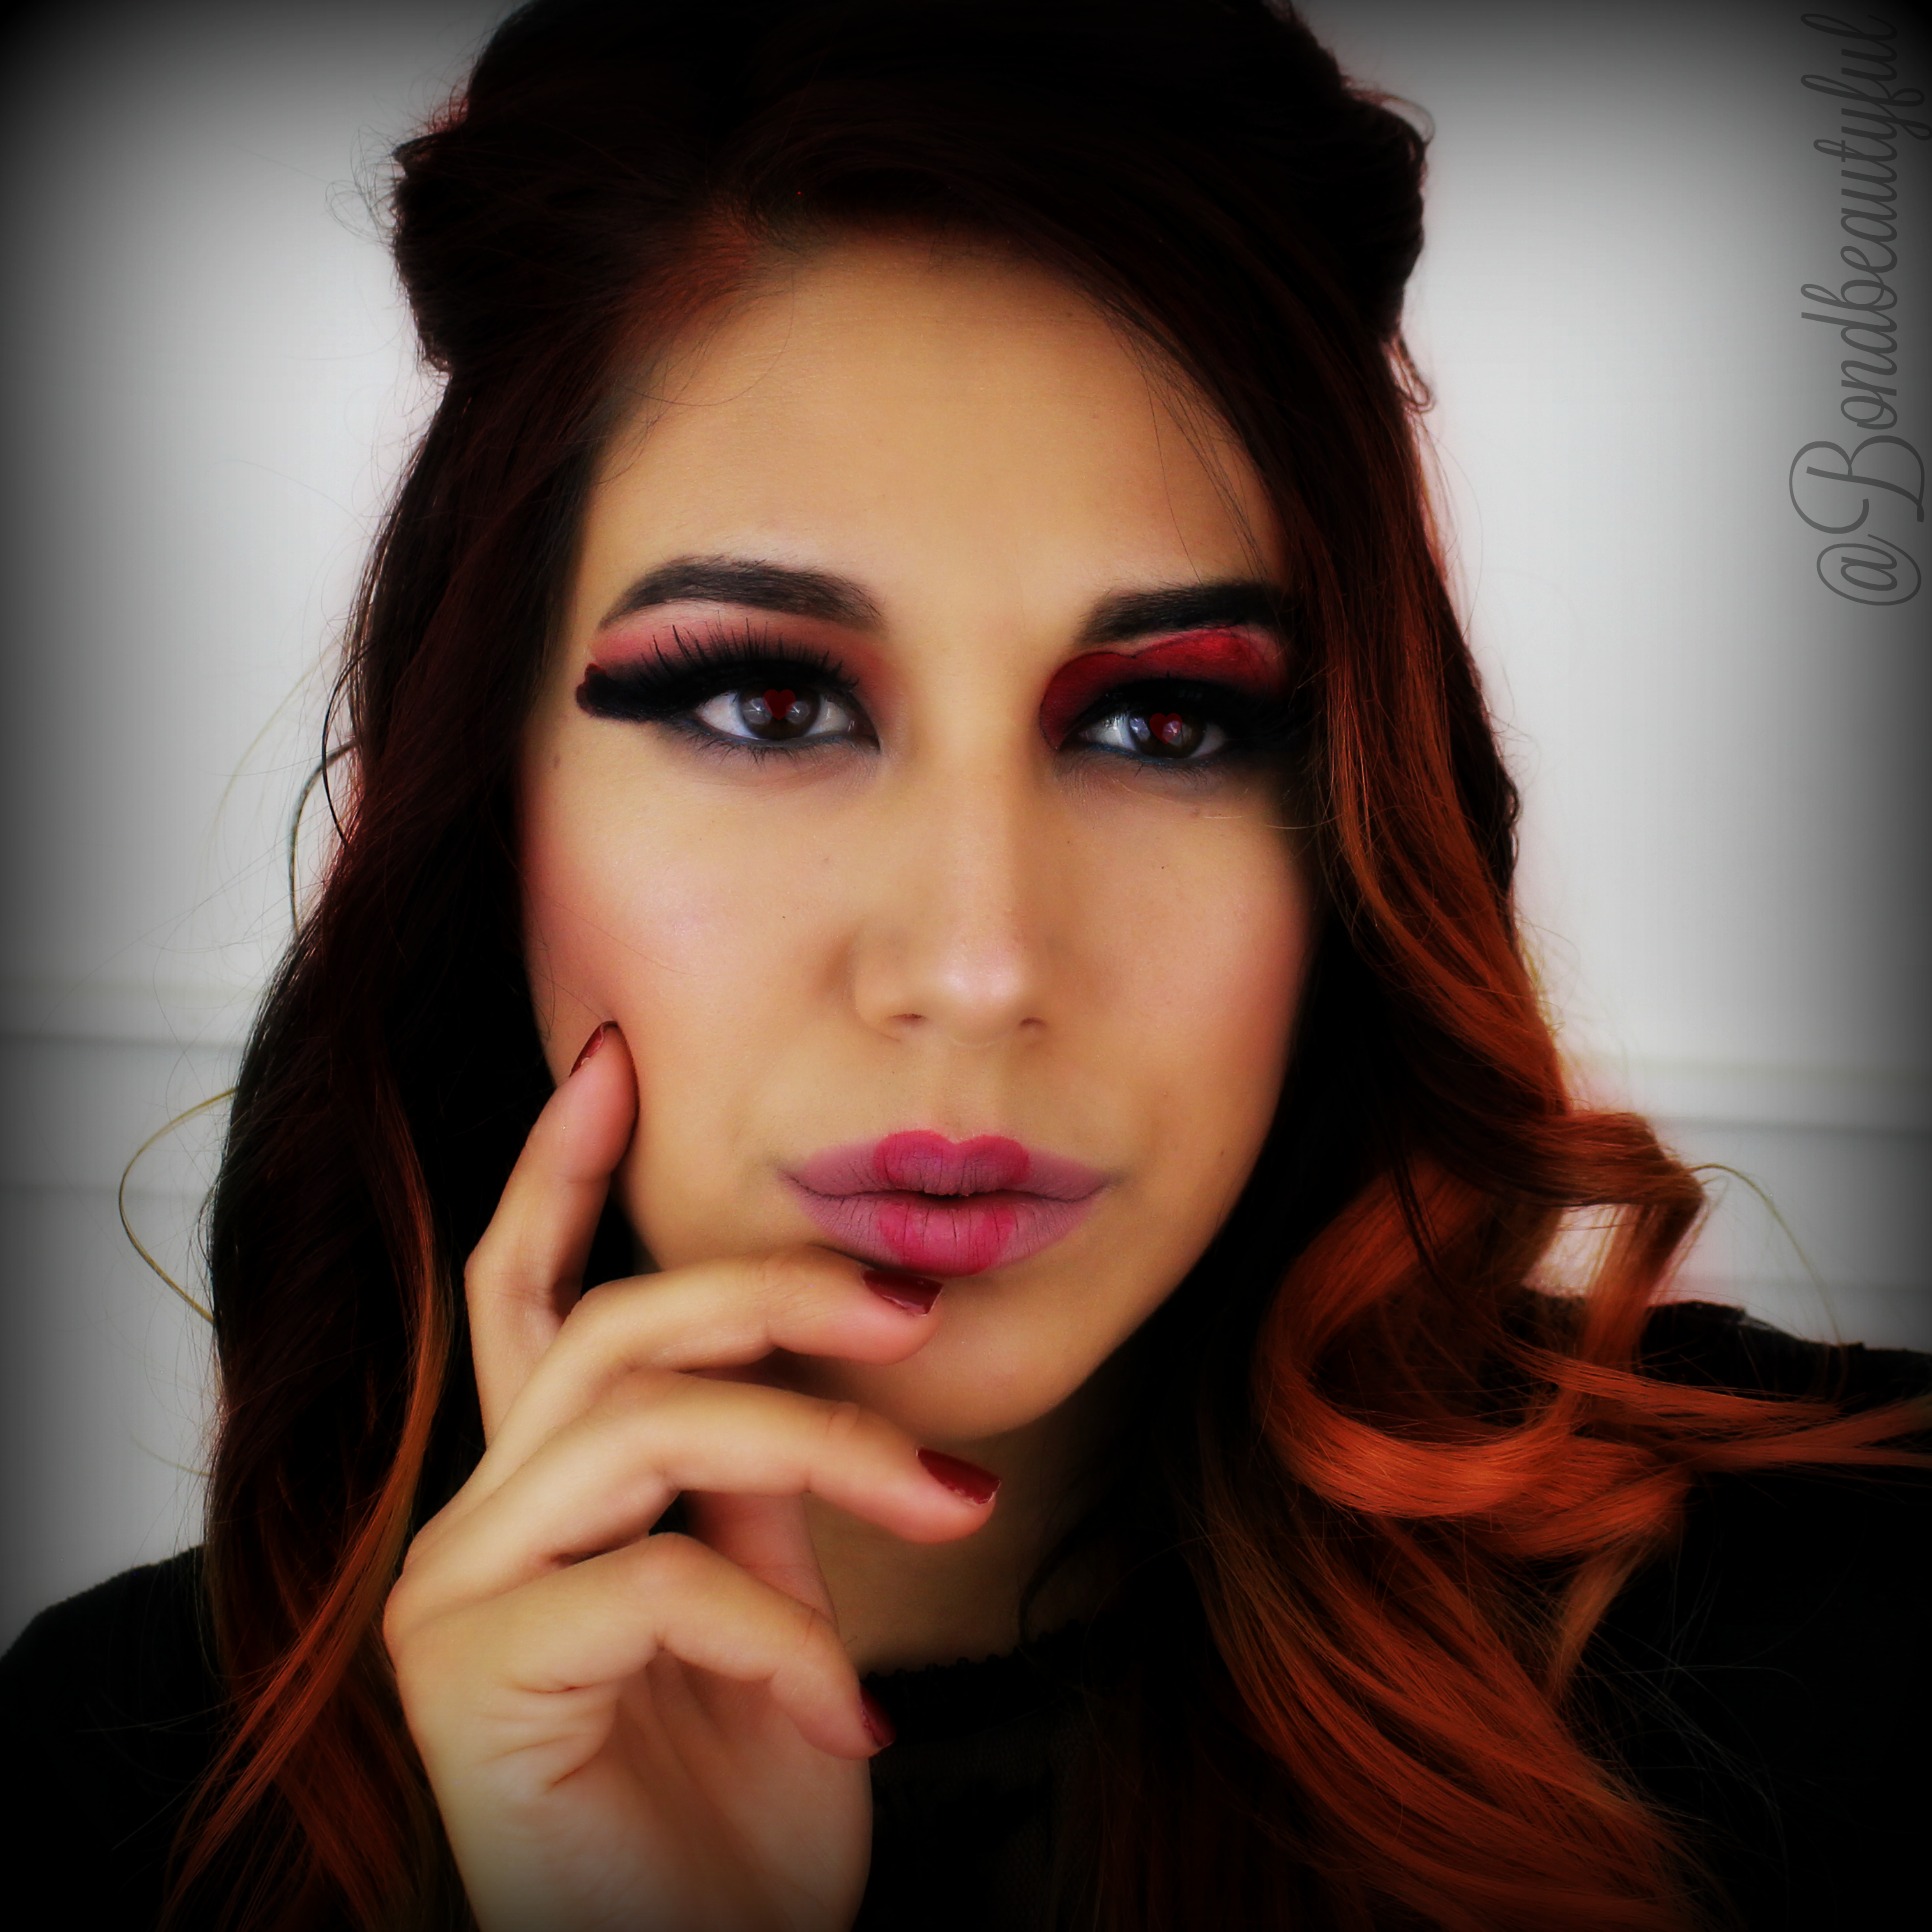
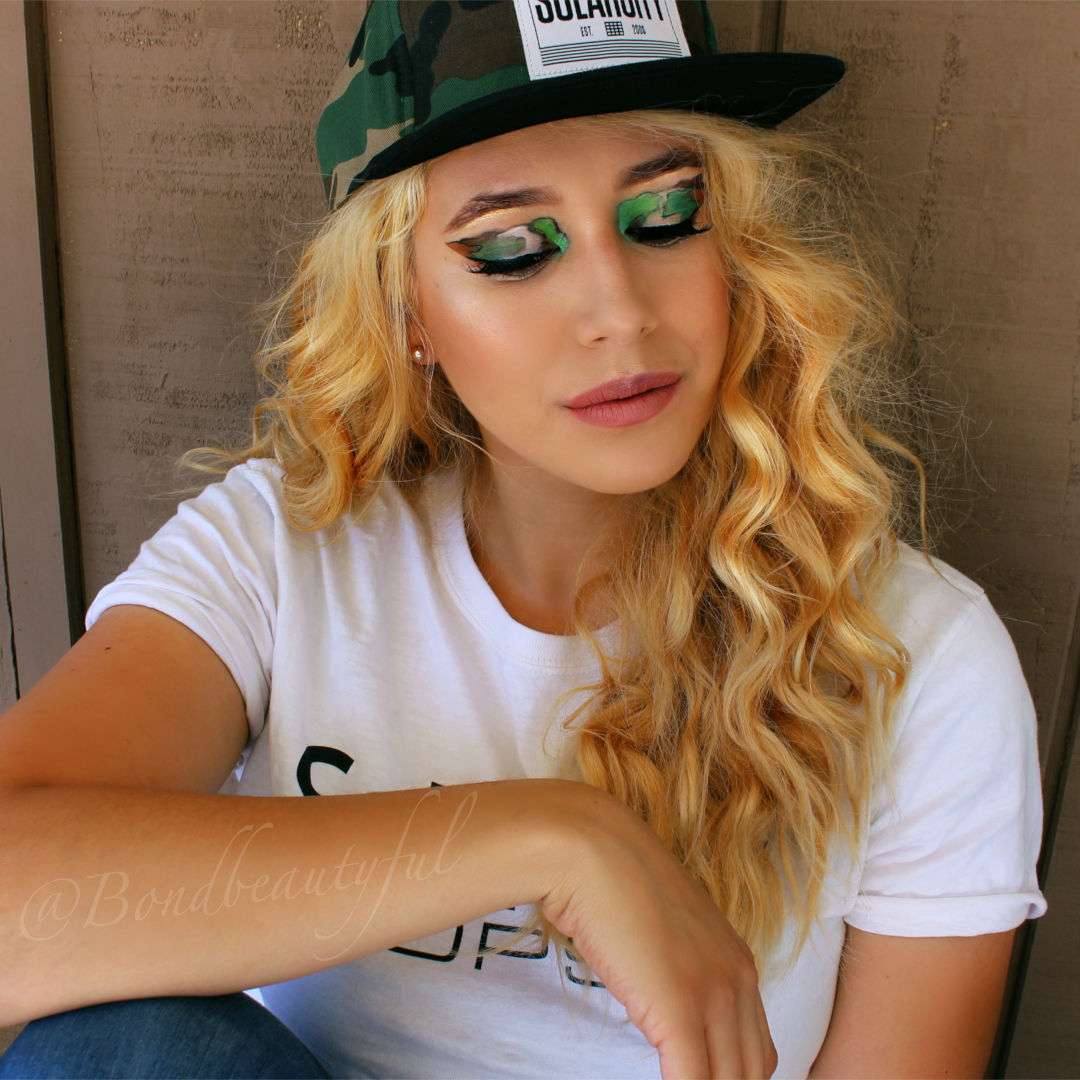
 For this look I was super inspired my my camo that I love to wear. Yes its a SolarCity Hat :). No I’m not sponsored I just have a bunch of SolarCity Gear and out of all the hats my husband owns this one is my favorite. So I thought why not turn it into a amazing eye look that I have never seen done before. Hence this makeup look was born.
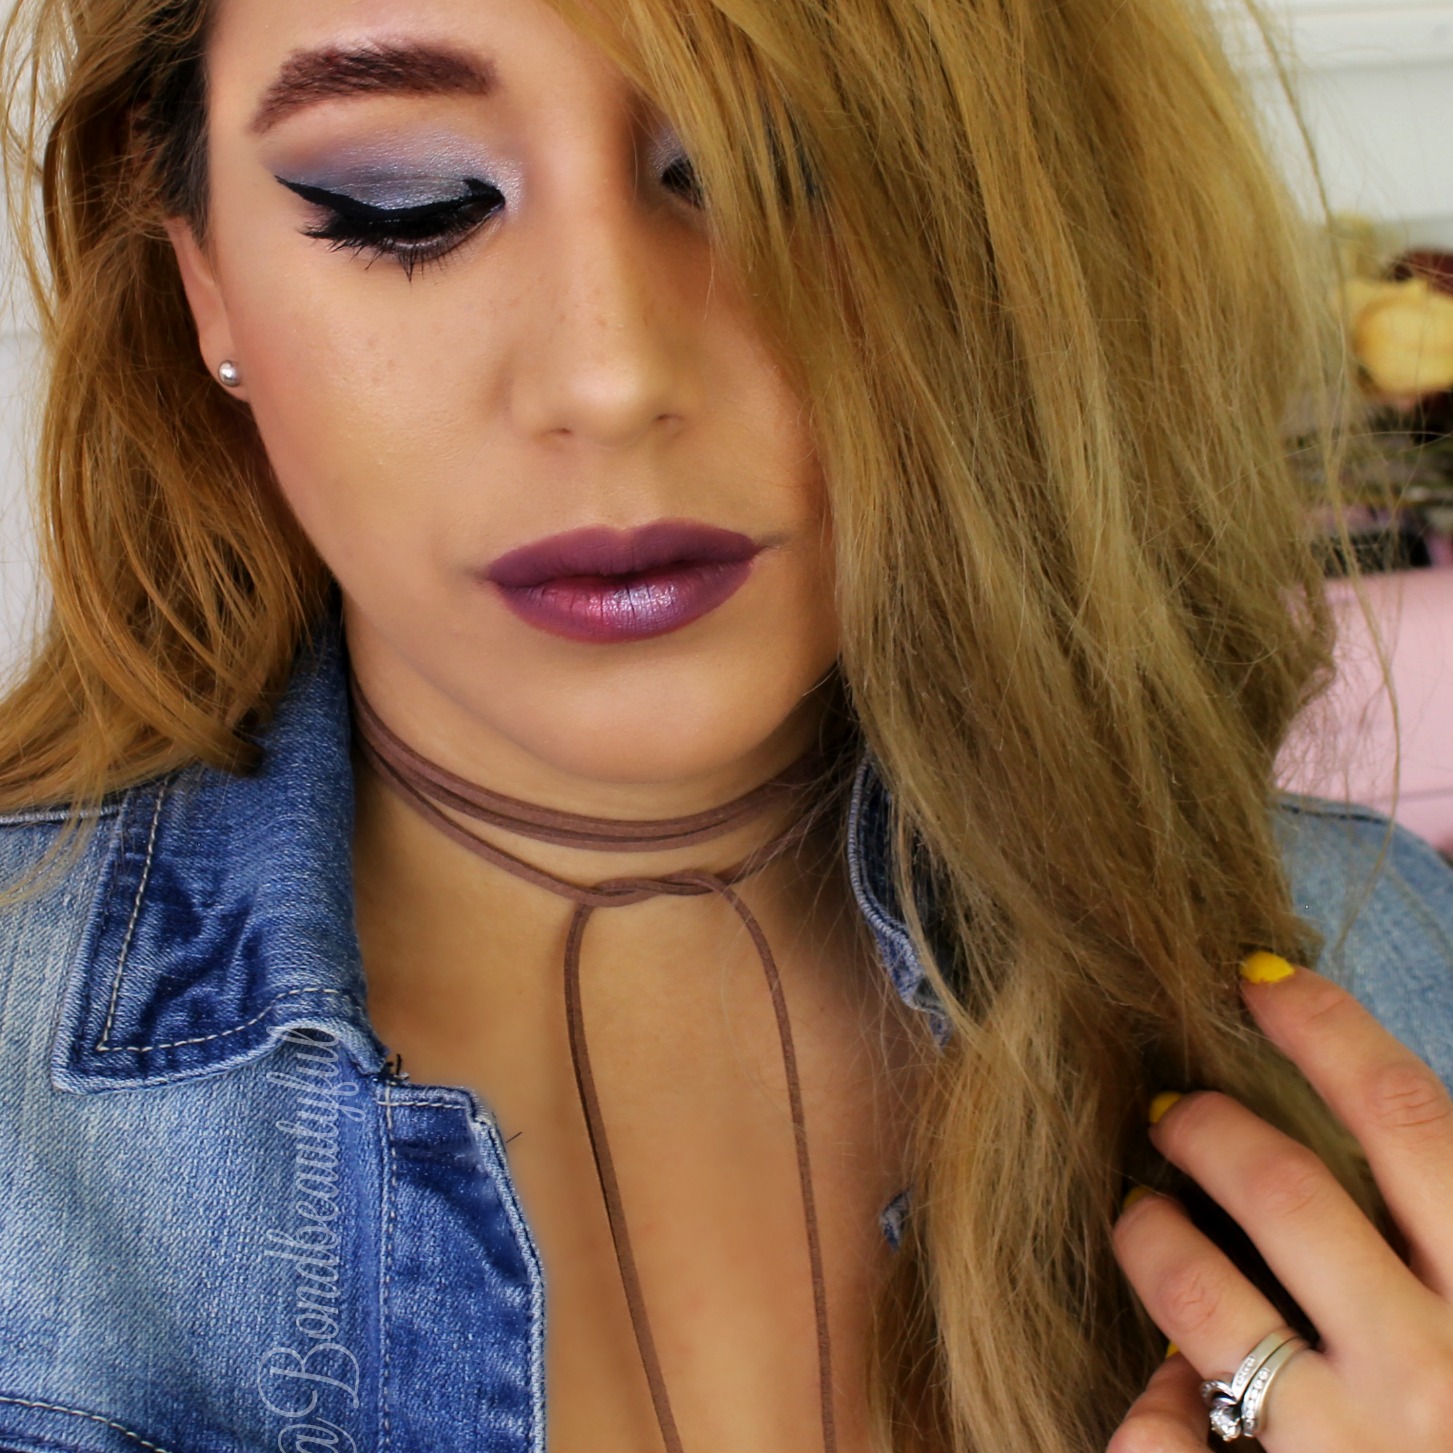
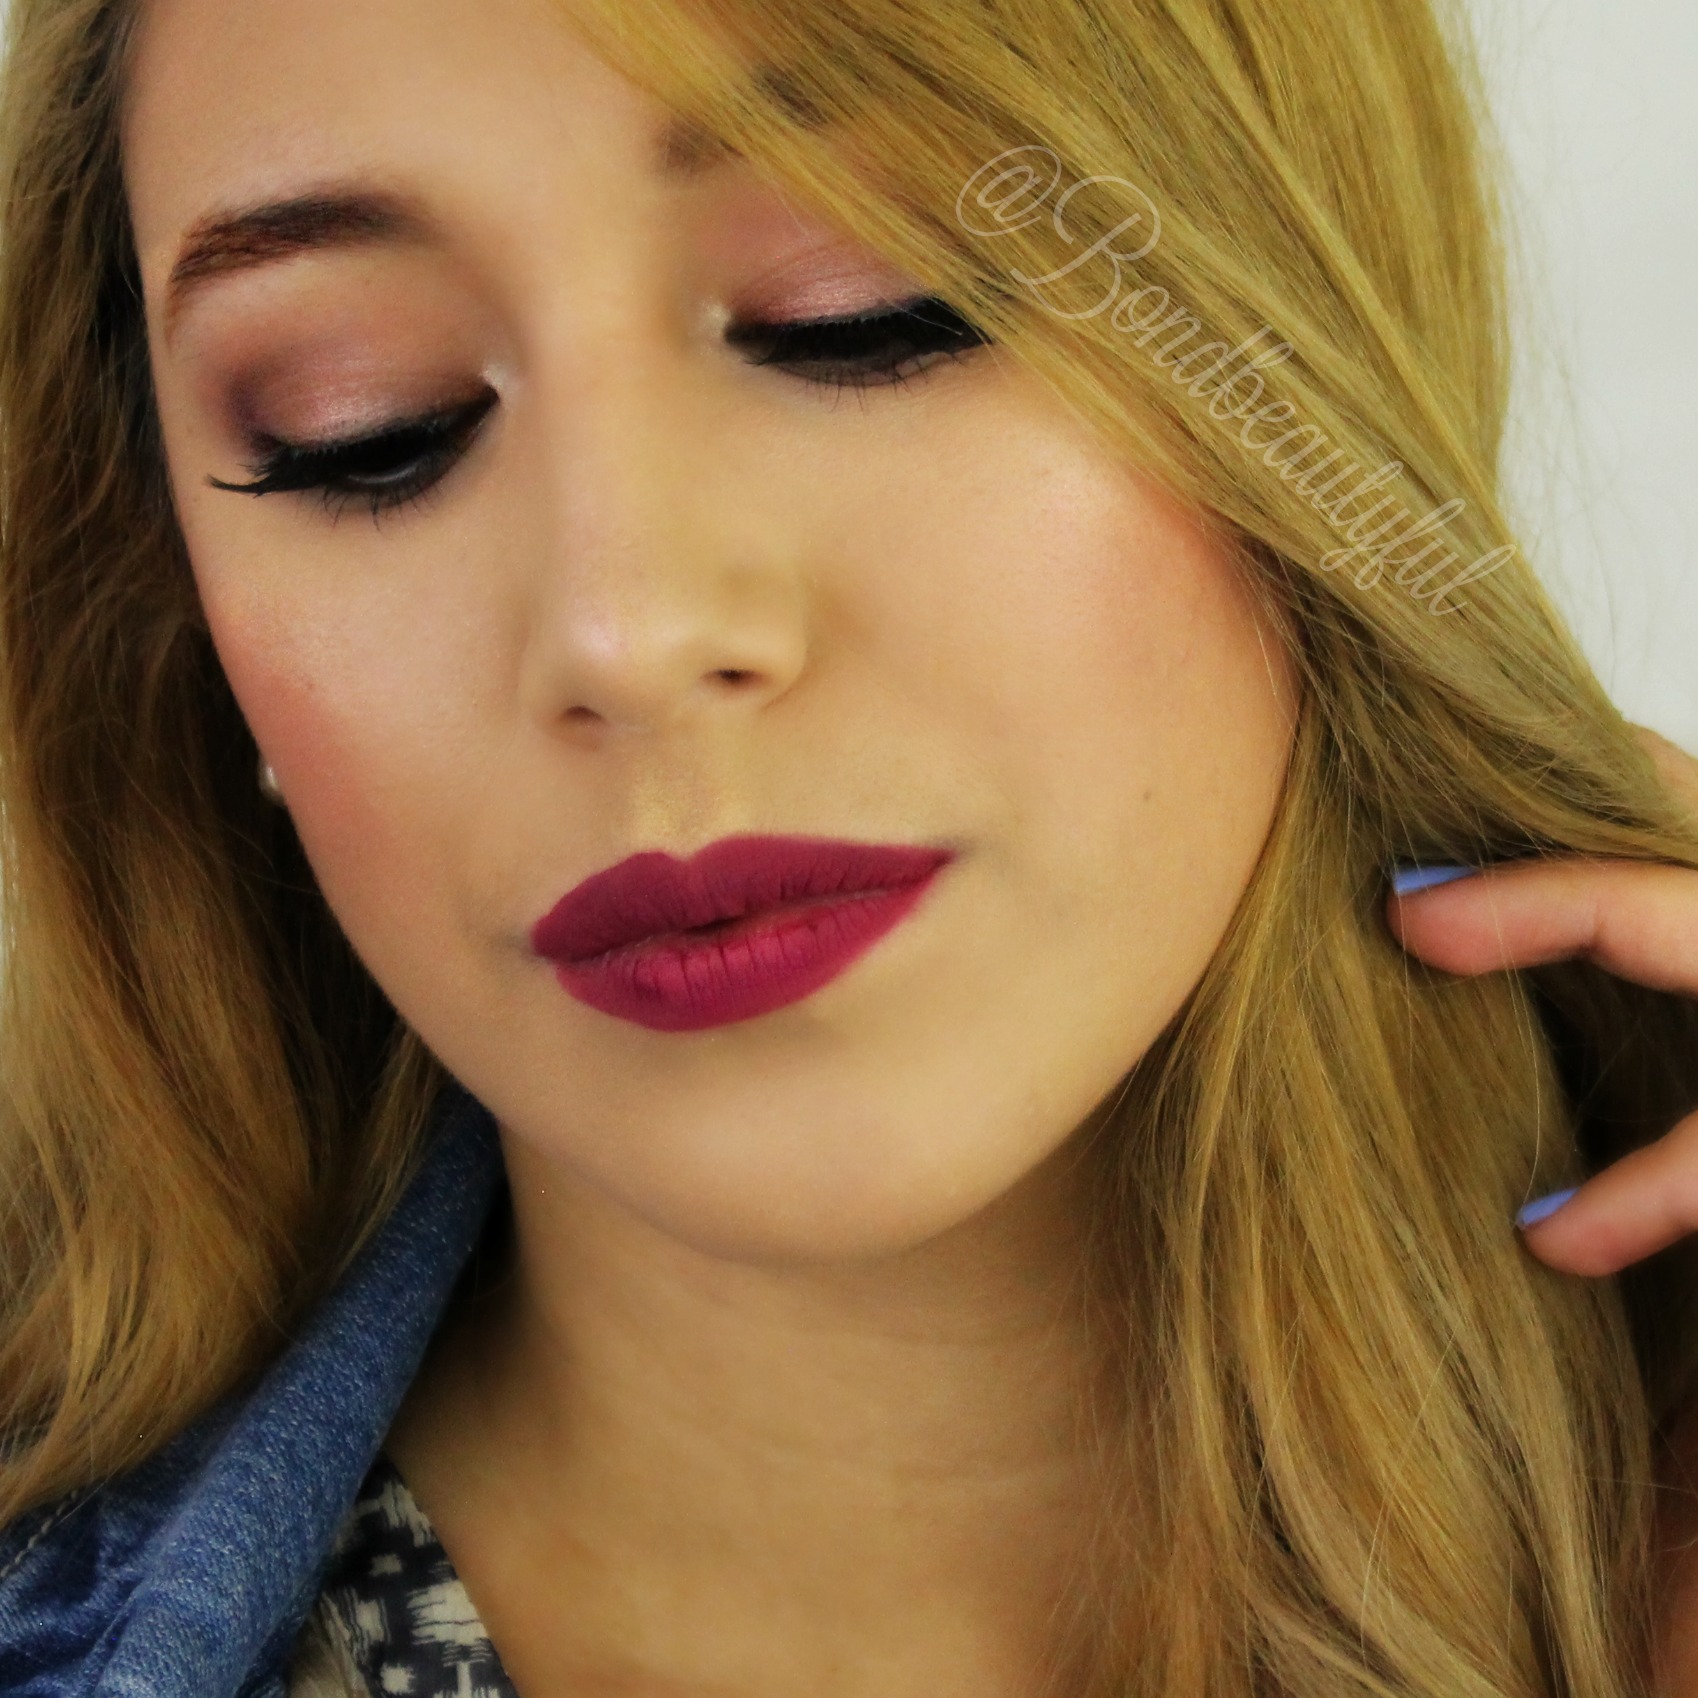
So before I share my tutorial below I thought I would share the Pictures so you can vote, and give you all the makeup details. This look actually turned out to be quite easy.
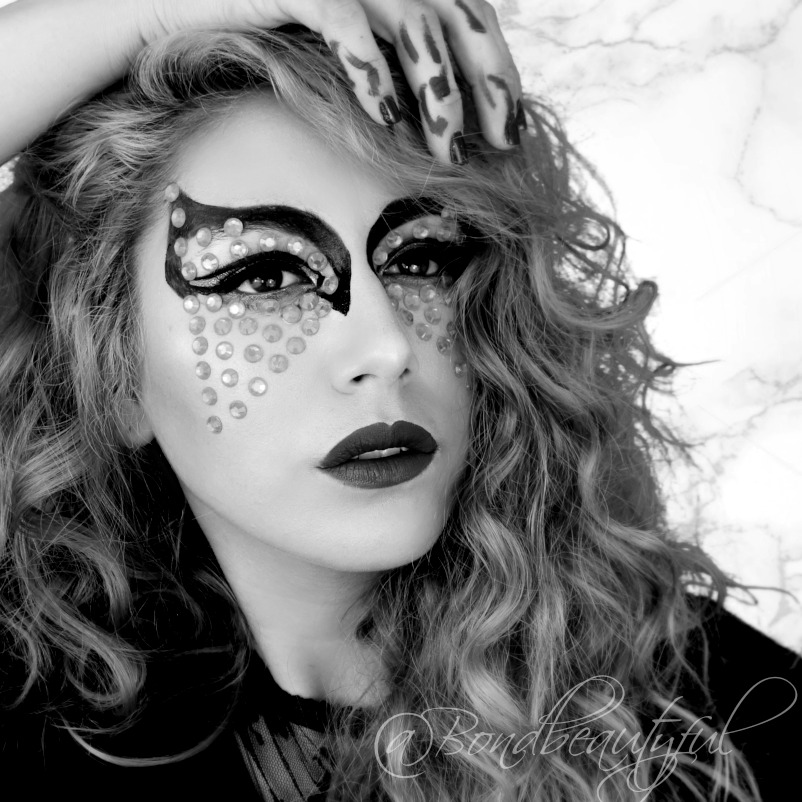
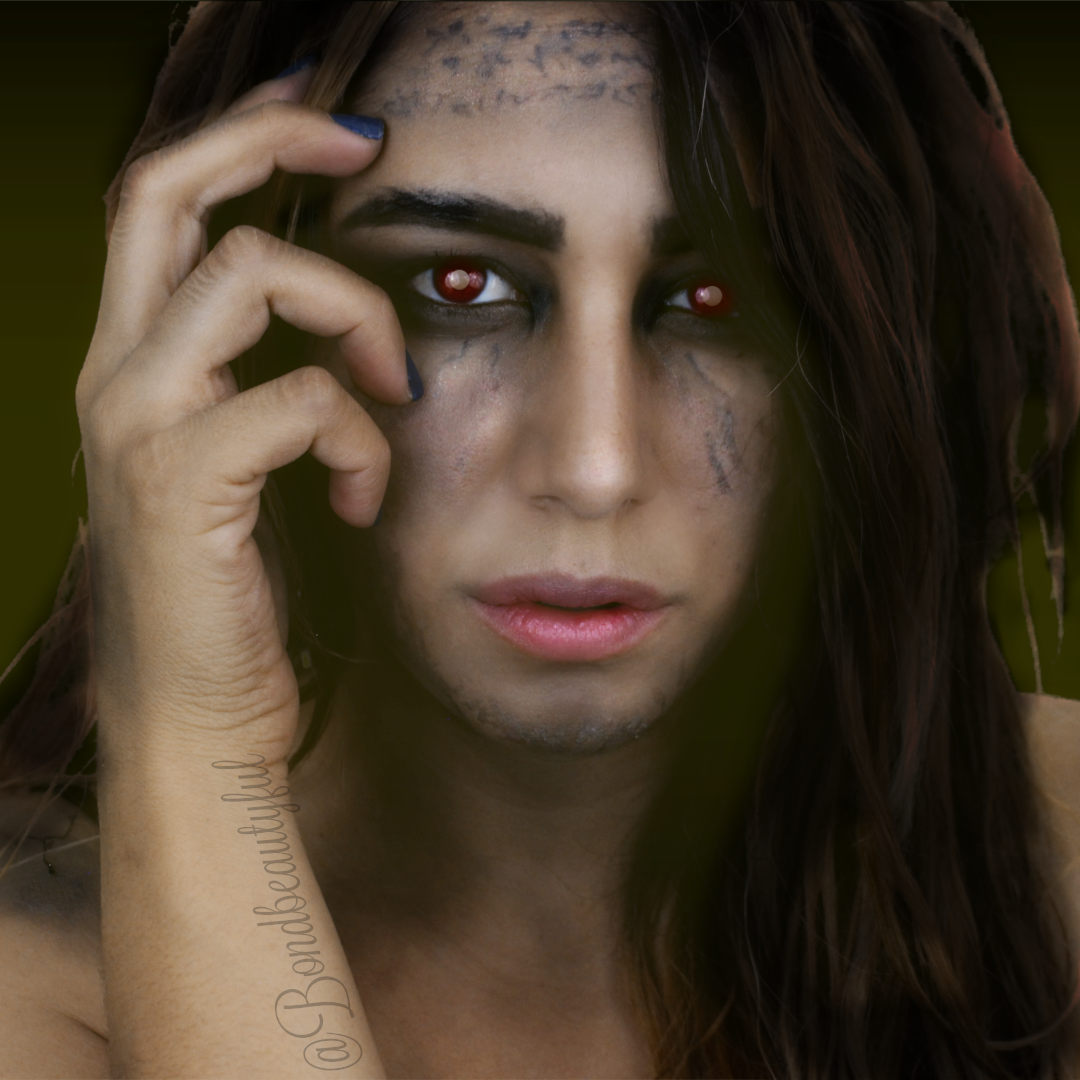
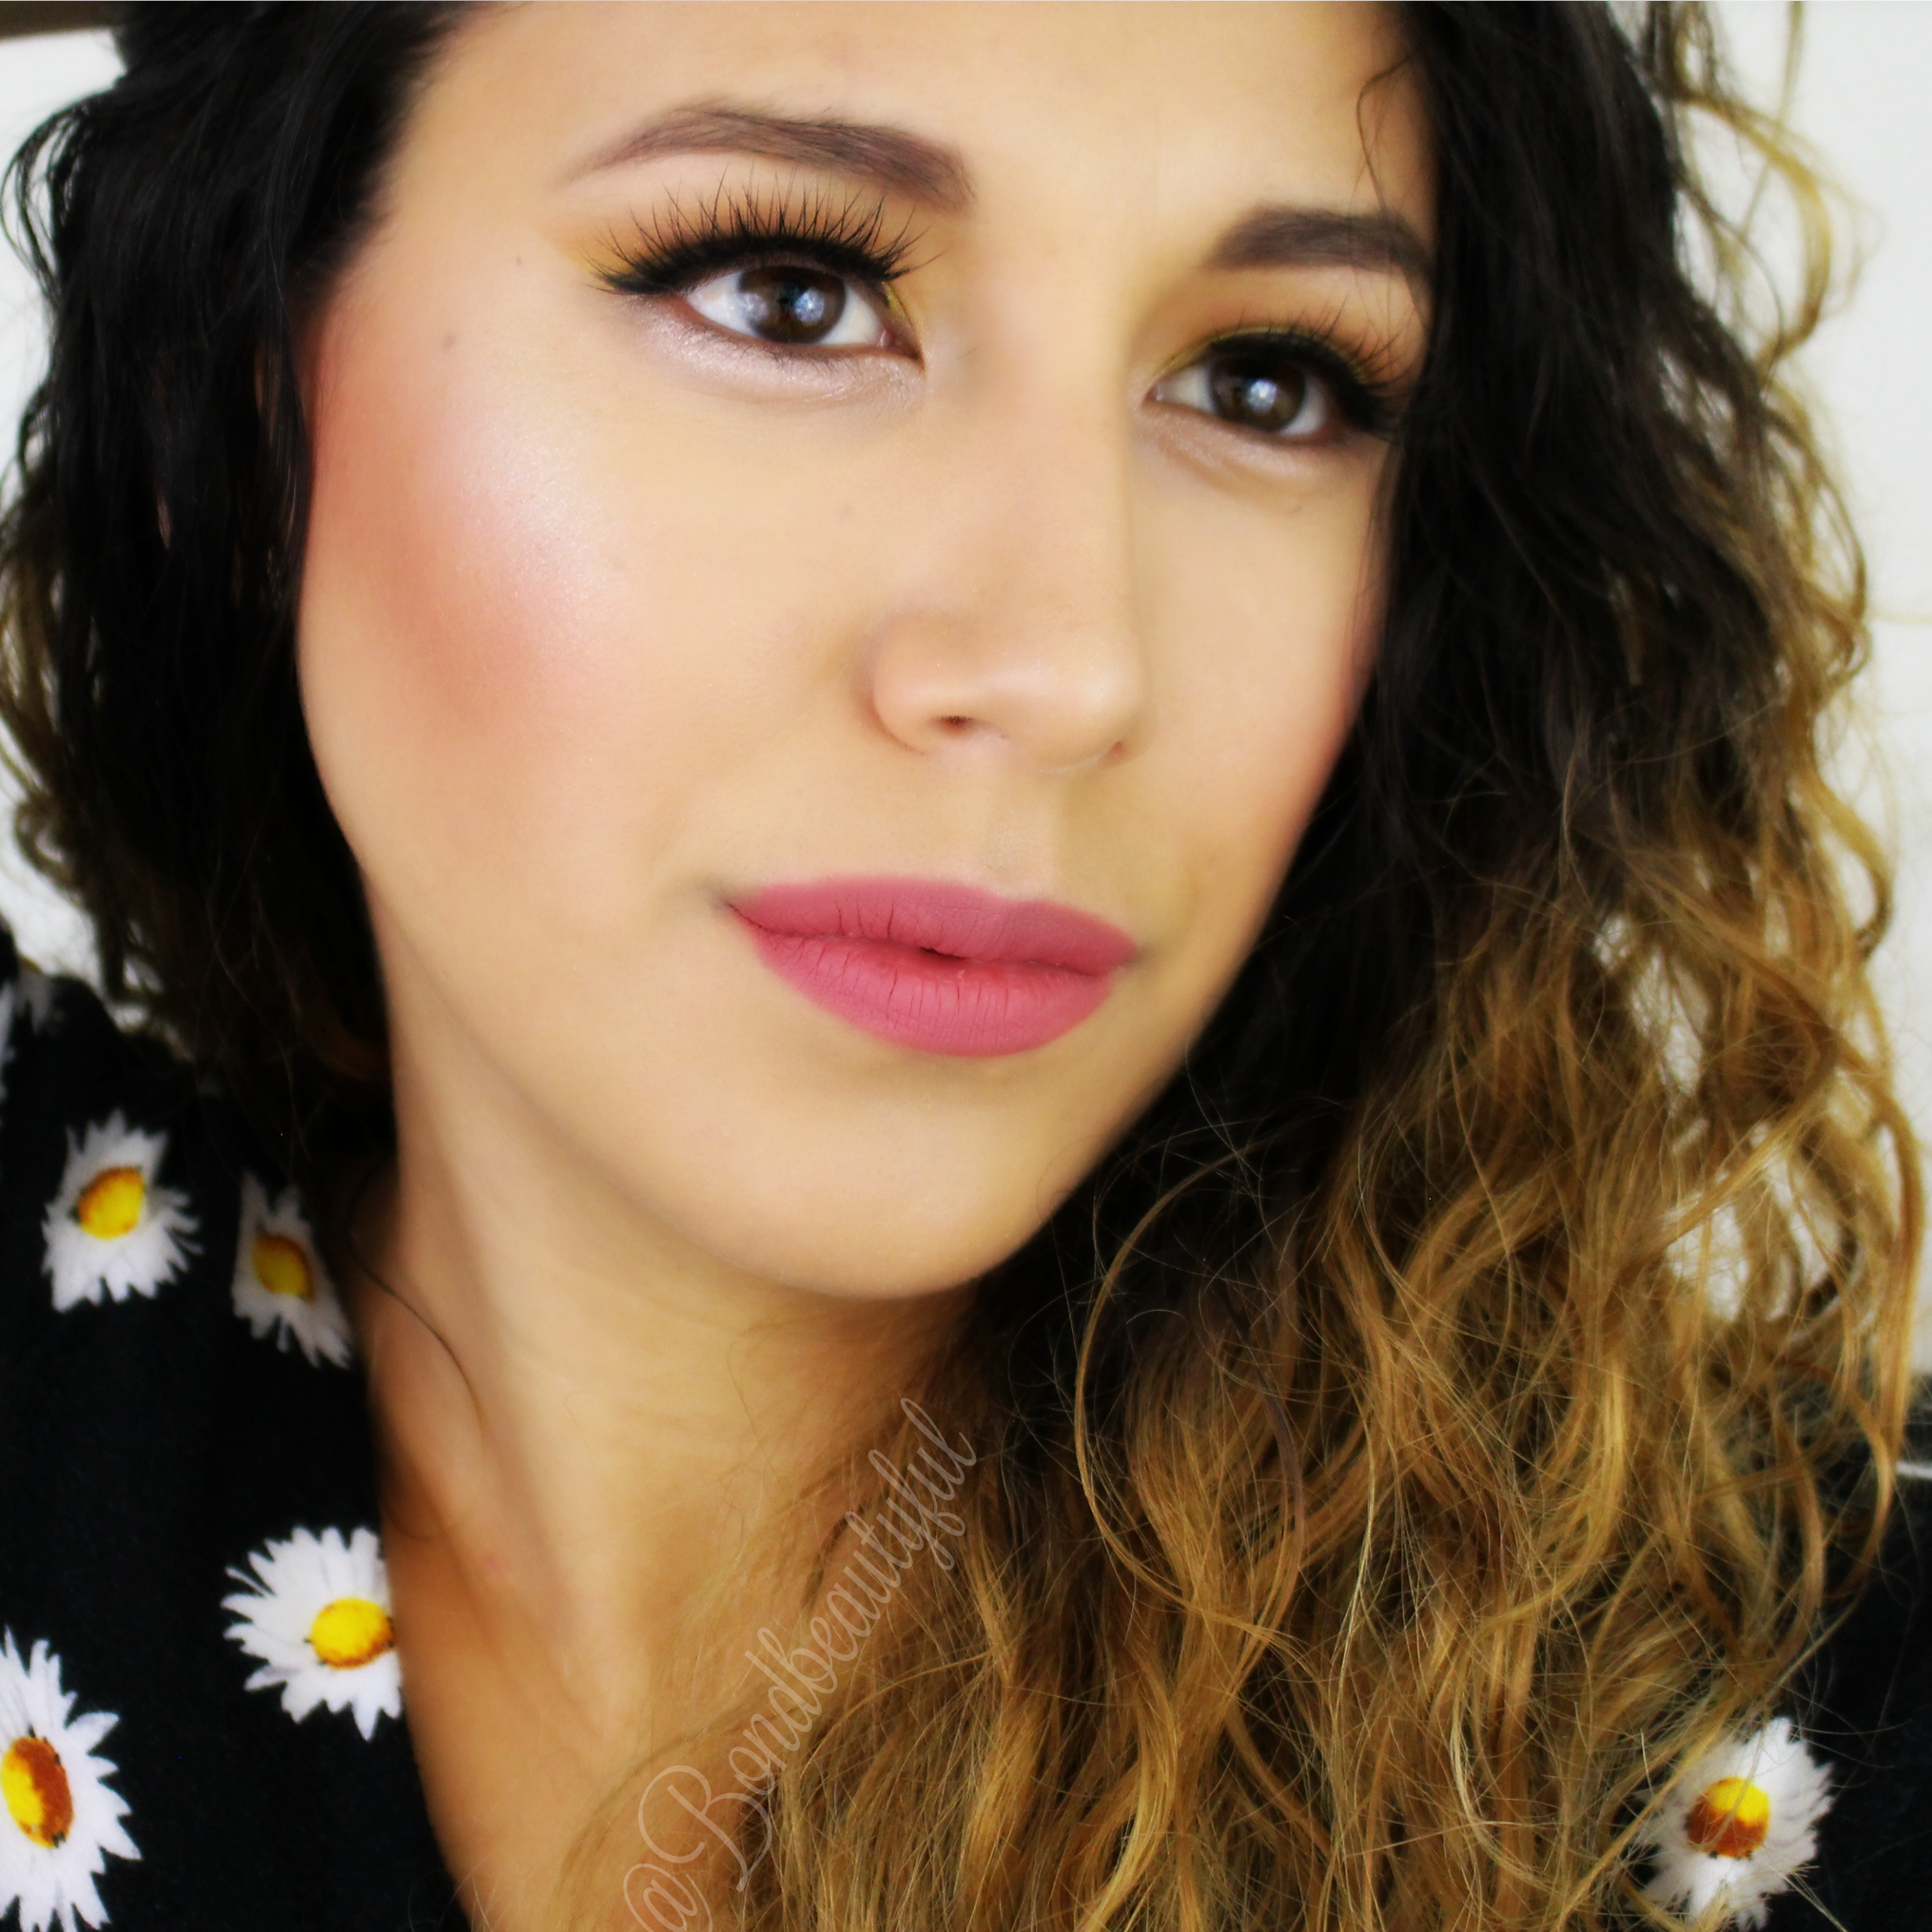
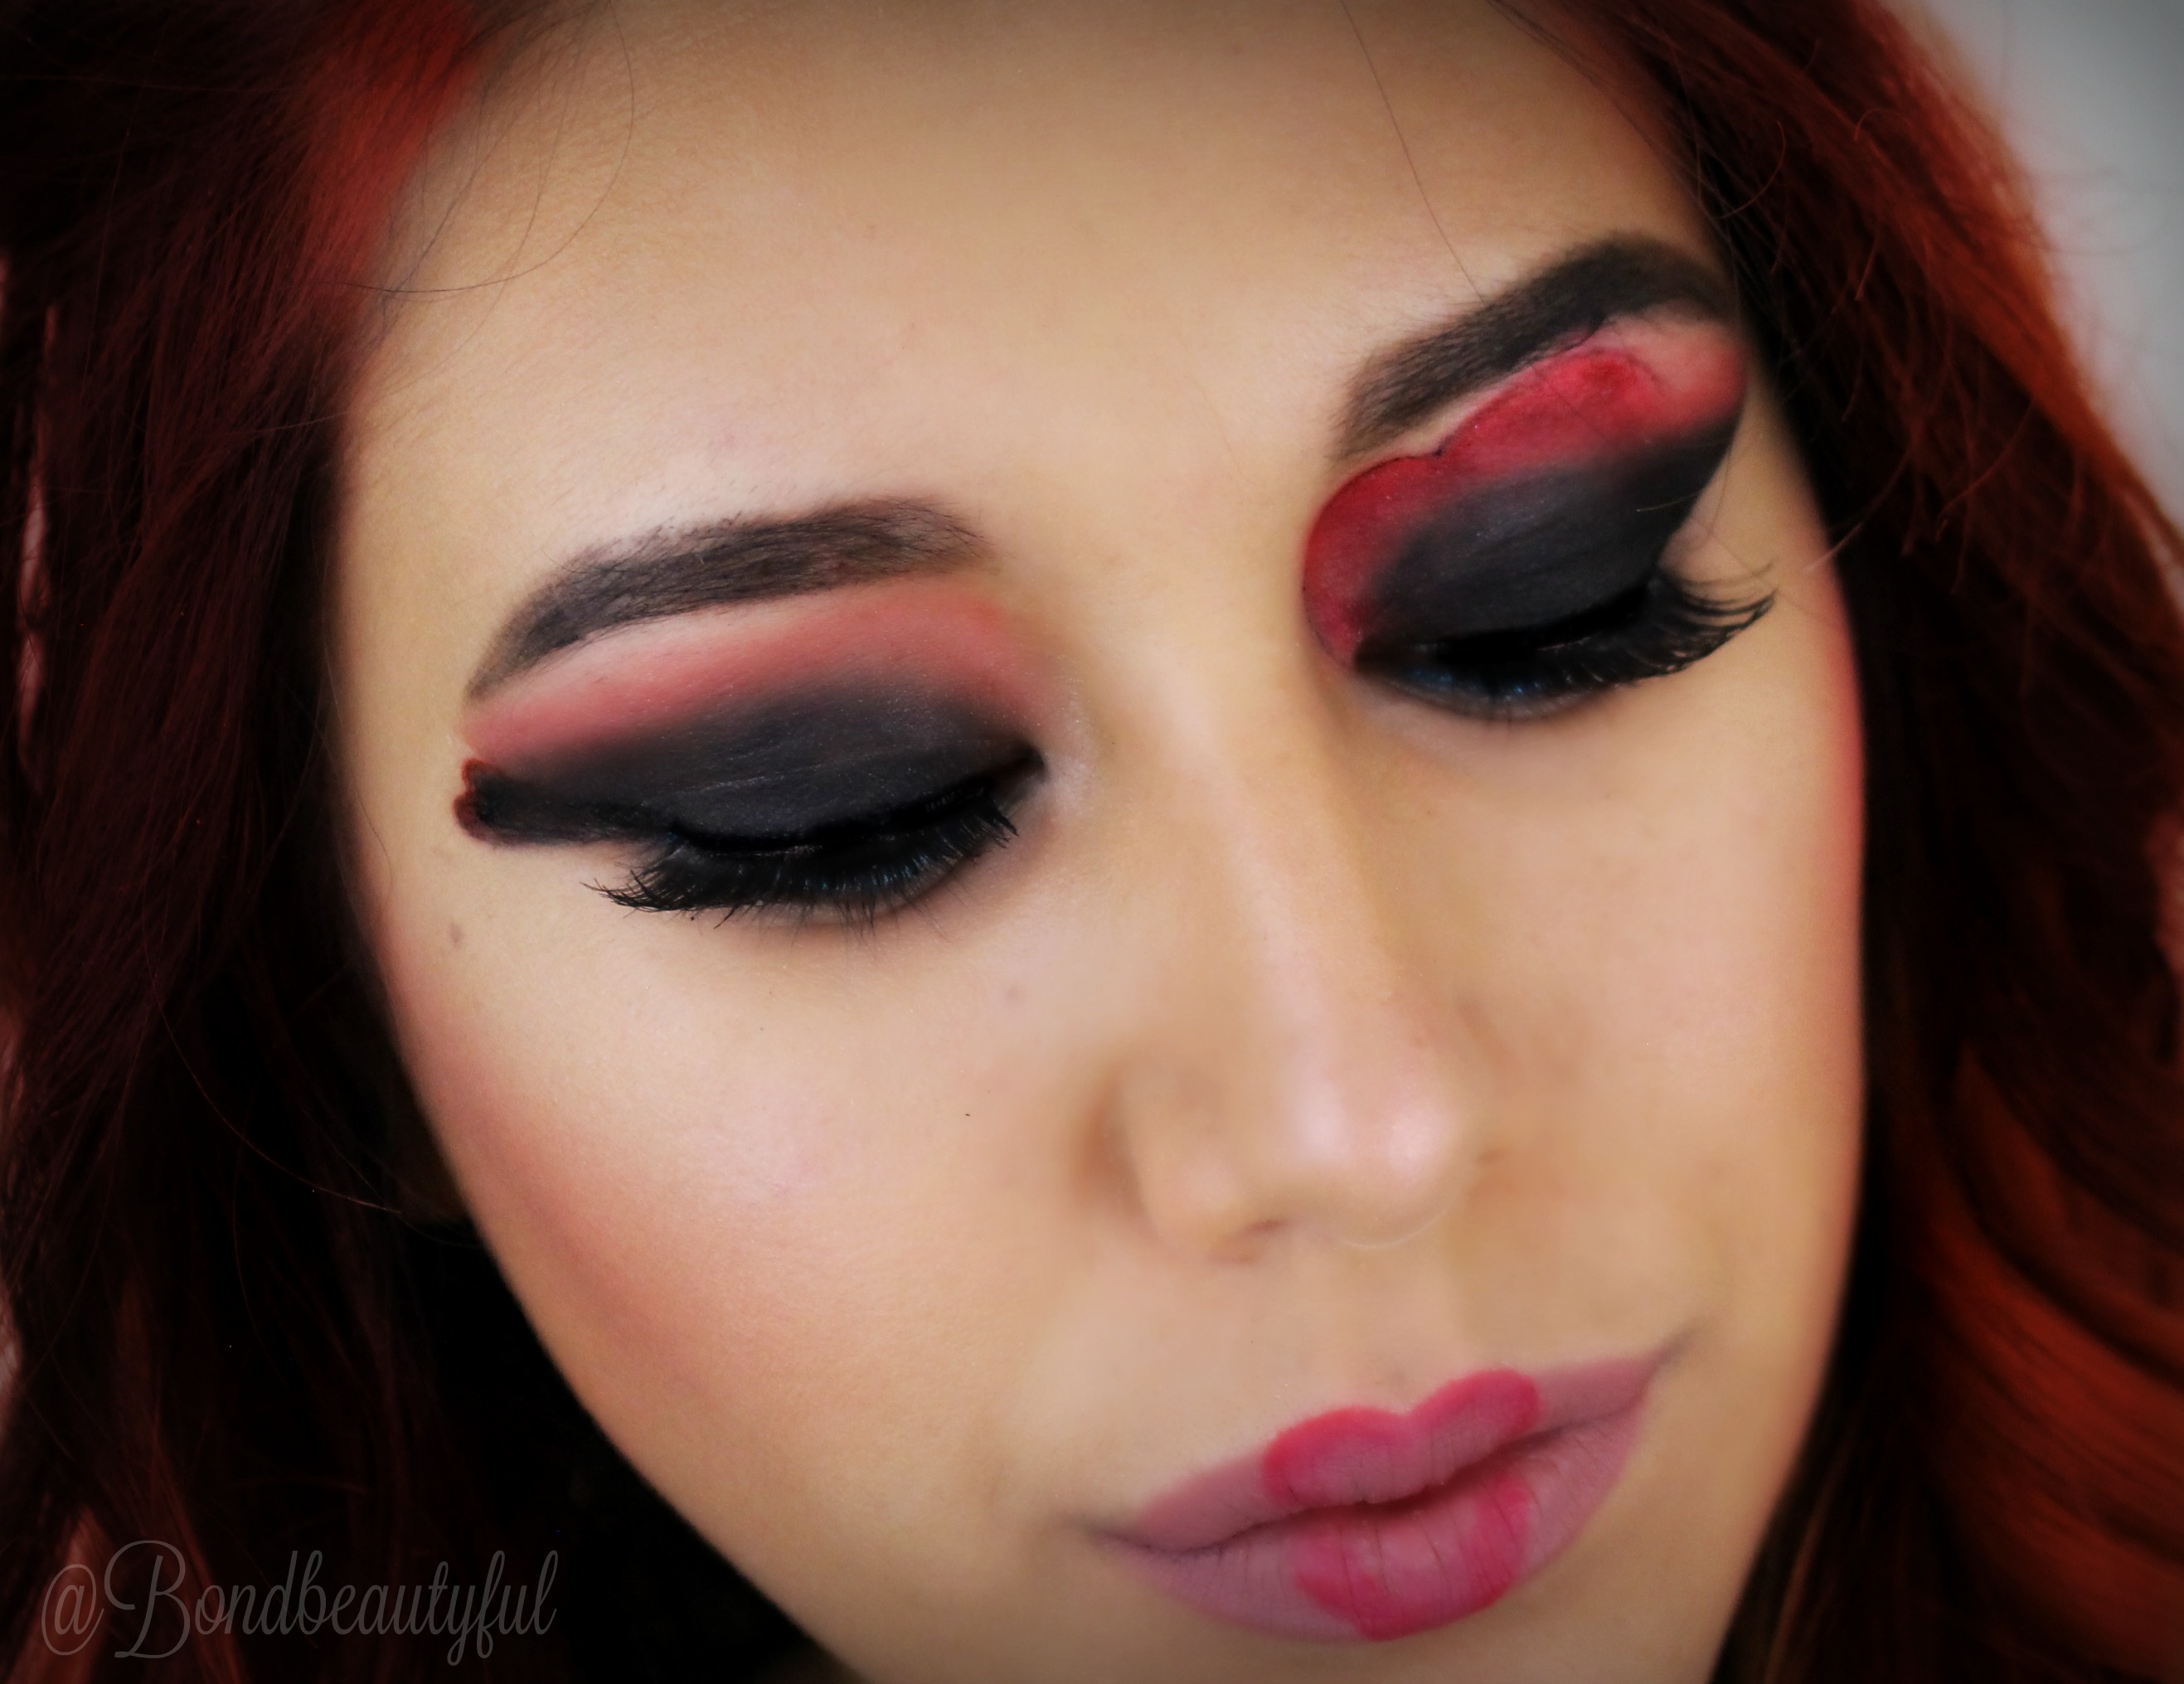
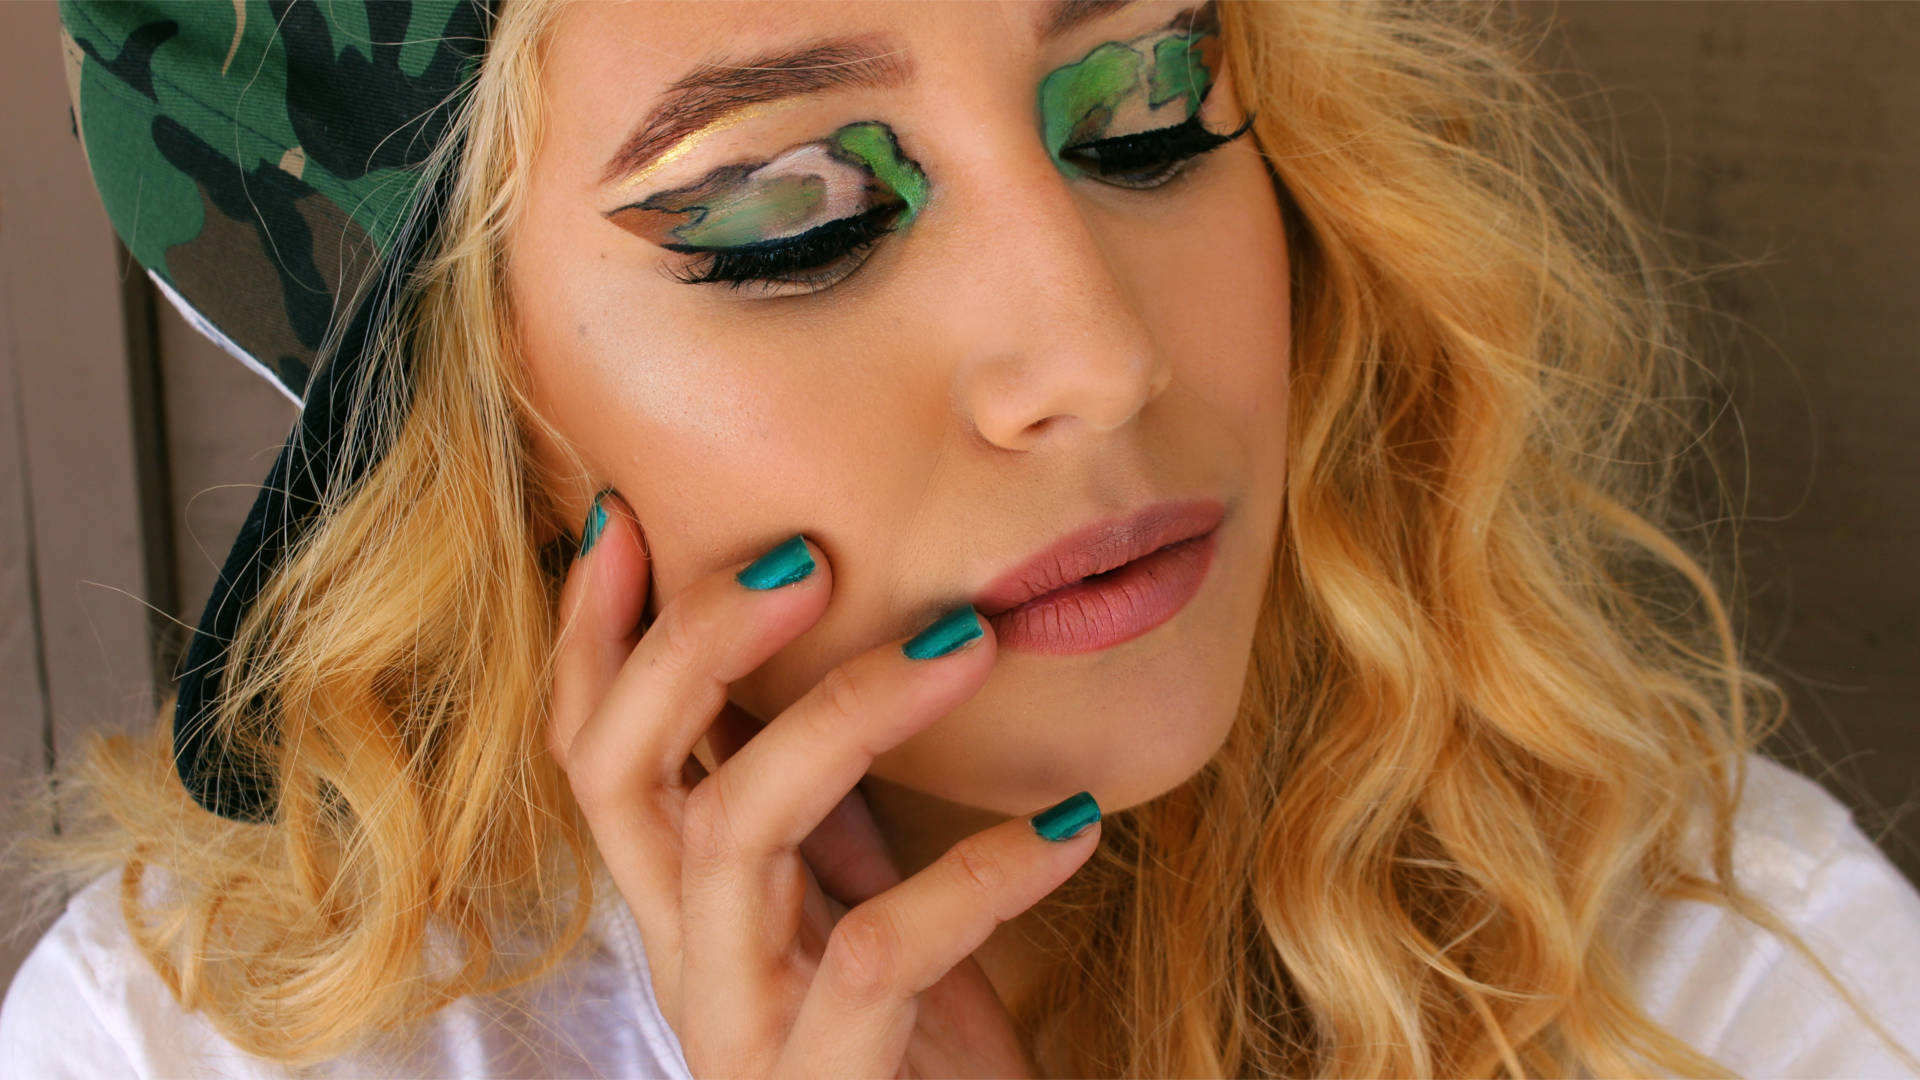
(1st Picture)
 1. I started off by shaping a bold, square brow.
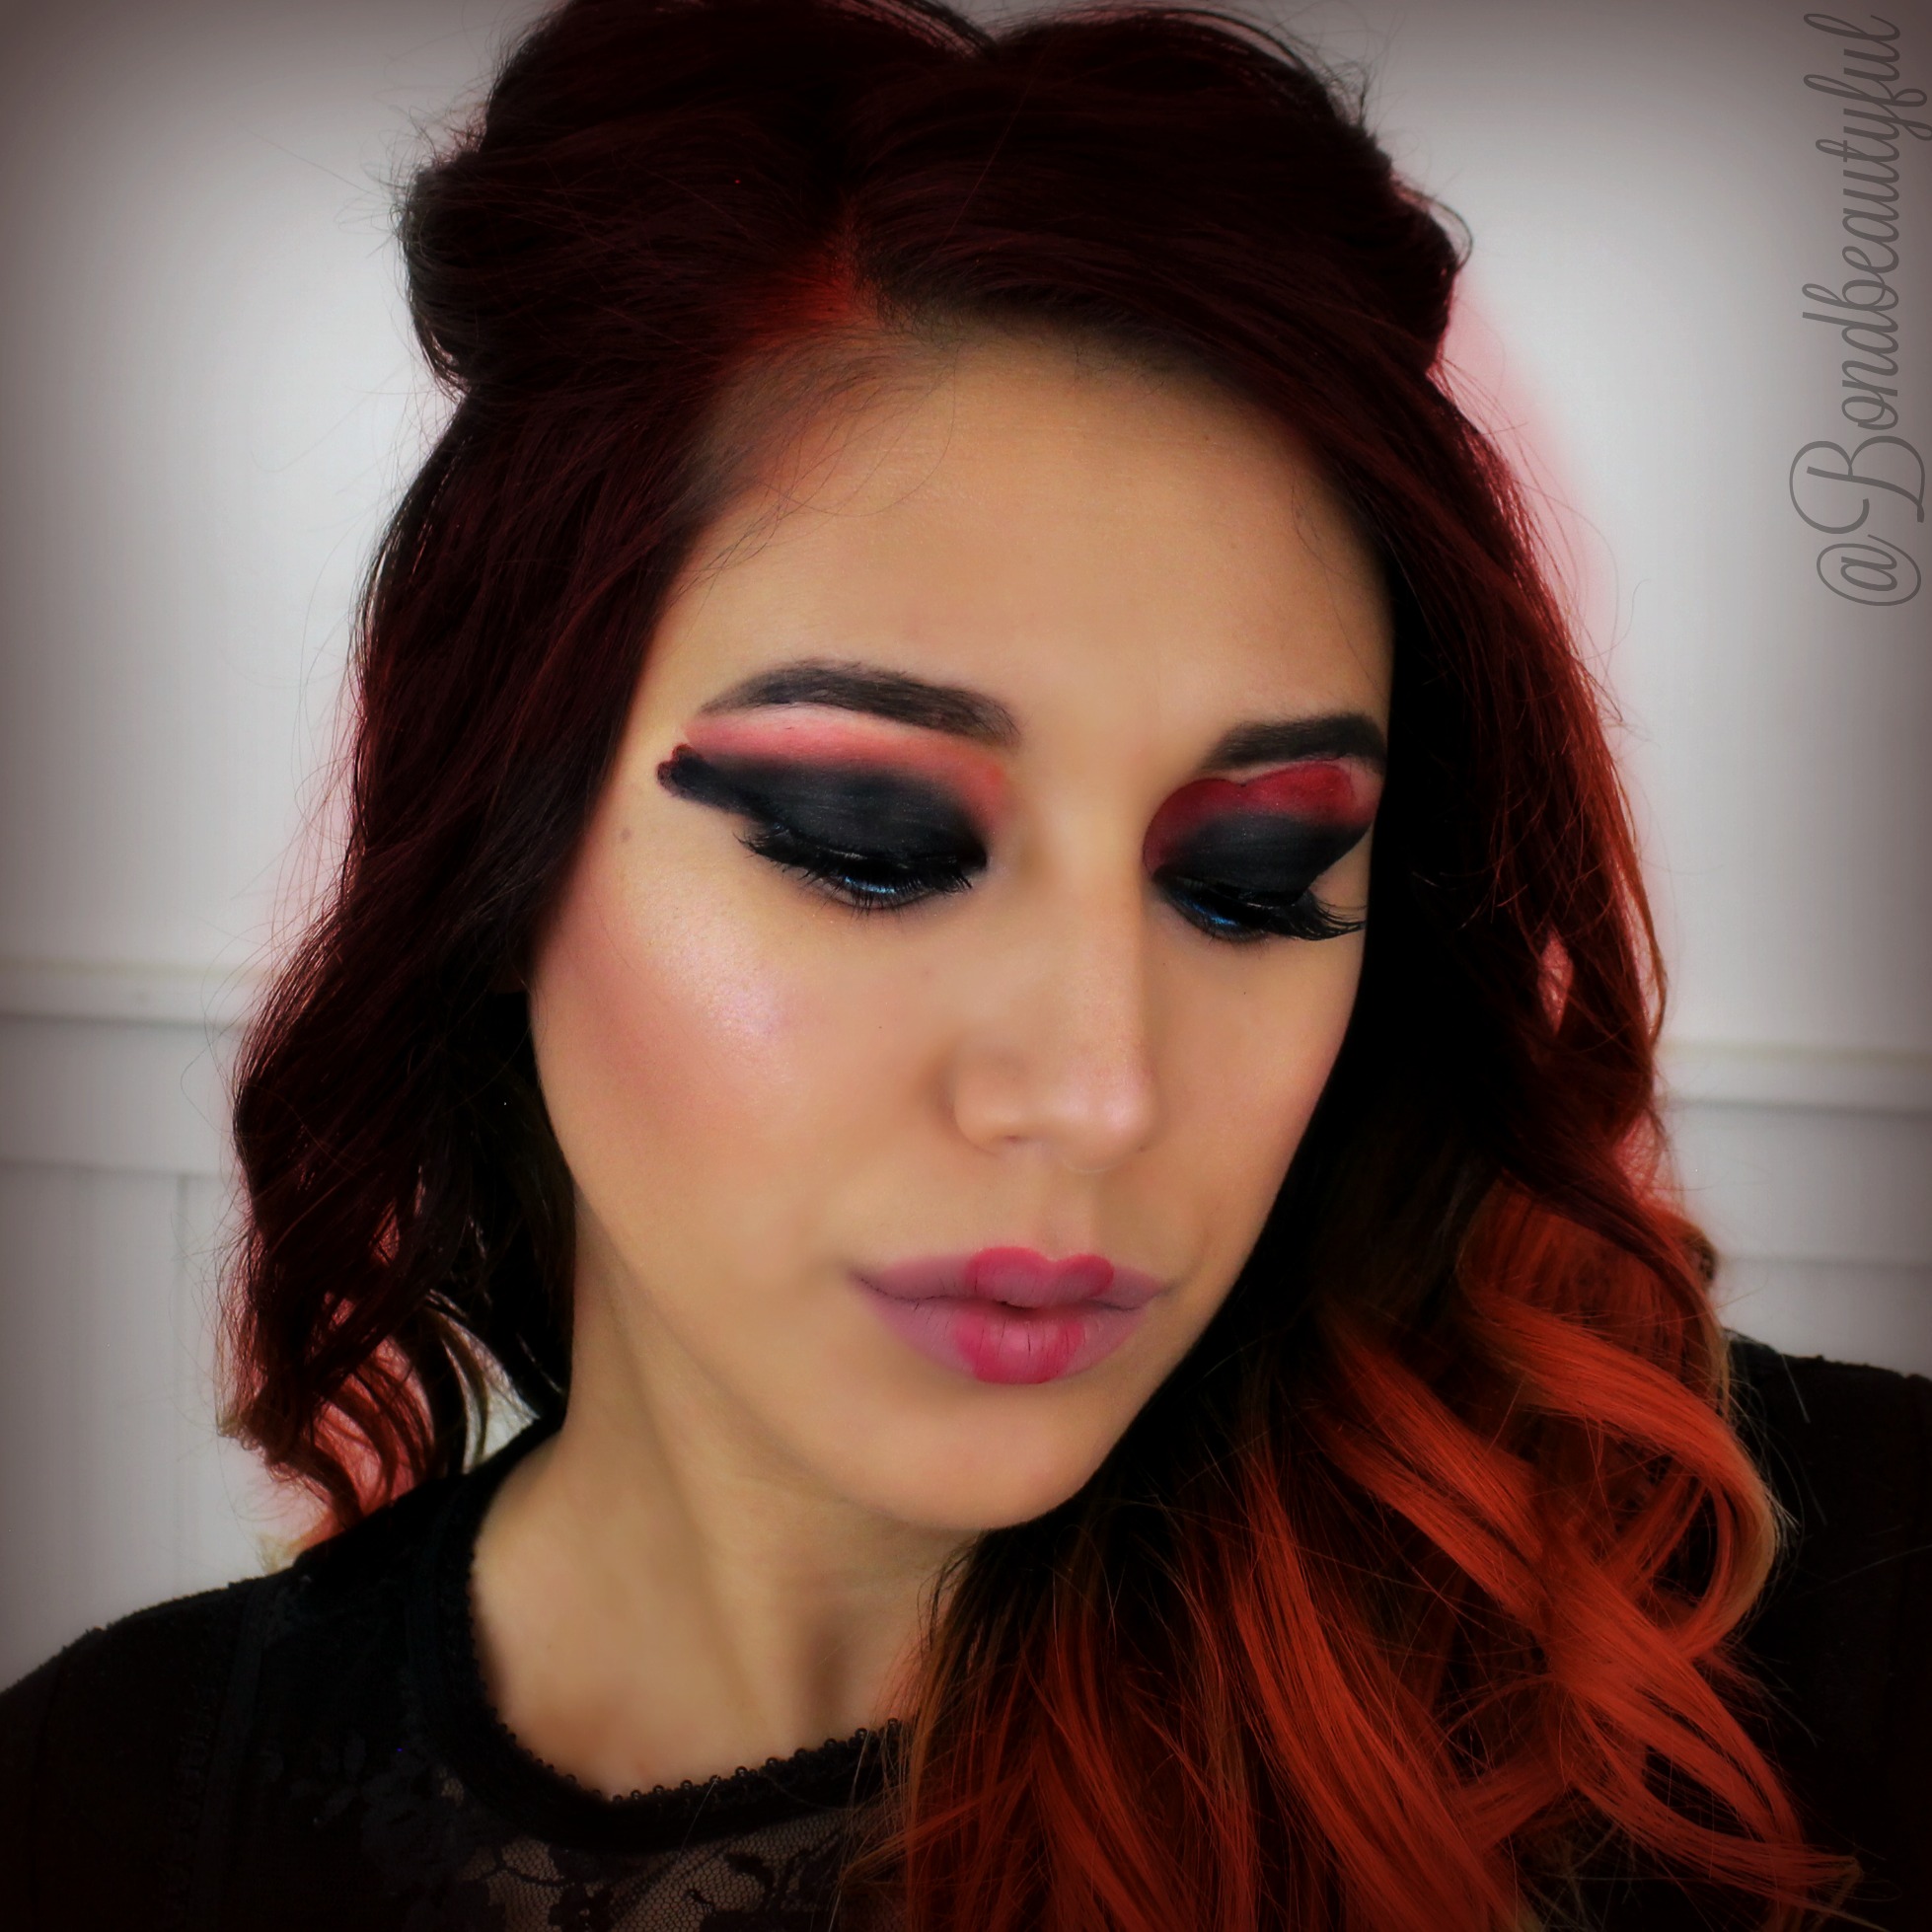
2. I traced out the pattern that I wanted with the black from the Imagic Flash Palette.
3. I filled in the different portions with different Army colors from the flash palette, brown, dark brown, army green,bright green, & cream
4. I set all those creams with powdered Eyeshadow that matched.( below all palettes used)
5. I then went back over the black outline with a thin eyeliner brush & the cream shadow again.
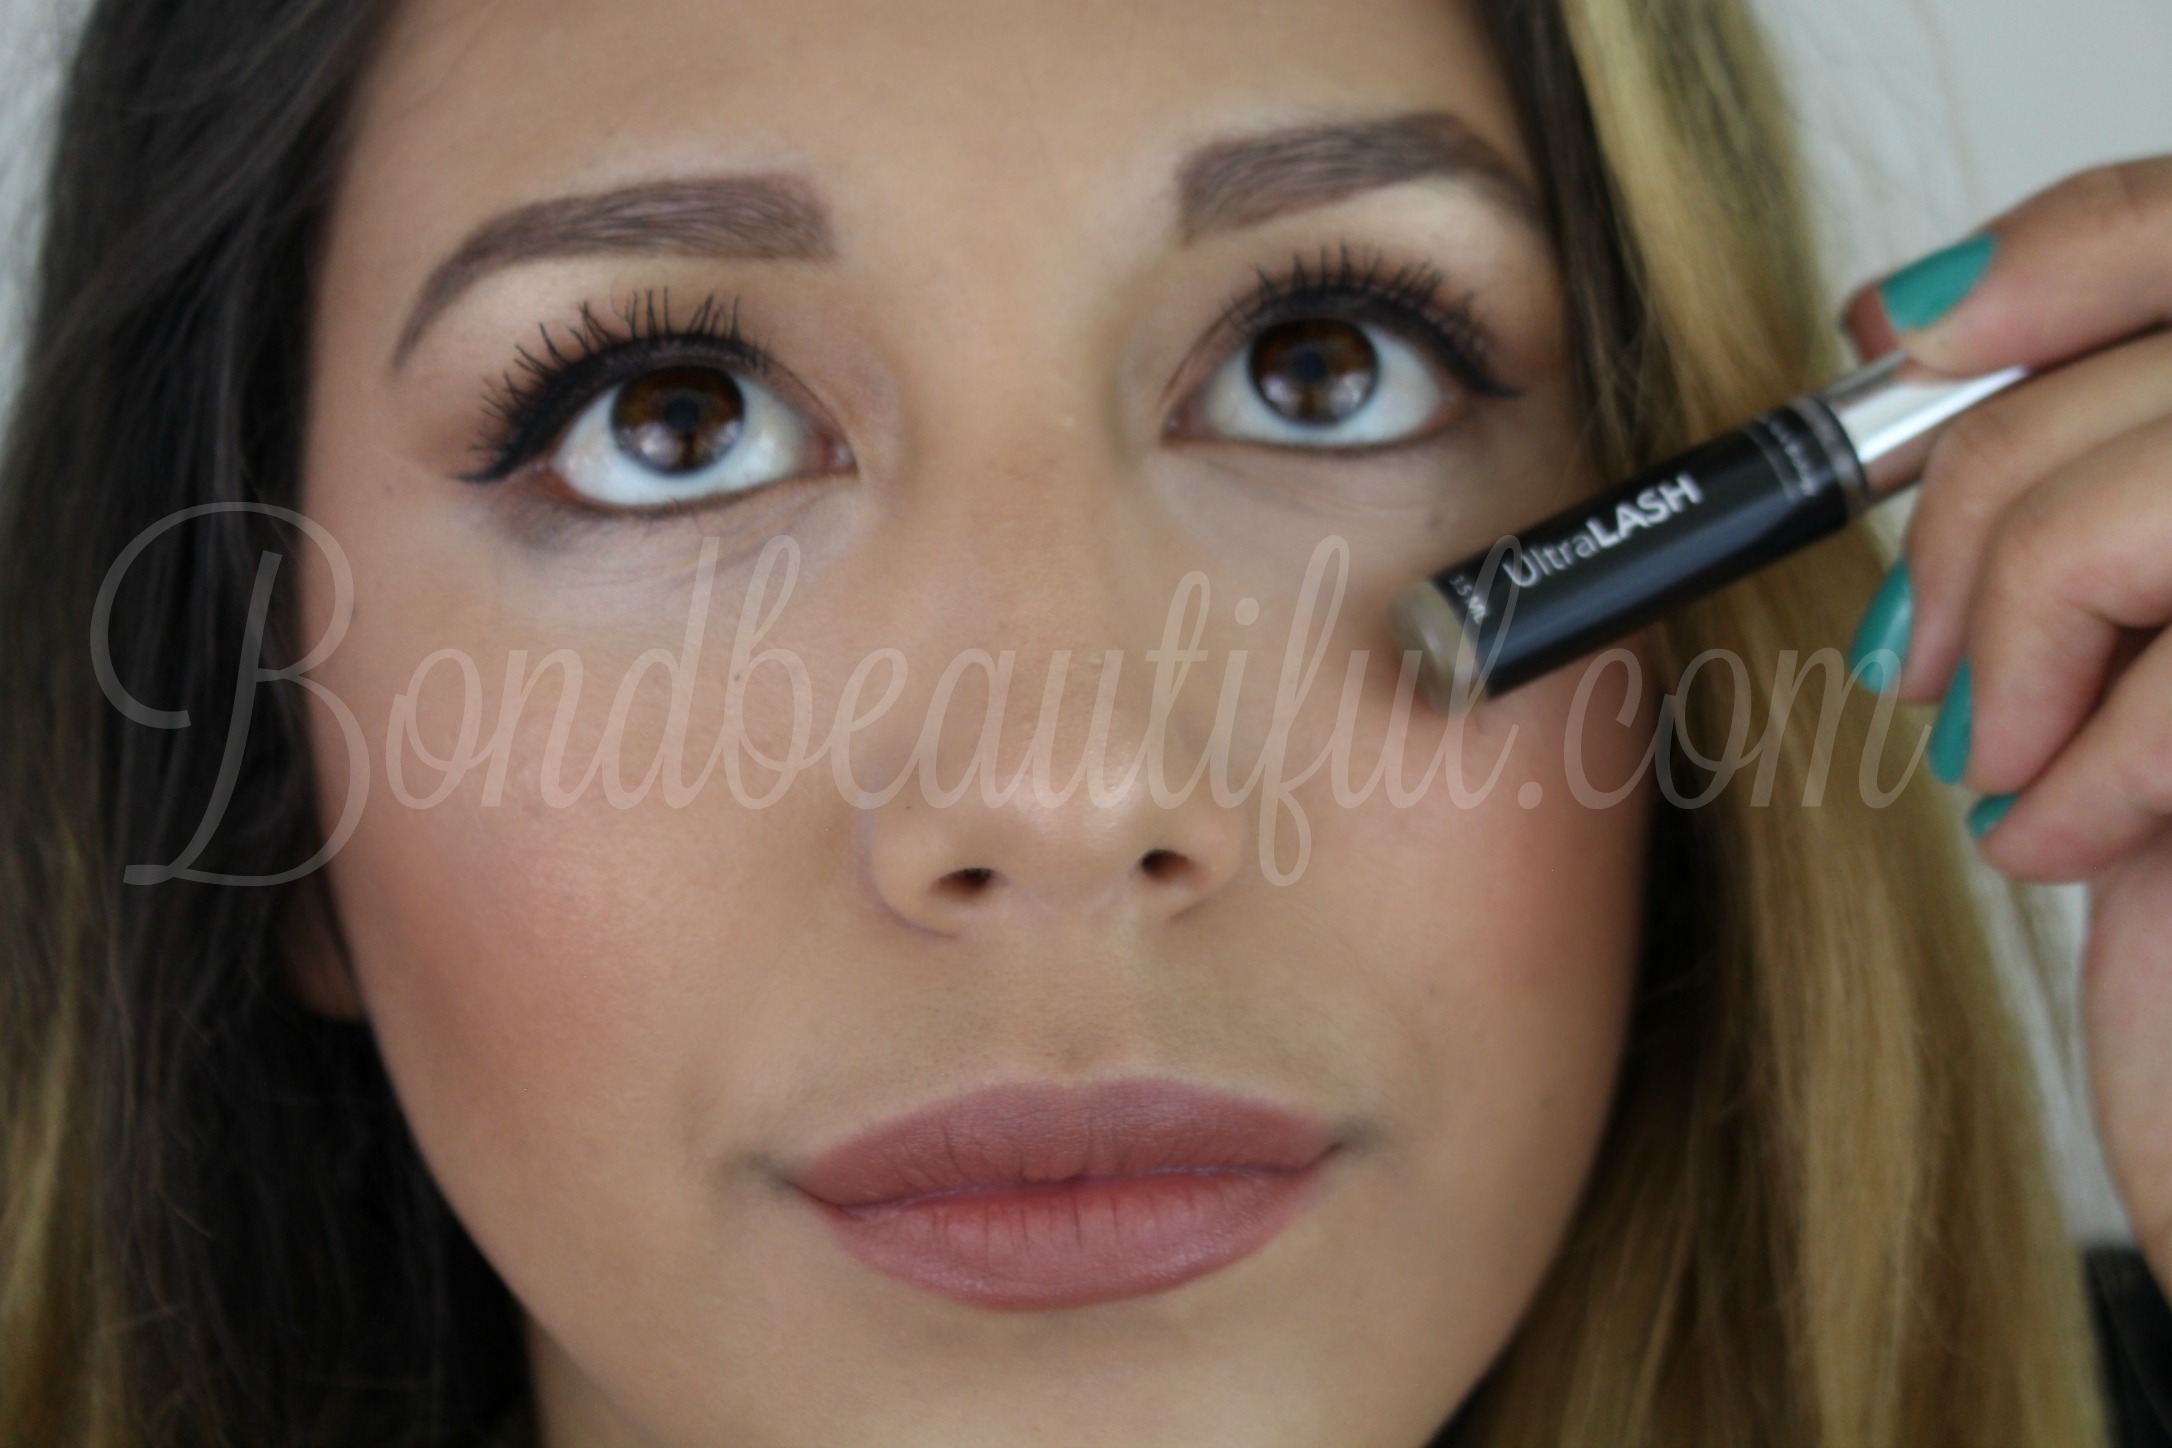
6. I did a quick wing & popped on some lashes.
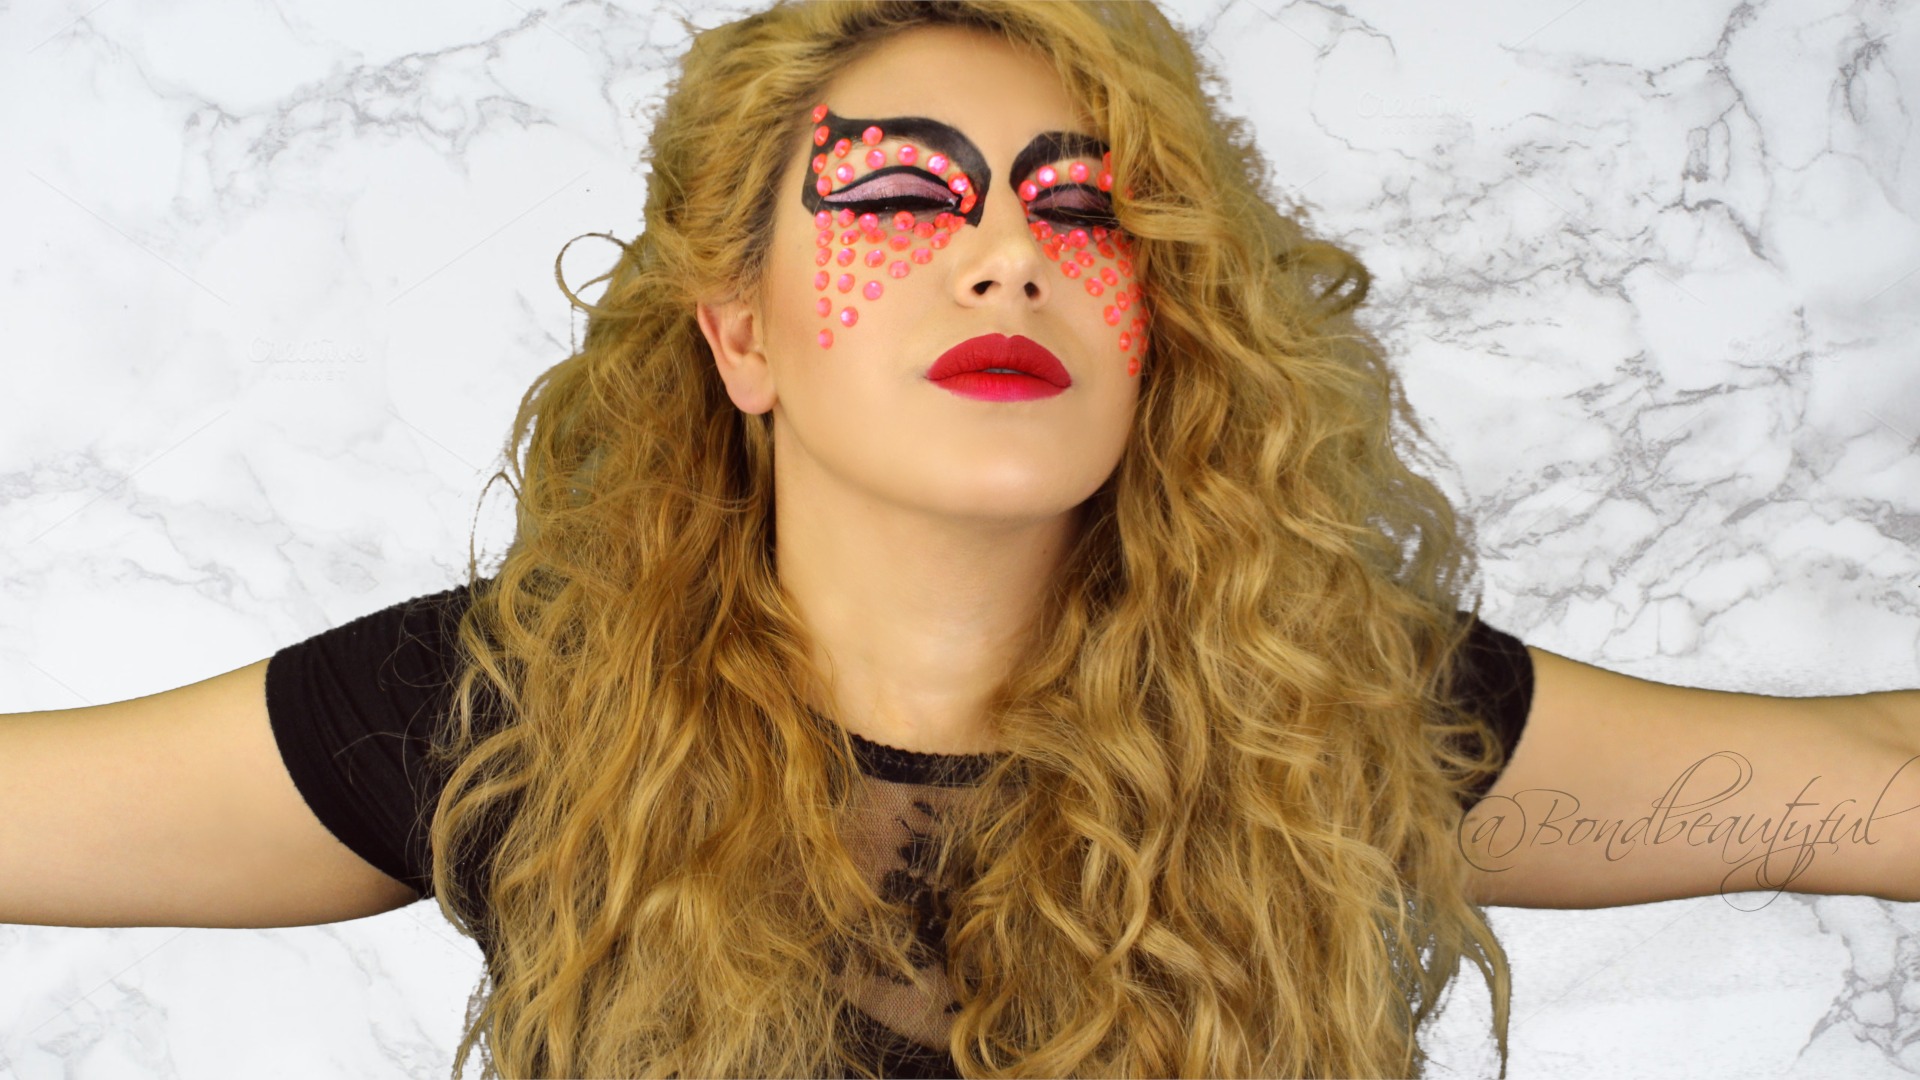
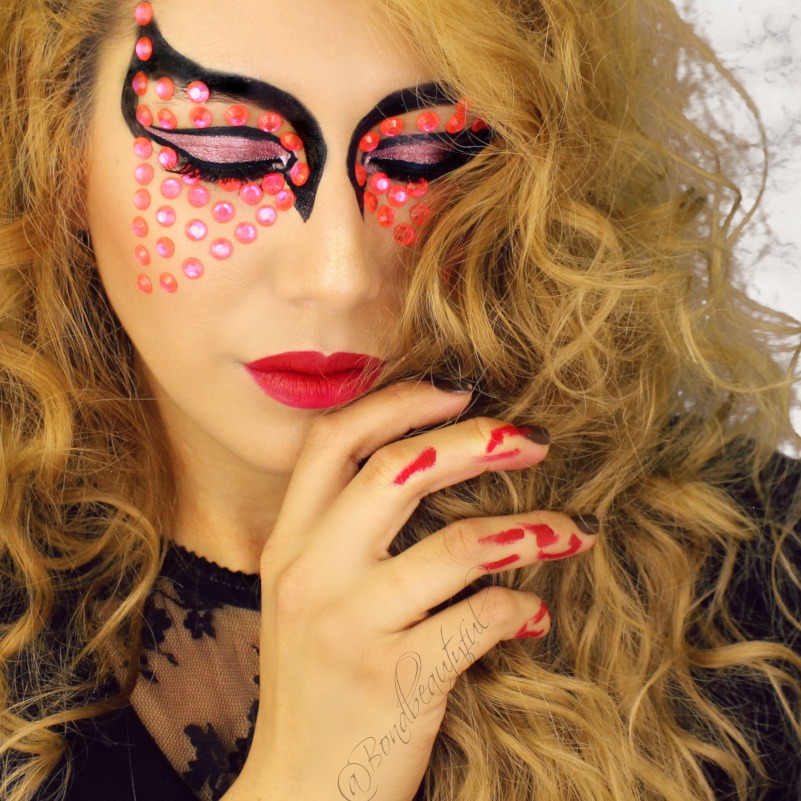
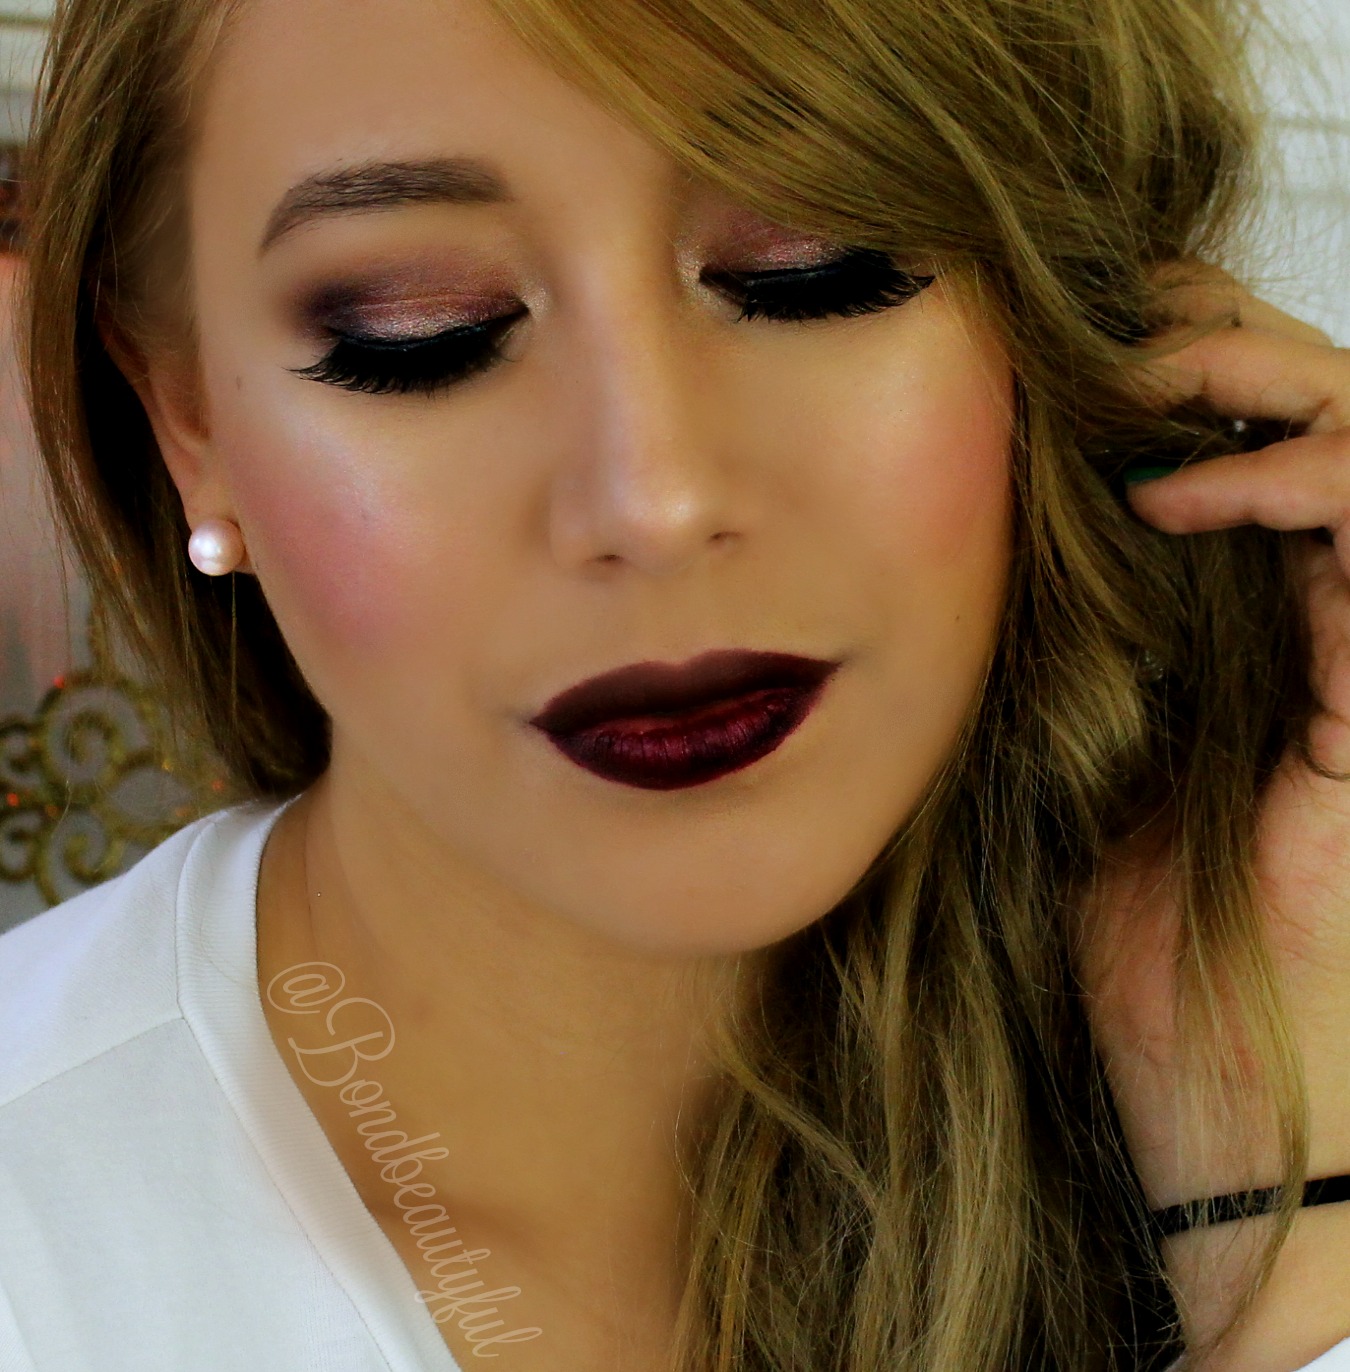
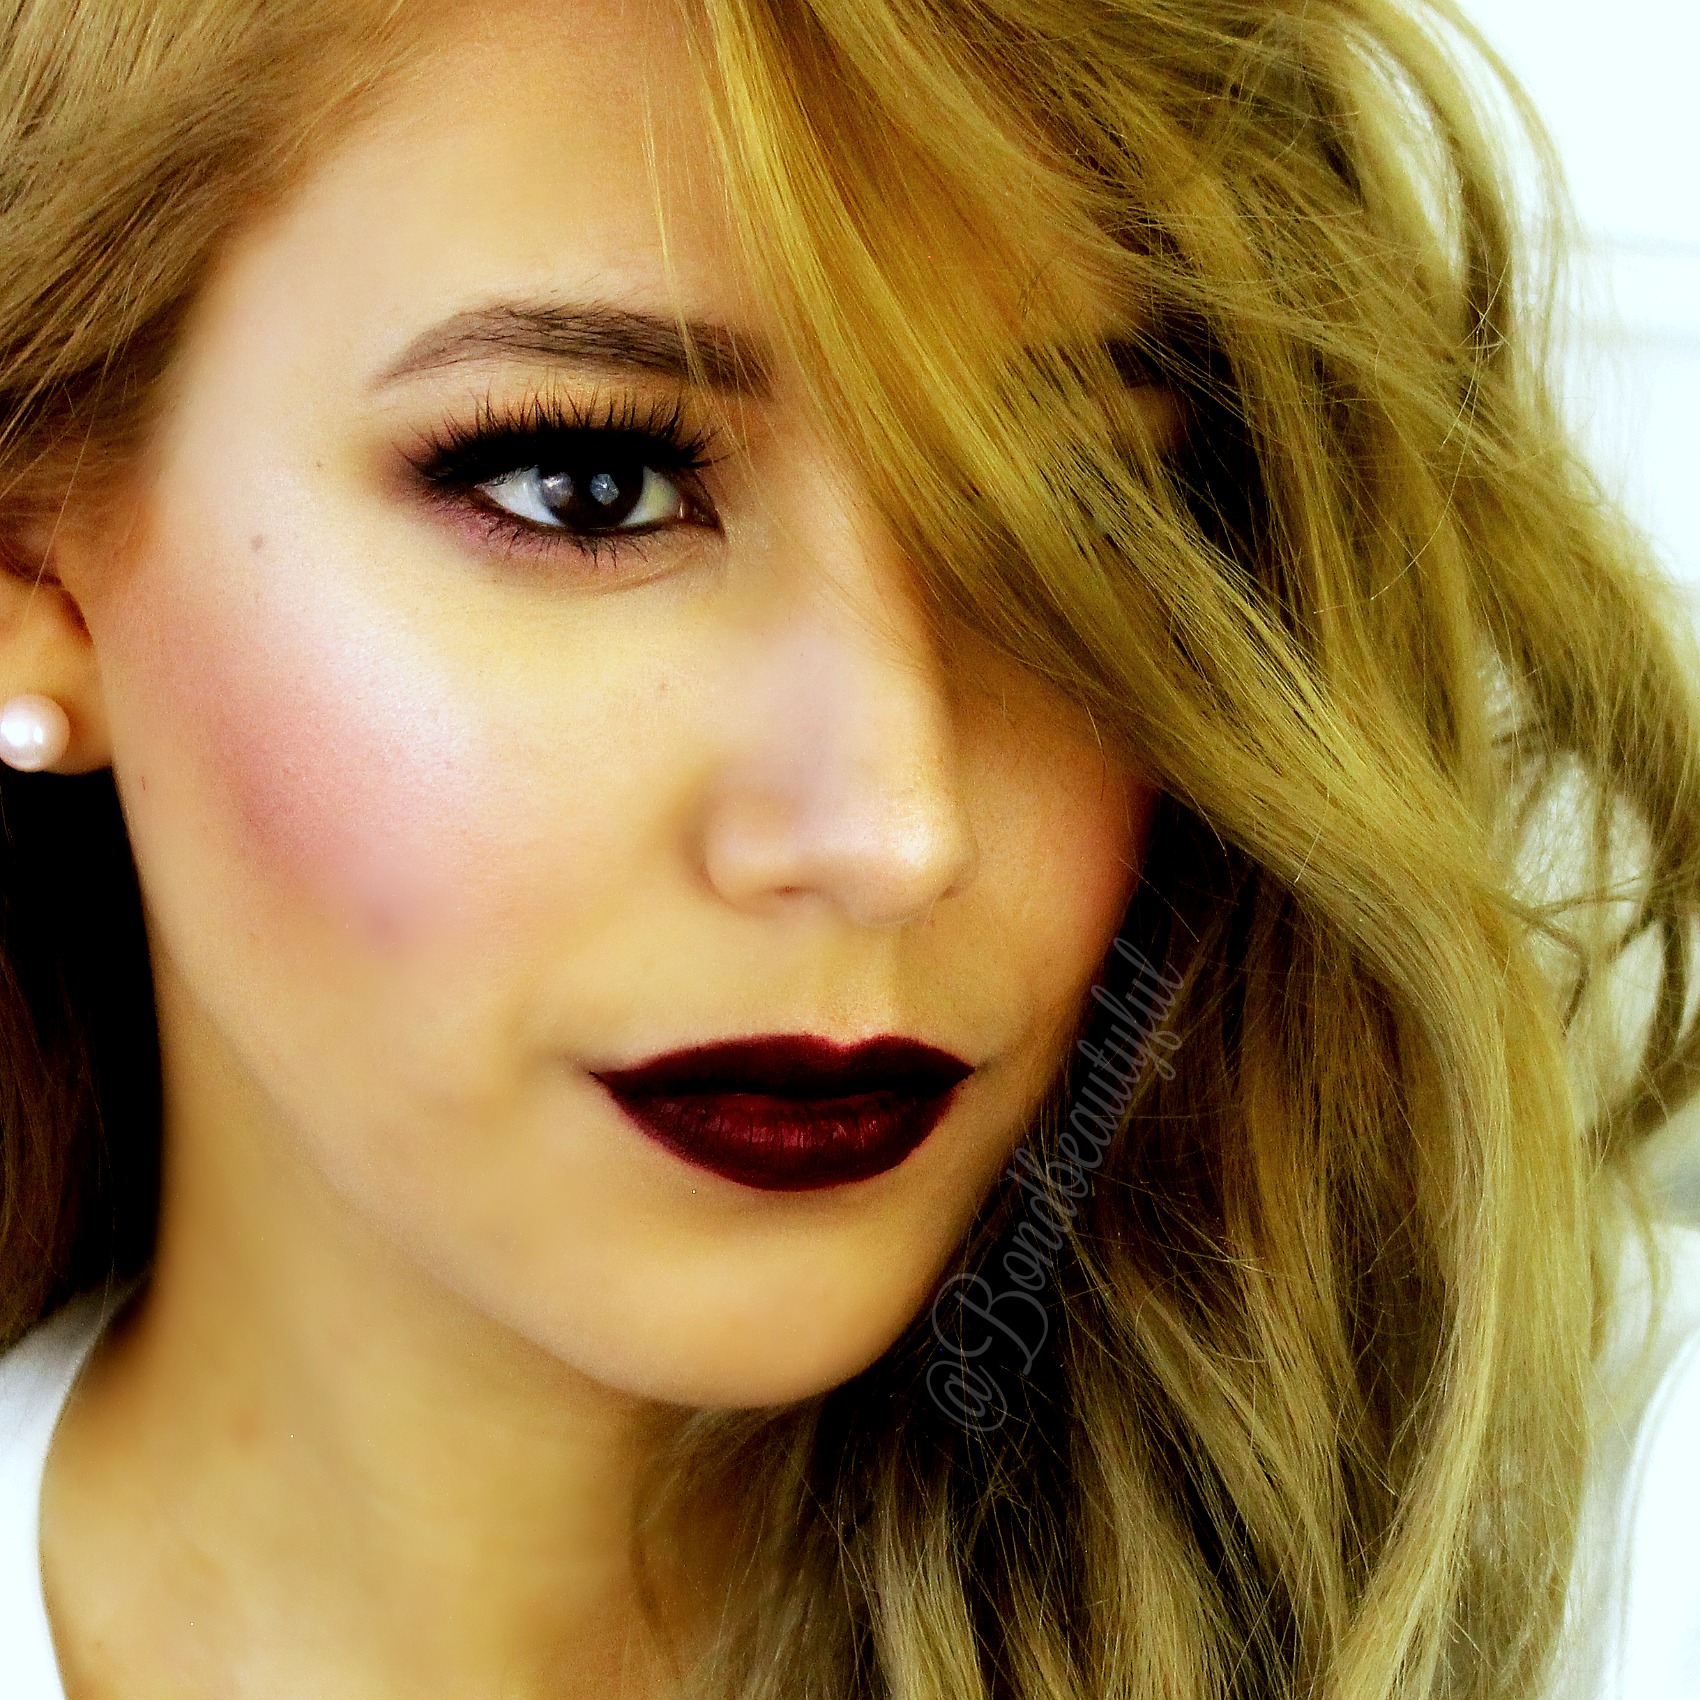
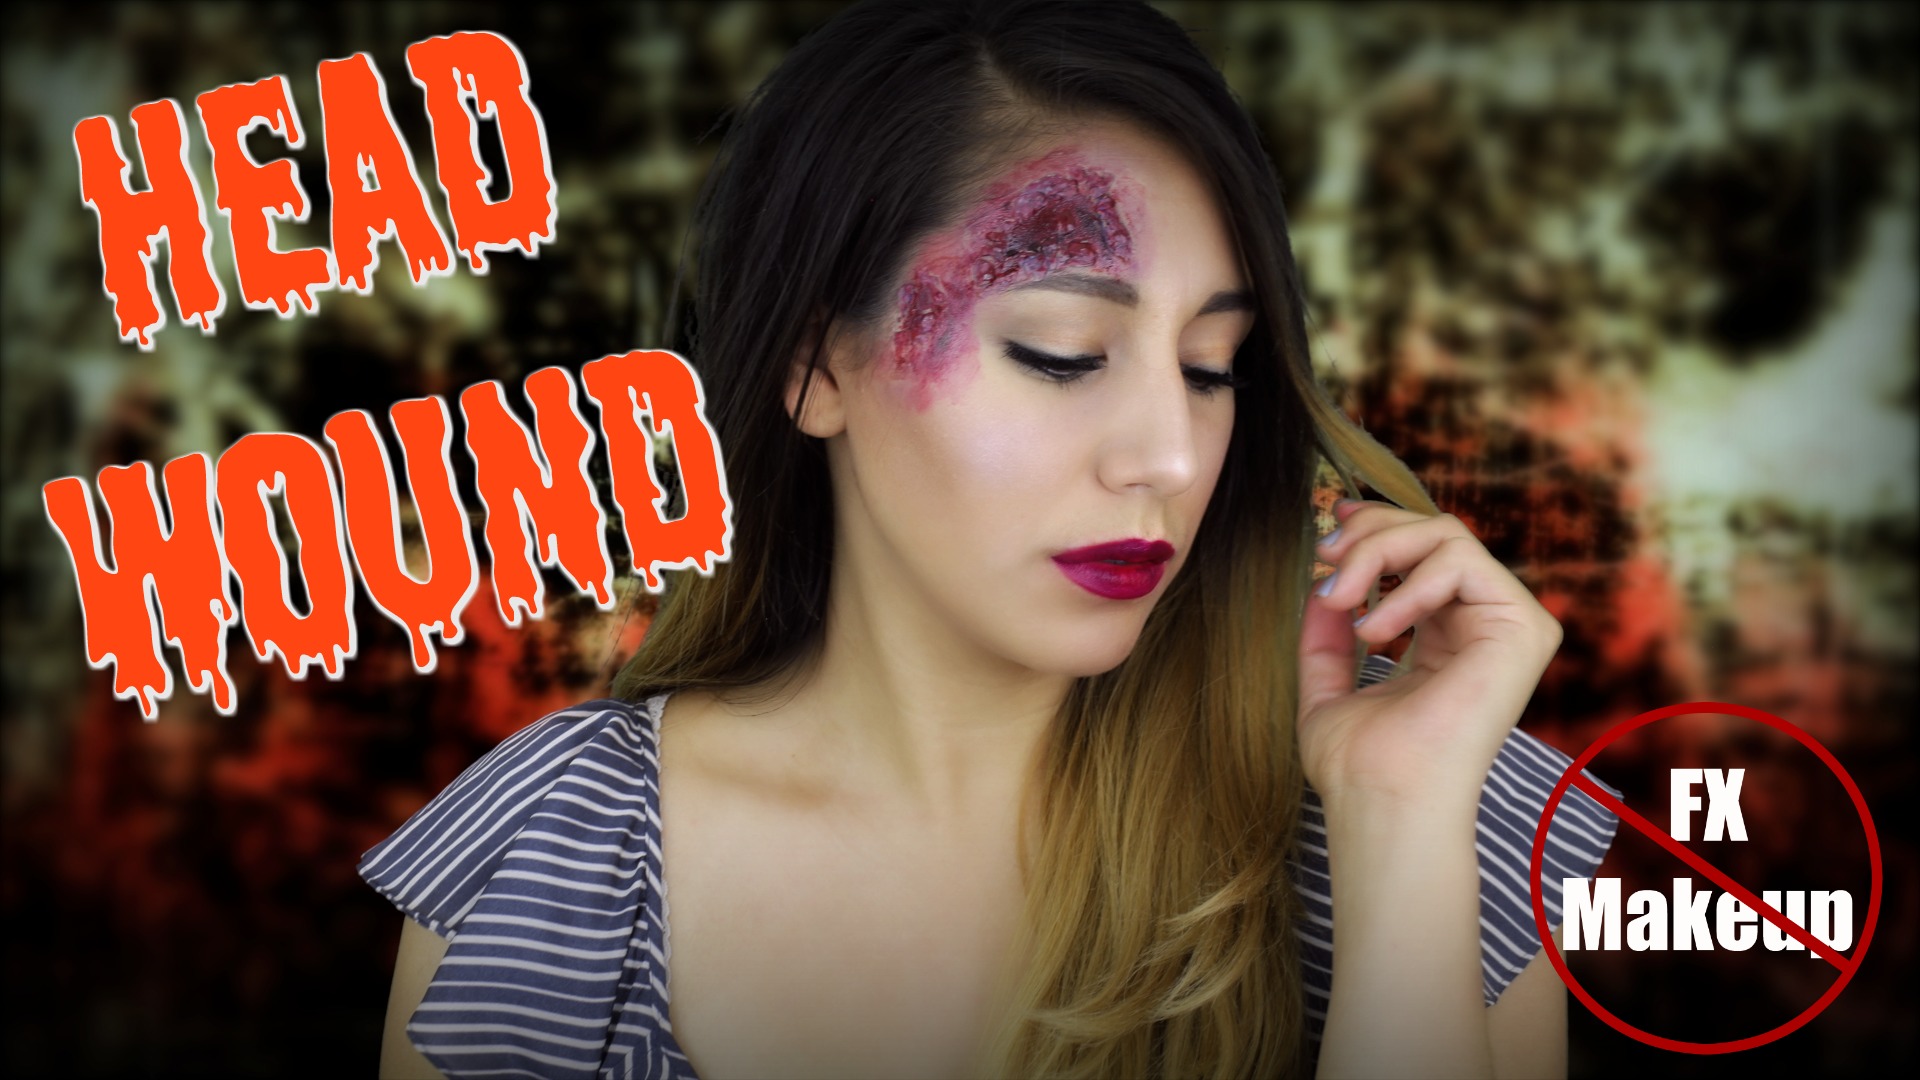
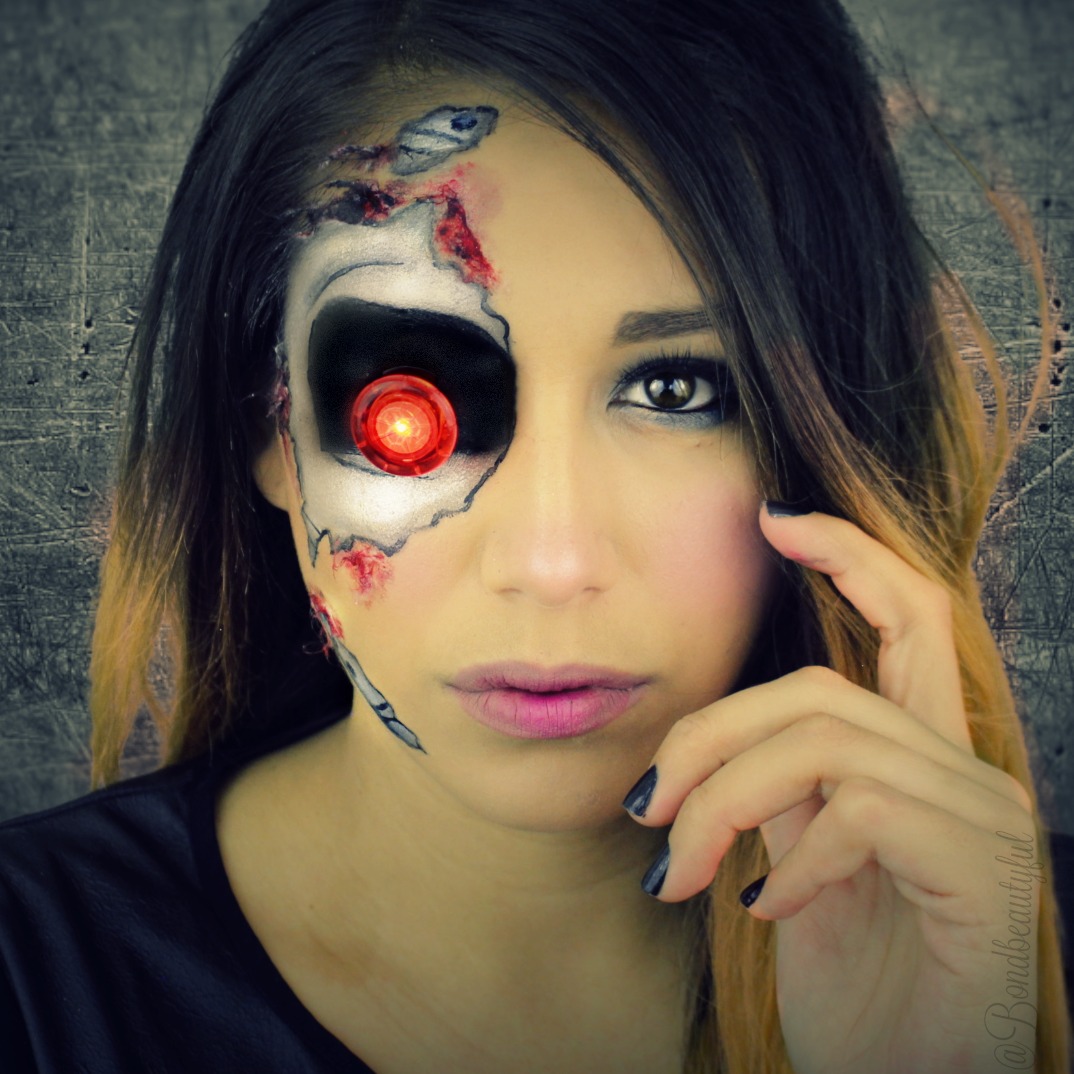
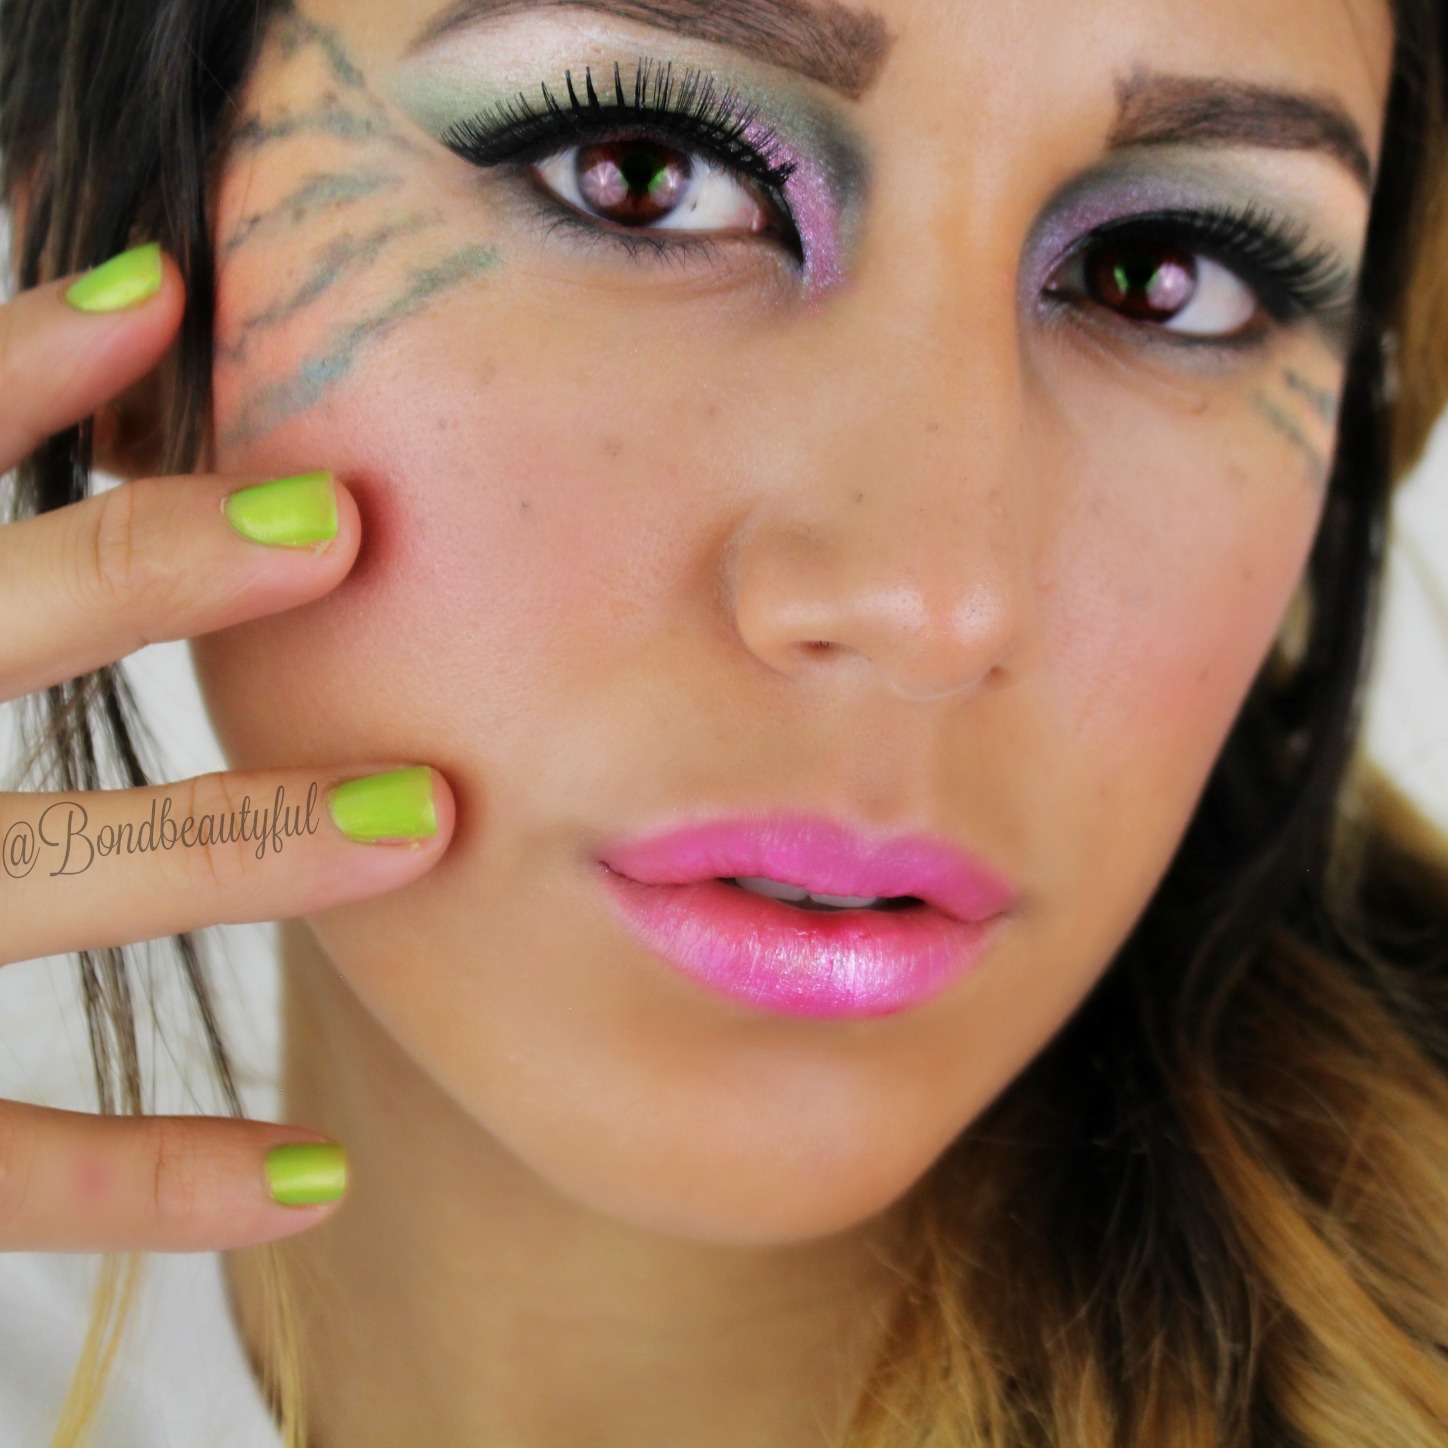
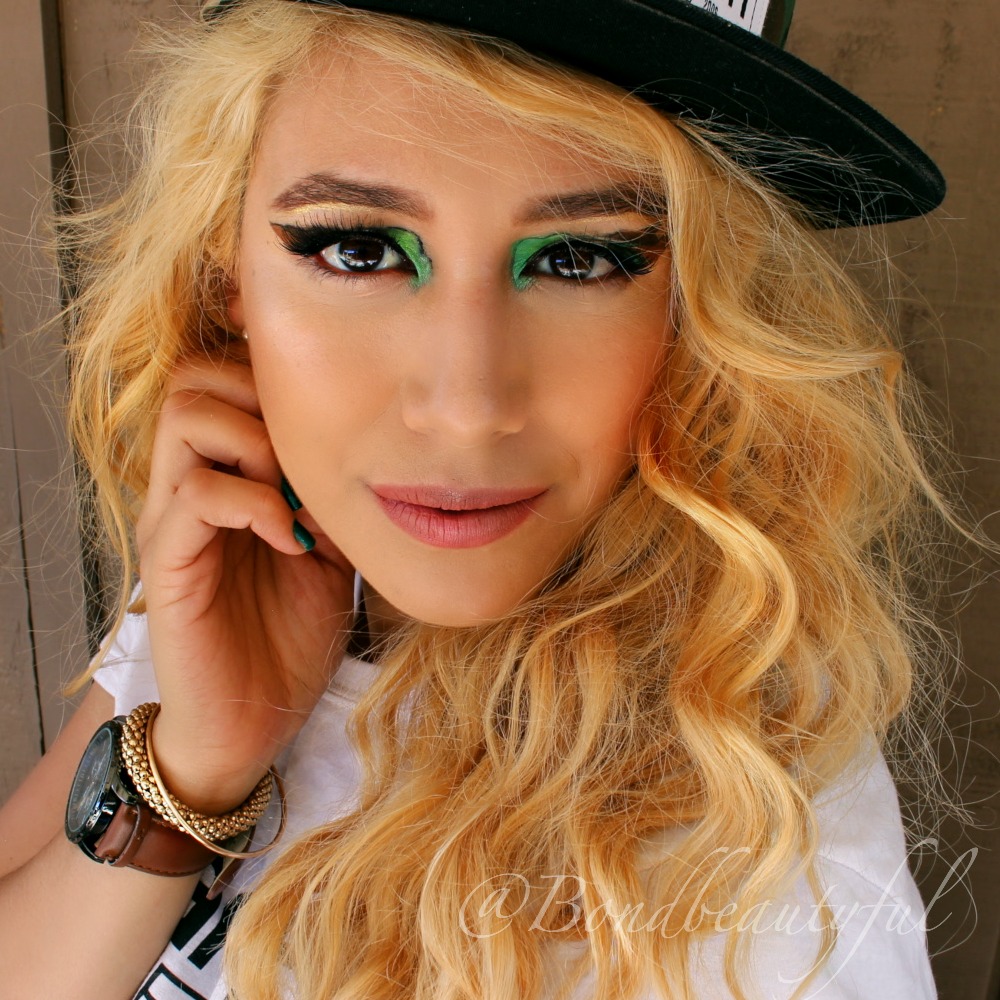
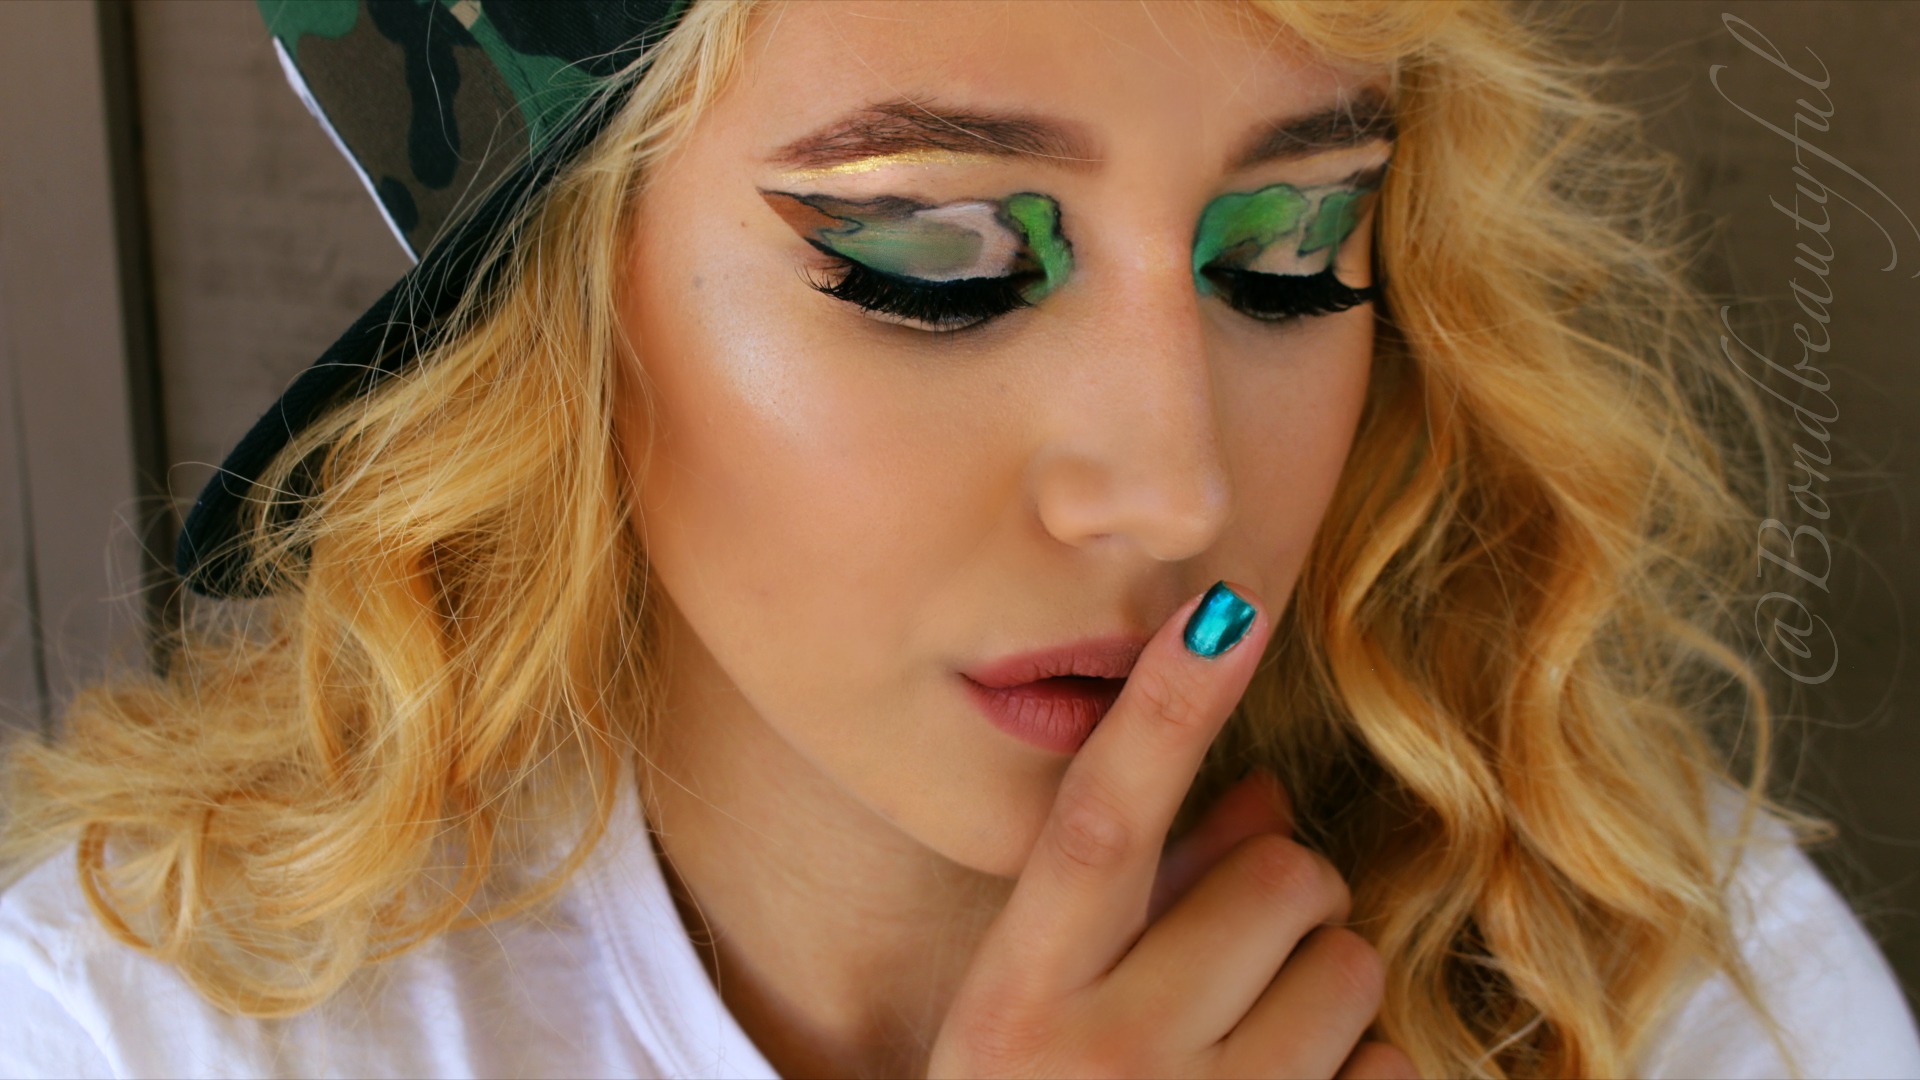
(2nd Picture) (3rd Picture)
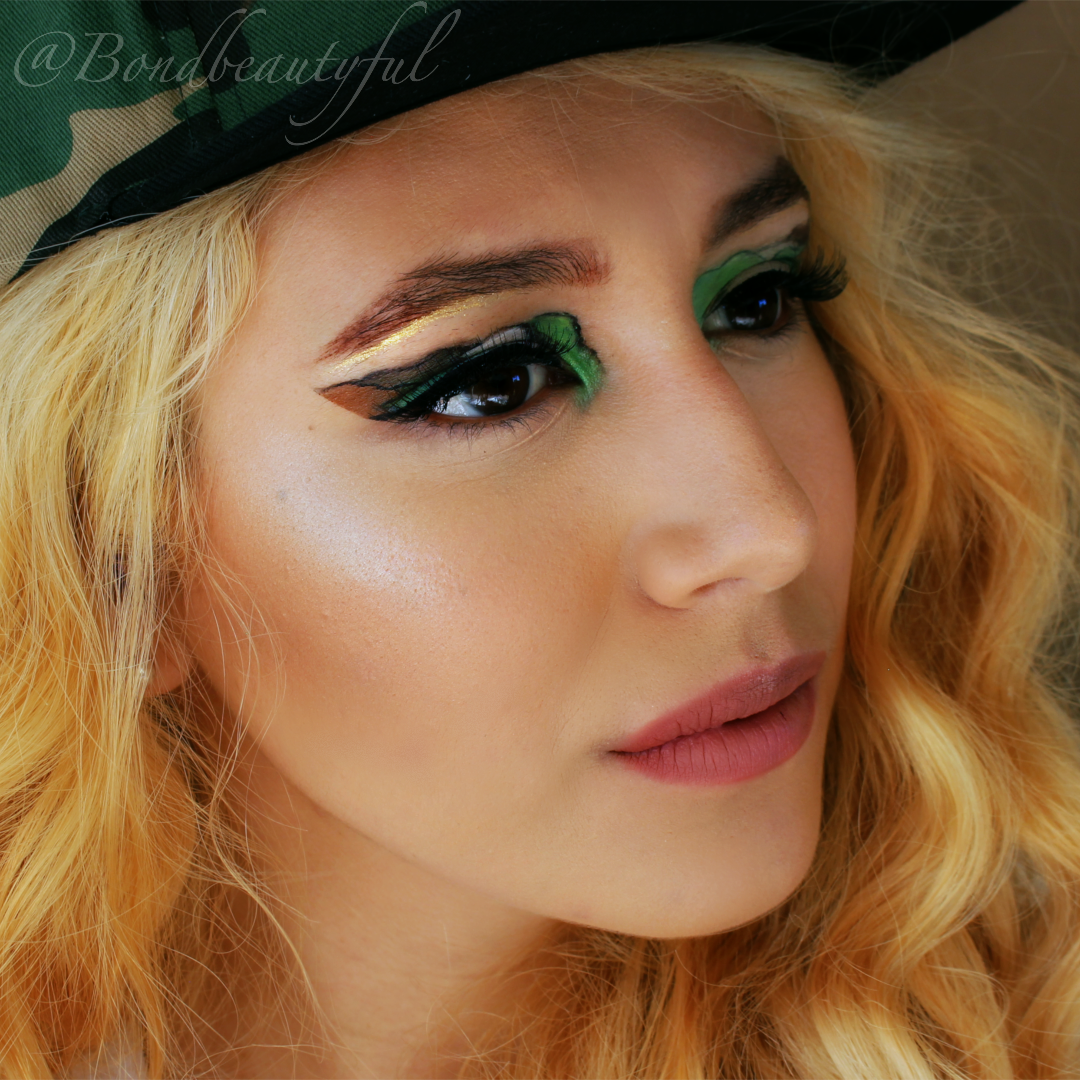
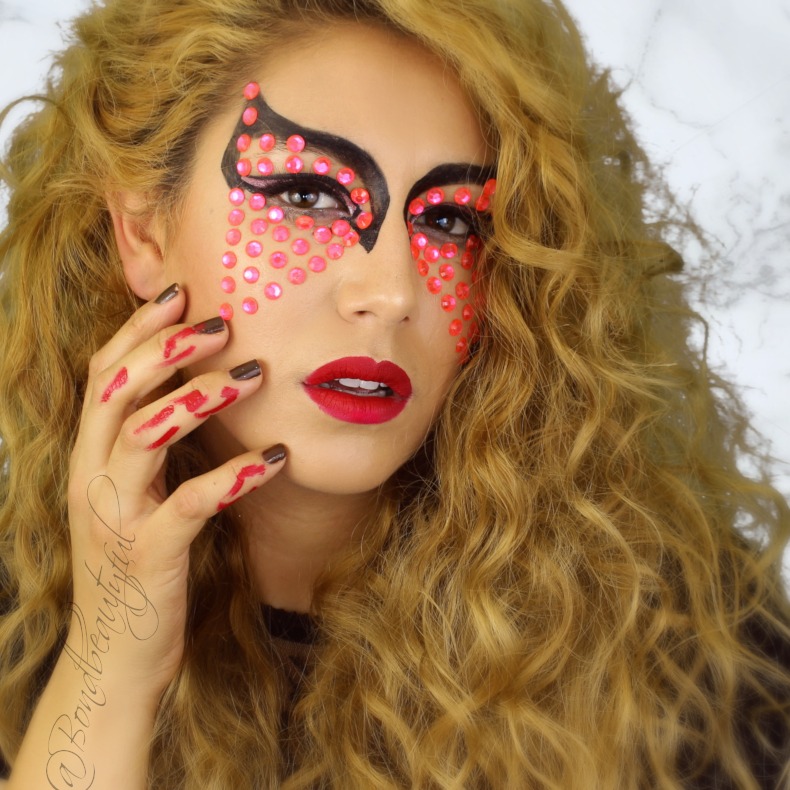
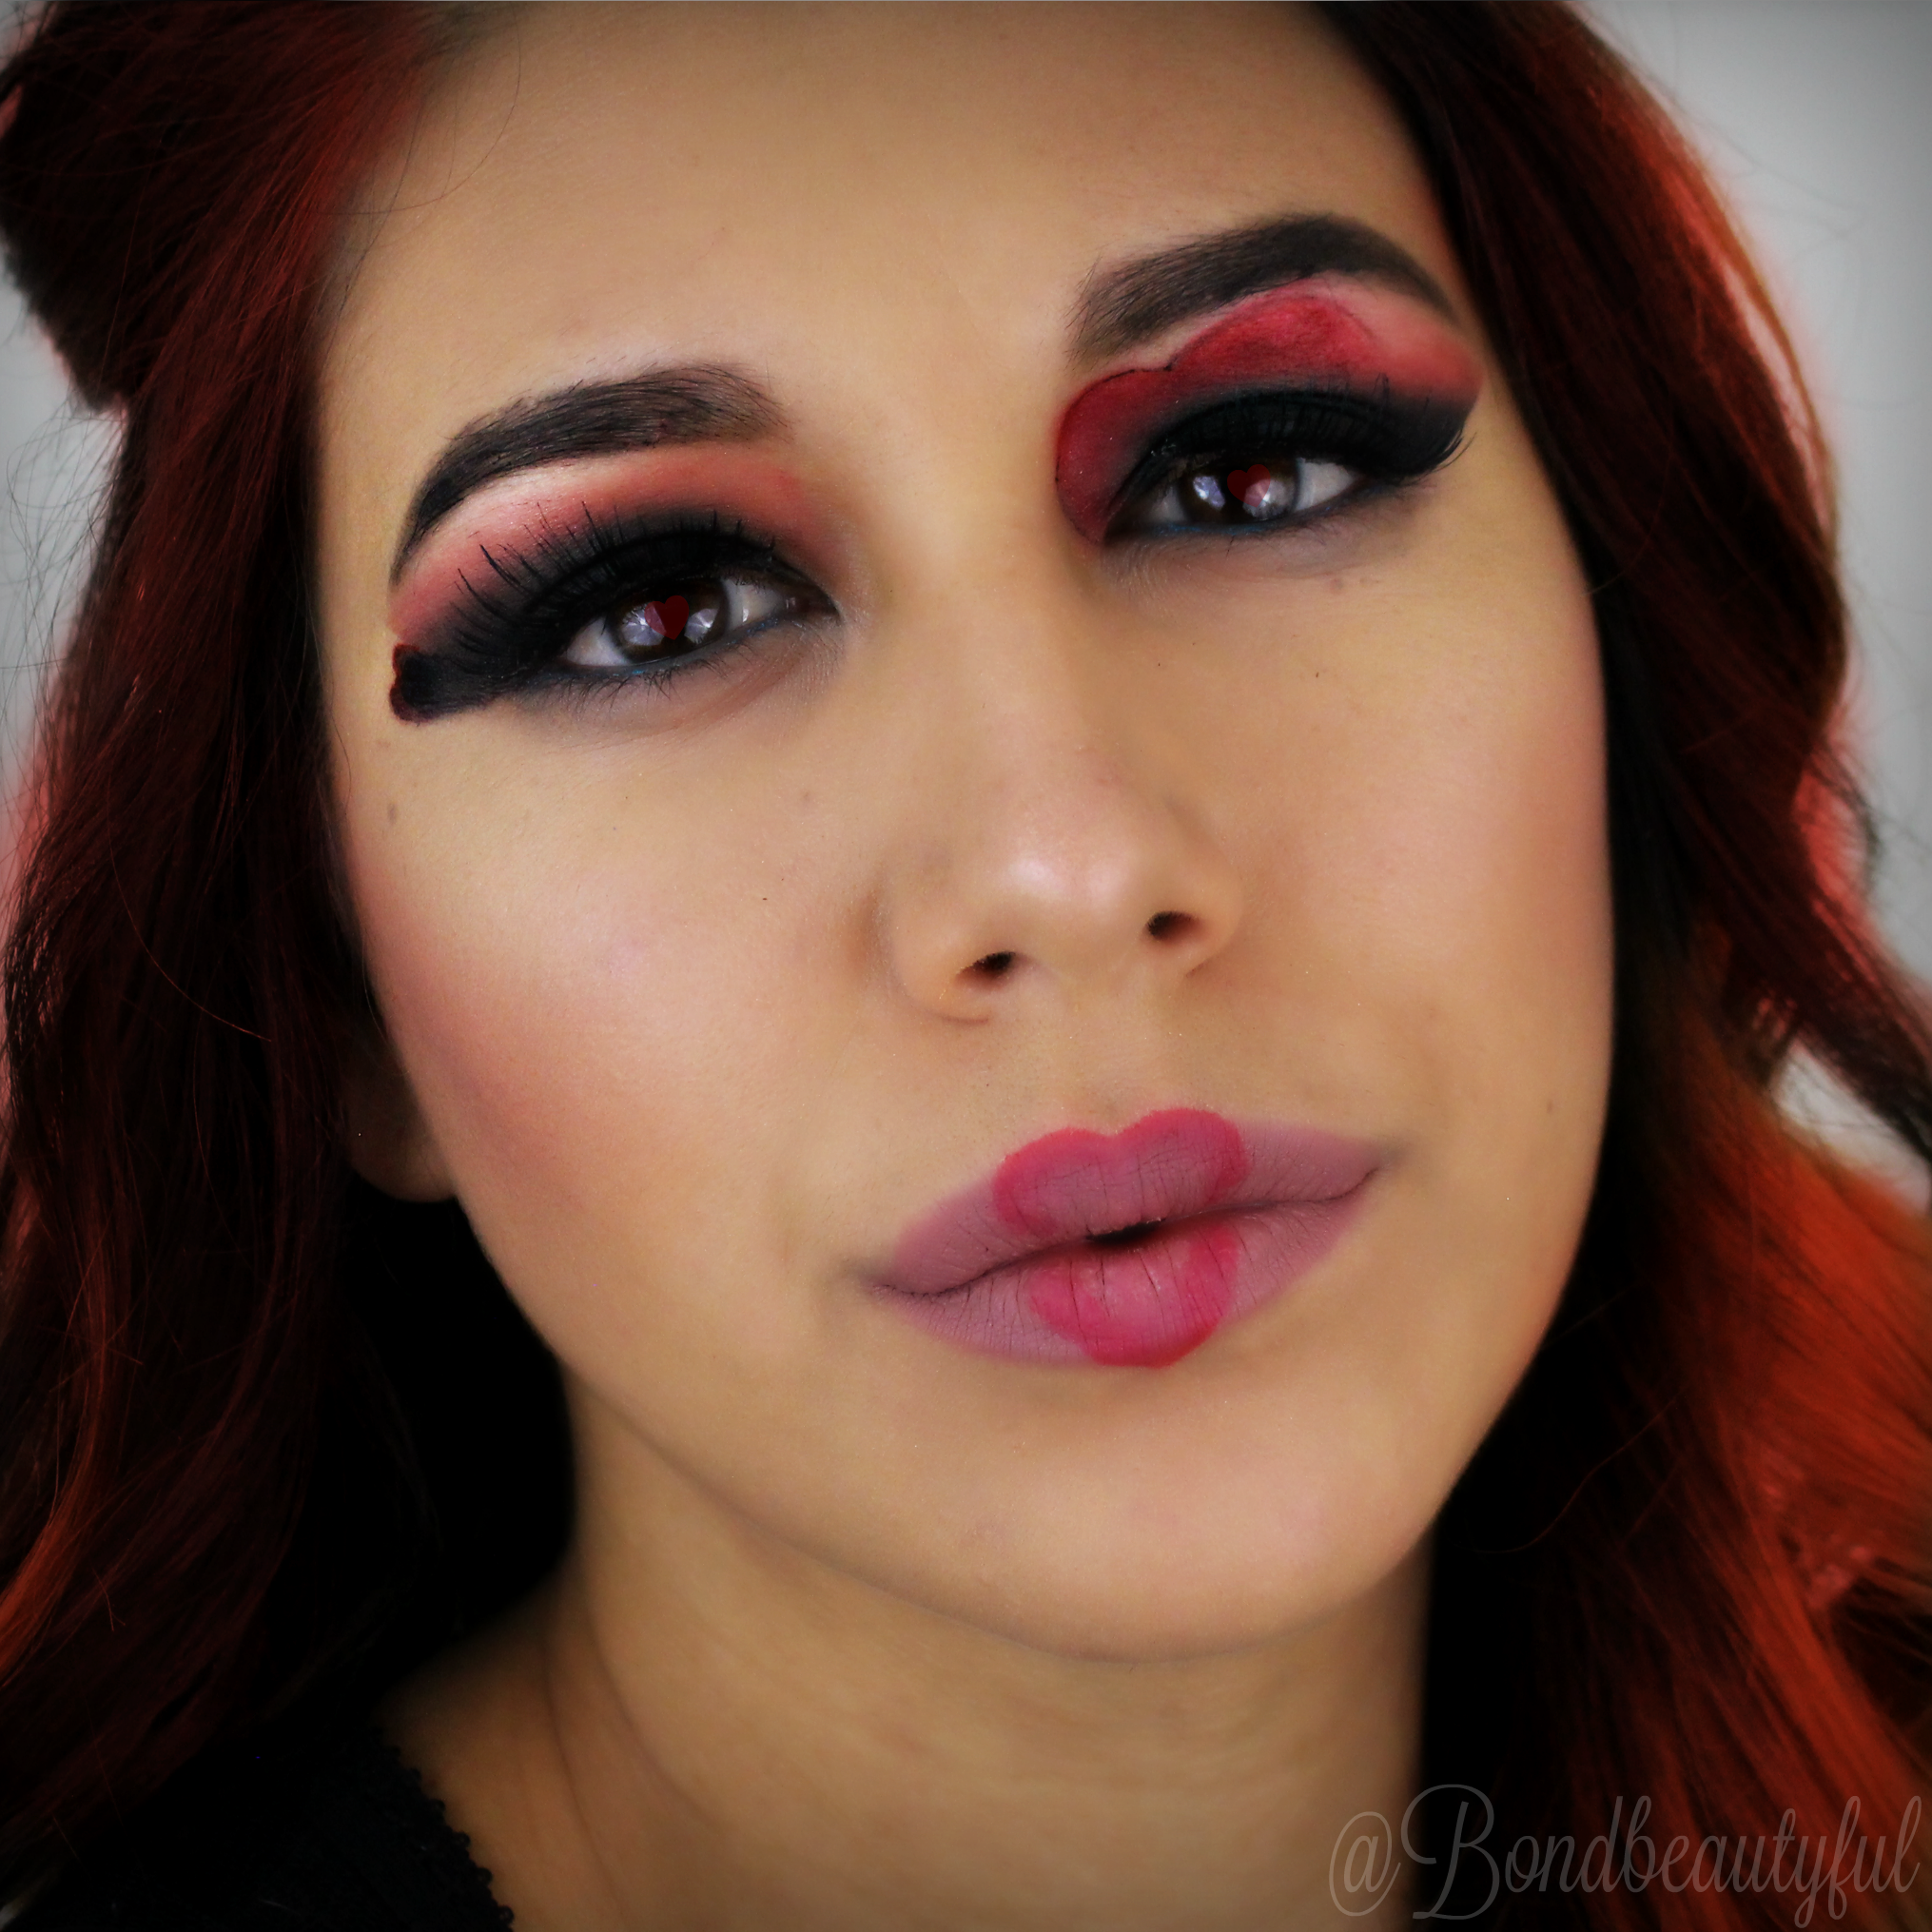
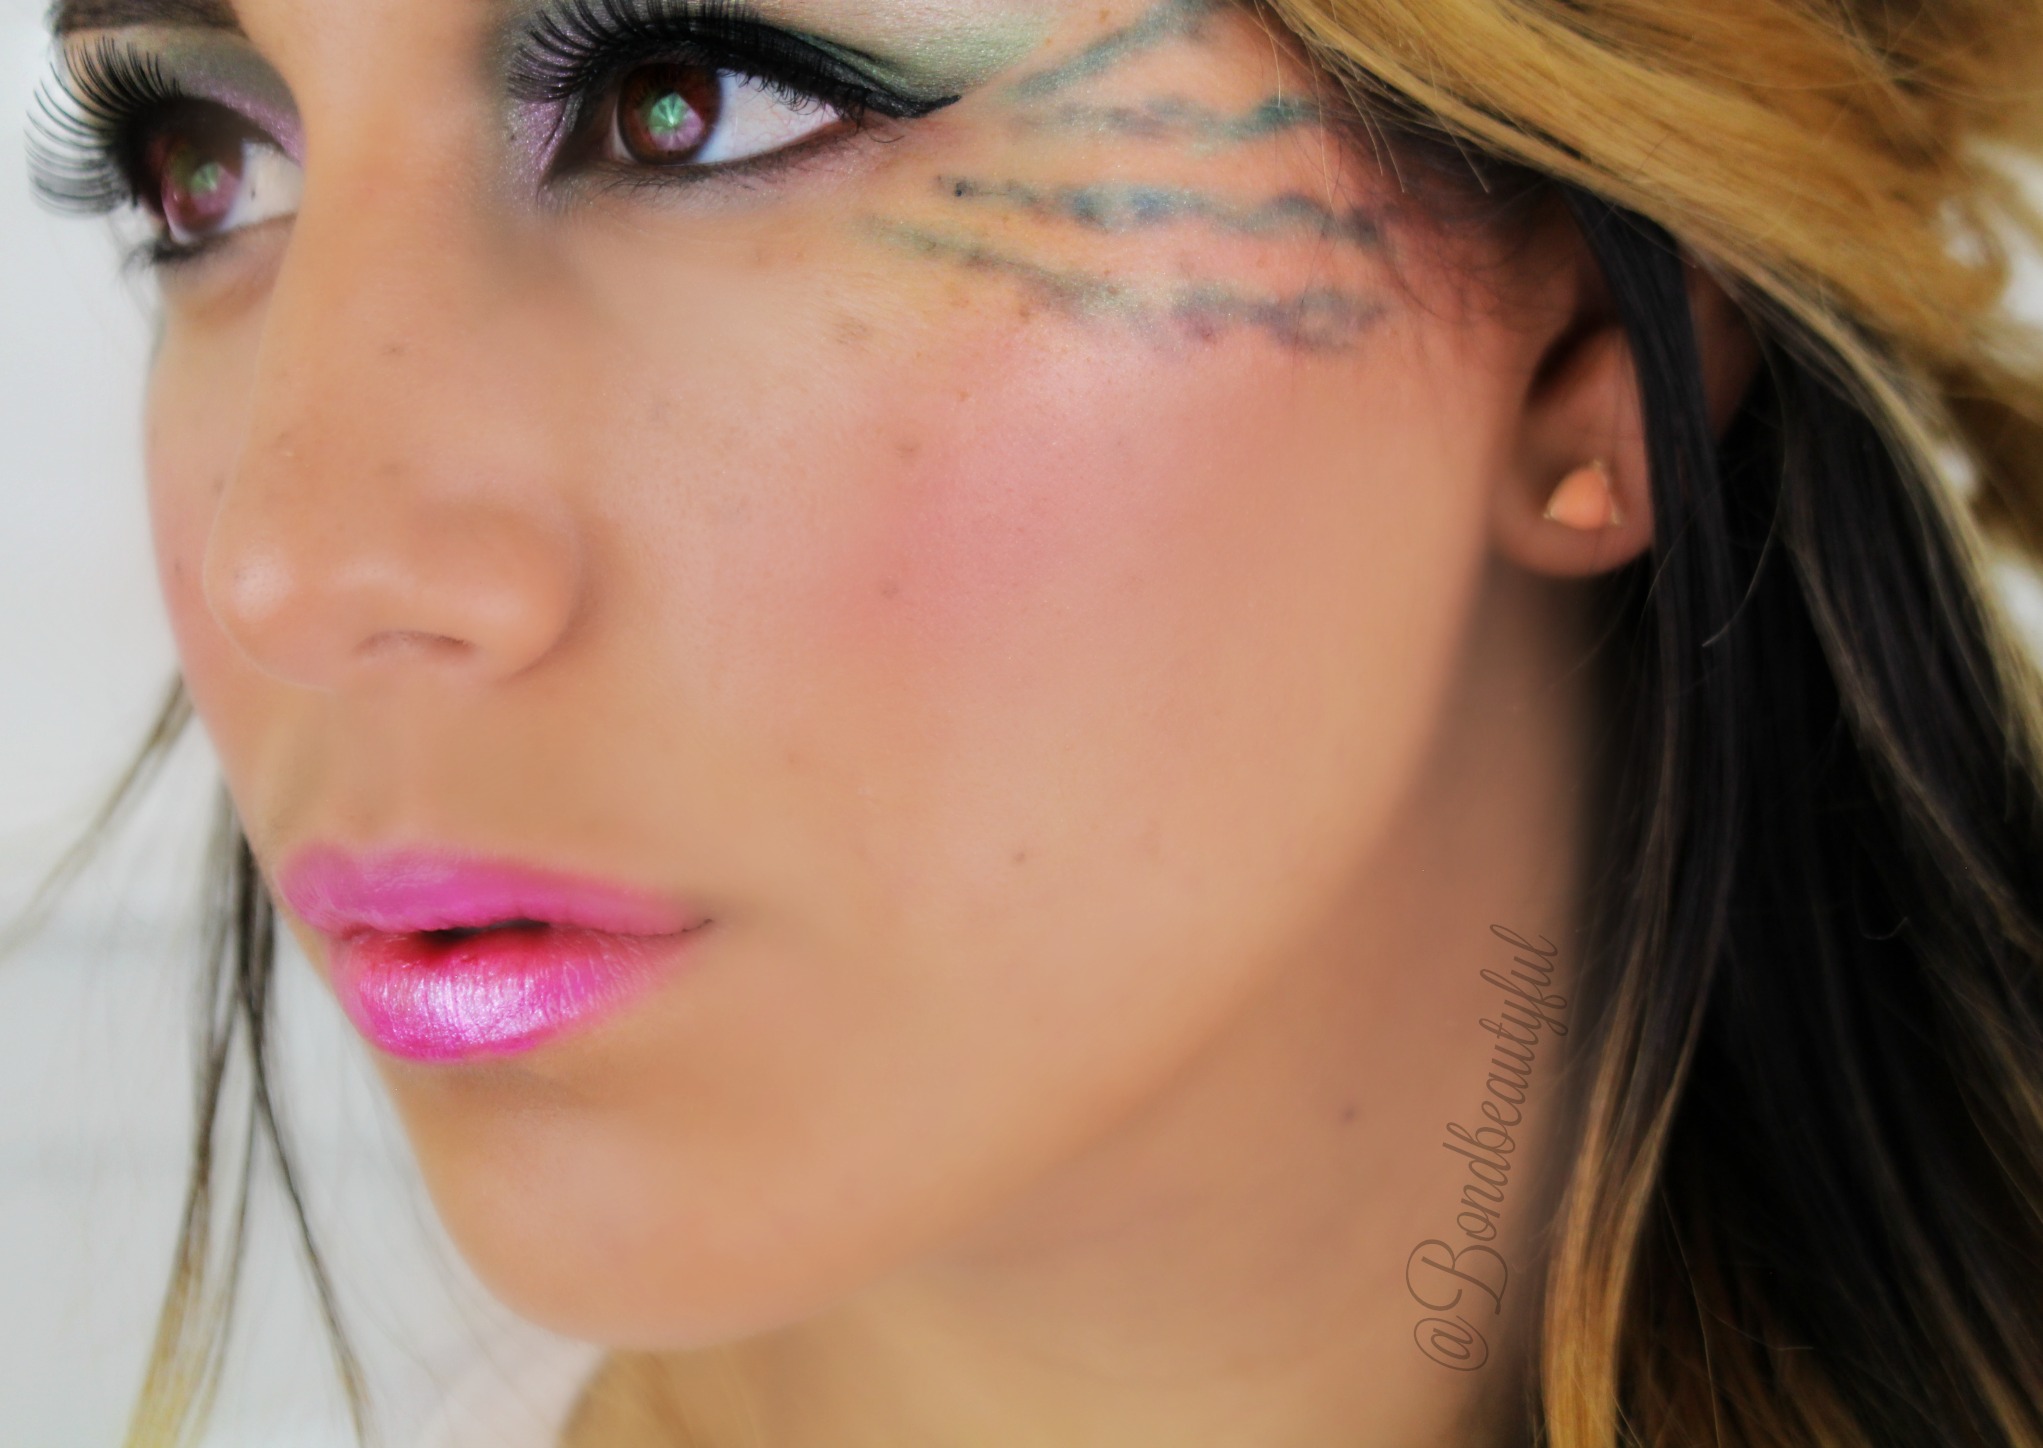
(4th Picture) (5th picture)
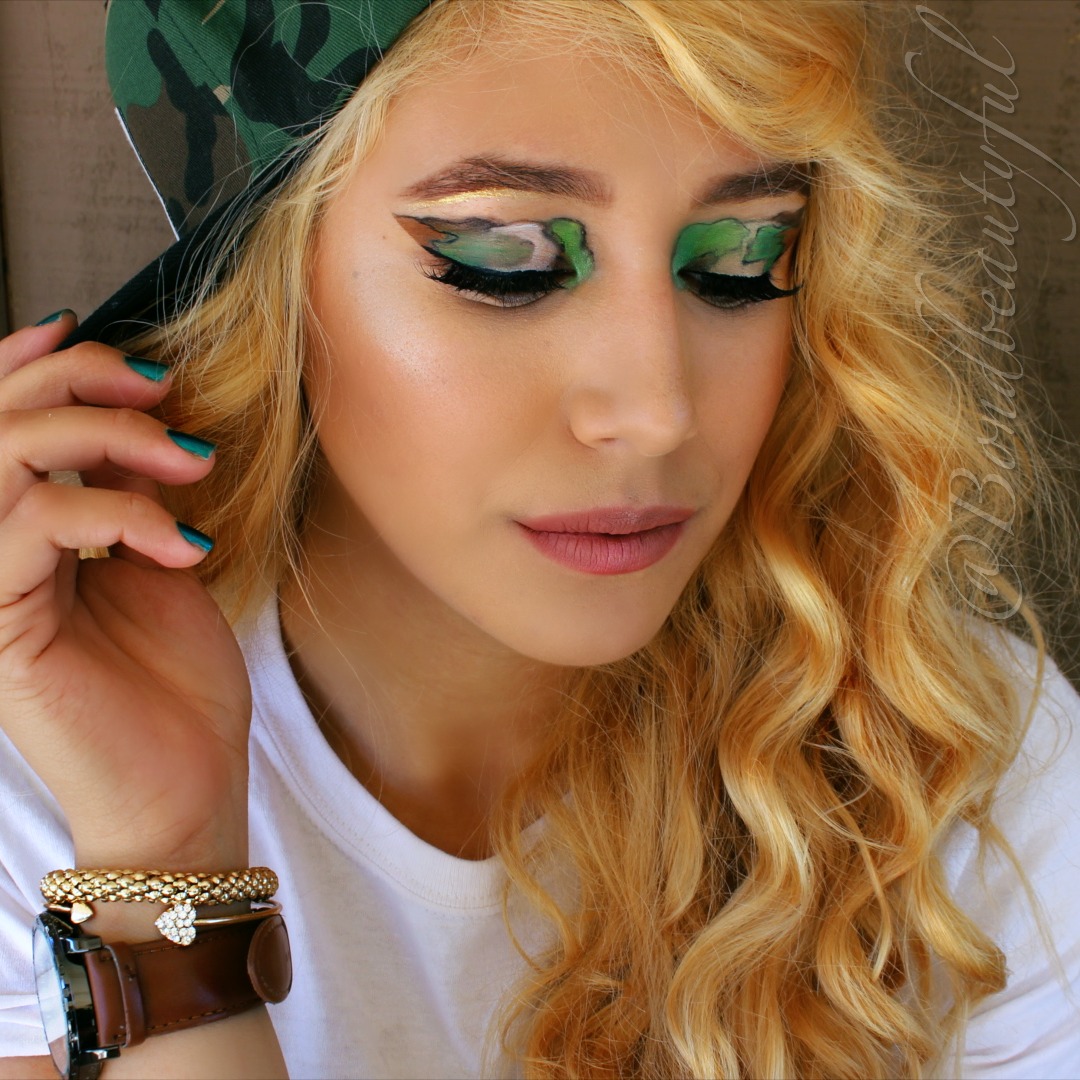
Let me know which ones you like!
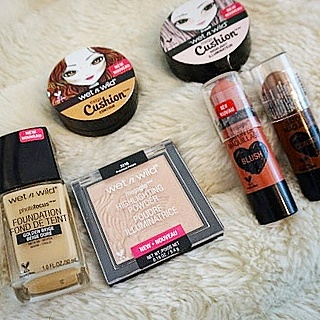
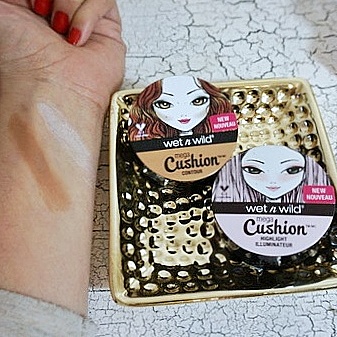
Makeup Details:
- Pacifica Natural Lipstick : Sweet One
- WetnWild Liquid Catsuit: Nudie Patootie
- Lancome Metallic Lip Lacquer: Mirrored Nude (sephora)
- Bh Cosmetics 88 Matte Palette
- HardCandy Look Pro Matte Palette (walmart)
- Morphe x Kathleen Lights Palette
- ISH Contour Palette Light/Medium
- WetnWild Photo Focus Foundation Golden Beige
- Lancome Ultra Concealer Buff N
- Clinique Blush FIG
- Anastasia Beverly Hills Glow Kit THAT GLOW
- Anastasia Beverly Hills Glow Kit Moon Child
- WetnWild Pressed Powder Warm Beige
- KISS Lashes RITZY
- IMAGIC Flash Palette
Clothing/Jewelry Details:
- SolarCity Shirt
SolarCity Camo Hat
Silver Stud Earrings : Forever 21
Watch & Bracelets RUE 21
Nail polish: Zoya : Giovanna
*I do receive compensation if you use my links, if you choose not to feel free to google these makeup products.
This was super fun to do for you guys, I hope you will take a look at the video tutorial I did for it, even if its just the fun intro!
Thank you guys so much for all your sweet comments & support! You are truly amazing! Don’t forget true beauty comes from within, so let your beauty shine!
Until next time,
xoxo, Bondbeautyful