How to get rid of dry patches on your skin
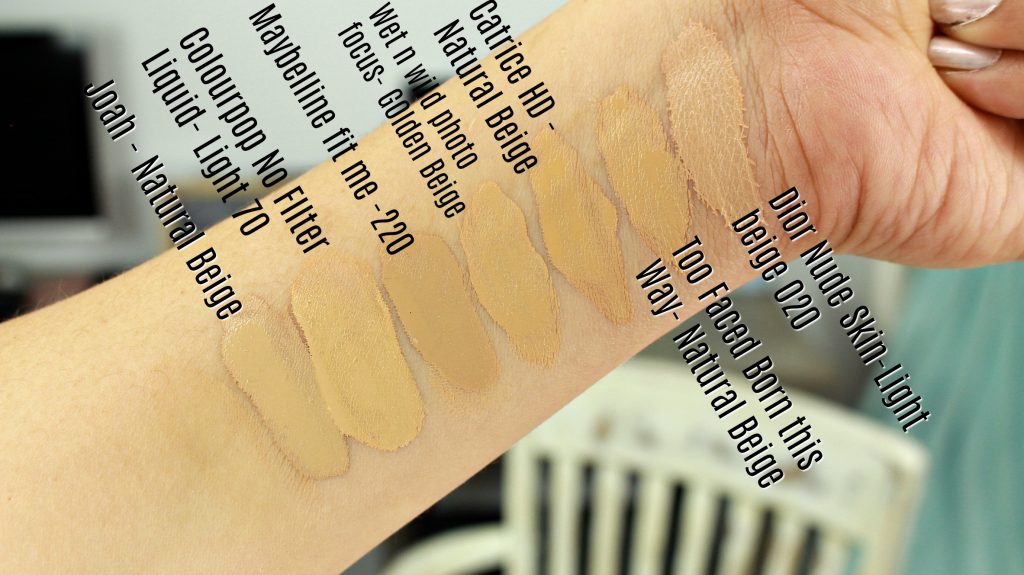
JOAH Truly Yours Natural Finish Foundation Drops Review Swatches Dry Skin
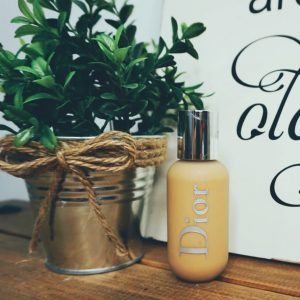
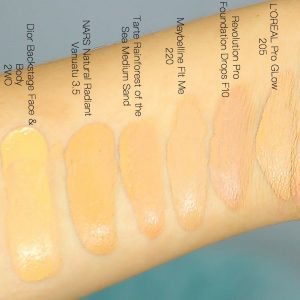
Dior Backstage Face & Body Foundation
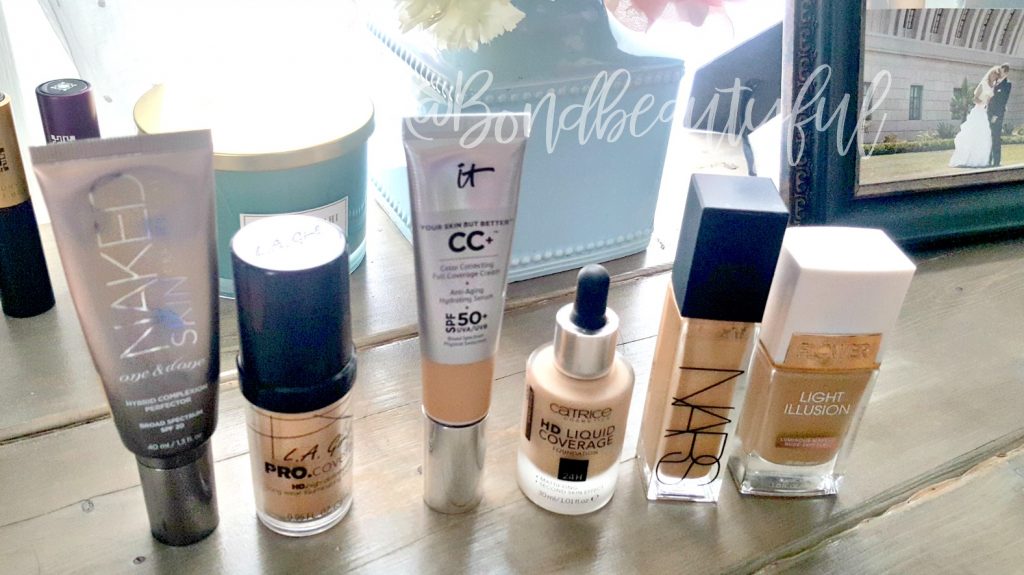
Foundation Week | 7 Days of Foundation
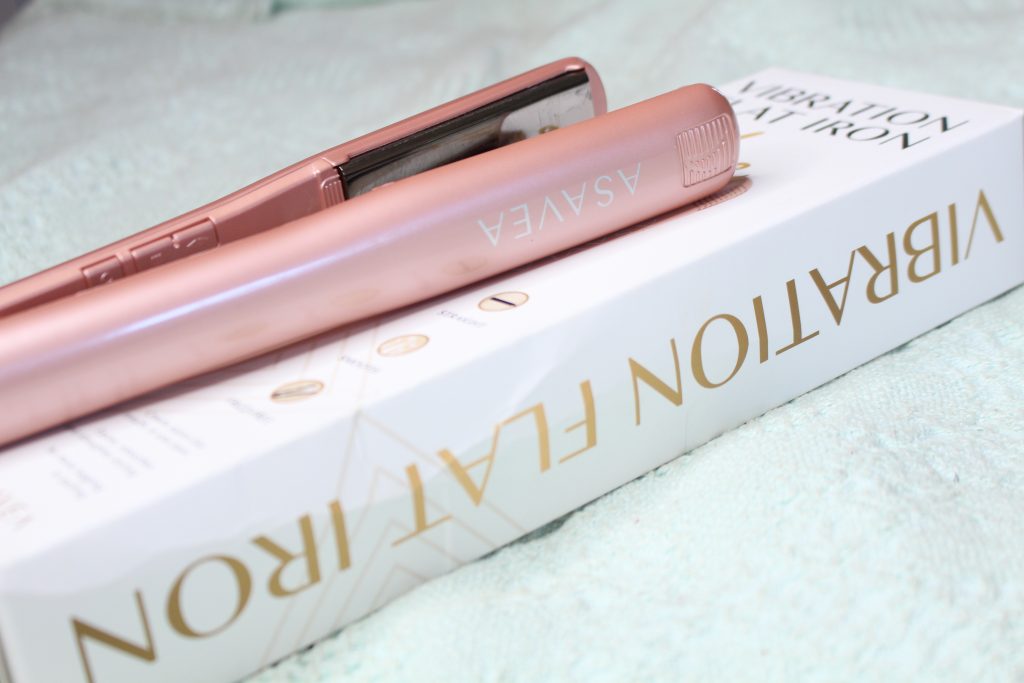
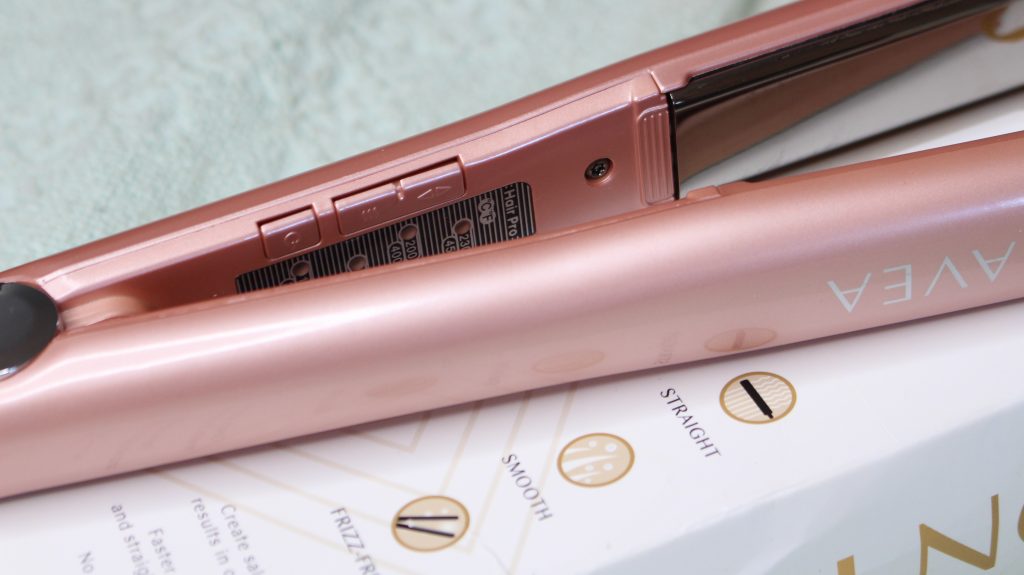
Asavea Vibrating Flat Iron
It has been so long since I have posted and so much has happened that I want to share. I guess that for a later post though. Today lets get down to business with a VIBRATING Flat Iron. I know what your thinking, the products they come out with now a days are crazy! Well this one sounds funky ,but it is absolutely genius! It actually works guys, so Im bringing it to my blog and I am also doing a giveaway.
I have tried this first hand and I love it to straighten or curl my hair. (I will be showing you a tutorial at the end of how to do both)
This is the Asavea Vibe Vibrating Flat Iron Buy it Here.
*Not an affiliate Link
PROS:
- Heats up in 60 sec
- Vibration options which decreases the FRIZZ (I love this for when I straighten my hair)
- Temp 325-450
- Does not pull on my hair! AT ALL
- Ceramic Flat Iron- Gives you consistent temperature
- Swivel Cord So when Curling It doesn’t get tangled in your hair
- Automatic shut off after 60 min
- Fiberglass technology helps retain moisture to your hair
- Affordable (is on sale right now for $49.99)
- You can turn the vibration mode on or off
- When vibration mode is on, it only vibrates when clamped shut!
CONS:
- NONE seriously It works so well I cant think of
As I have been trying this for the past couple weeks I actually prefer the Vibrating mode to be on when Im straightening my hair. The reason why is because it completely eliminates frizz and smooths my hair to the point that It even looks like I put anti frizz product in it when I didn’t. Whenever I curl my hair I don’t use the vibrating mode.
 So I will be showing you how I straighten and Curl my hair in the video below. I honestly do think that this flat iron is amazing and worth a try. I recommend it 100%!
I have another surprise for you first, I’m doing a giveaway! Asavea was so kind to host a giveaway , absolutely free, all you need to do to enter is click here .
Its open until Feb 11, 2018 I will be announcing the winner in the description box of my video below. I will also be emailing you personally so make sure to check your spam folders!!
So I hope you guys enjoy the tutorial and Good luck!
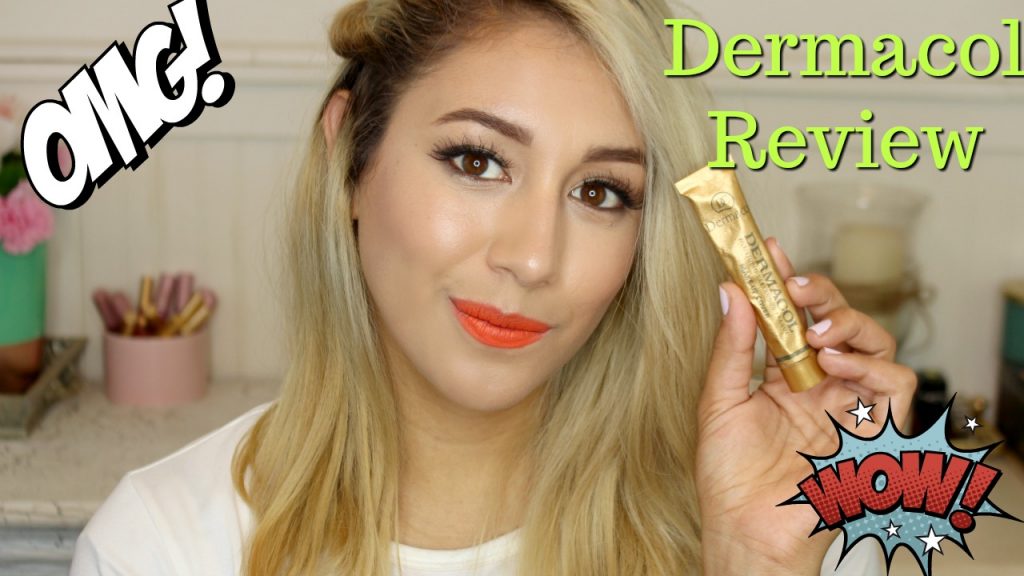
Dermacol Makeup Cover Foundation| Worlds Best Foundation?
Hello my Bondbeautys,
Its a bran new day and we are doing #foundationweek. Basically it is where I do A new foundation review/first impressions post every day or 7 days. I started this on my Youtube channel and really wanted to do some blog posts to go along. Plus I know you would really enjoy some good written details.
Today I wanted to share this FULL FULL COVERAGE FOUNDATION. The Dermacol Makeup Cover Foundation*. This is seriously the Worlds most full coverage foundation, I’m not exaggerating. My Perfect shade match is Dermacol 221, If you want to see what shades of foundations match me well then look in the description box of the Video below.
*I do receive compensation for clicking my link, if you do not want to click on my link then feel free to google Dermacol Foundation.
So why is this foundation the Worlds Most? It covers everything! To show you I went through and completely marked up my face with a red marker. Why Red? well its more realistic because often times acne & imperfections are red. I know its genius! This foundation smoothed over everything so easy, I still can’t believe it. The best part is that you only need a pea size amount for you entire face. Less is more with this one.
Lets talk Pros & Cons:
PROS
- Use thin Layers & covers Everything
- Long Wearing
- smooths over imperfections and leaves a dewy/natural finish on the skin (Healthy Glow)
- Applies Good with Brush Or Sponge (I personally love using a Brush)
- Perfect for Pictures or an event
- If you want to wear it for everyday you can mix it in with your moisturizer
- DOES NOT OXIDIZE
- affordable foundation
CONS
- Feels A little Thick on the Skin
I think this is a good foundation for everyone to have. If you have dry skin or Oily skin I think you can wear this. If you have Oily skin make sure to powder with a mattifying powder or use a mattifying primer. Now this is why I think everyone should have this, even if you do not use this all the time. This is a great foundation to use to spot conceal spots around your face. So if you need more coverage on your forehead apply your regular foundation all over and only apply this on the area on your forehead you need more coverage. I give you guys my stamp of approval and the best part is how affordable it is. See it Here.
If you want to see how this foundation wears through out the day, I did do a full First impressions video where I take you with me along my day so you can see for yourself how it Wears.
So I hope you enjoyed my review I will be back tomorrow to share another blog post. If you want to see how well it covers see the video below!
Cartoon Liner Meet Bronze Goddess
Hello My Bondbeautys,
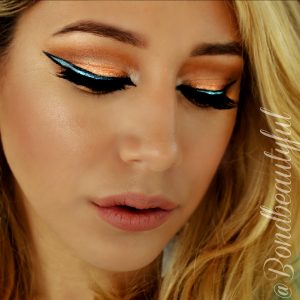
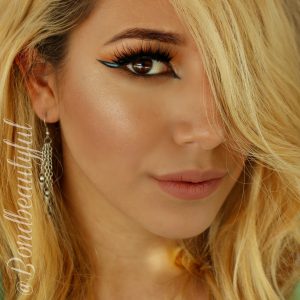
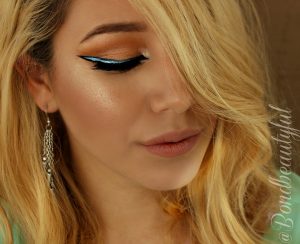
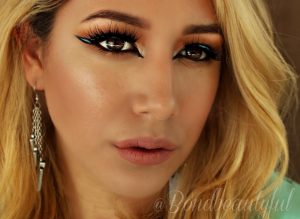
Another beautiful Friday and I’m ready to share this fun, trendy makeup look with you! Im going to cut down on chit chat and lets just get started. I have been obsessing over the Cartoon Eyeliner Trend that has been taking over Instagram. I wanted to recreate a summer bronzey look & combine it with Cartoon Liner. I love how it turned out and I know you will too. (Full Tutorial Below)
I started out with a Gold Bronzey Eyeshadow look and added a pop of color with the liner. Surprisingly Cartoon liner is really simple! I just made a super bold cat eye shape with Teal Gel Liner. Then I outlined it with a black eyeliner. It took time and patience but it was worth it. Take your time, its ok if its not perfect. In the tutorial below I show you how I to fix the lines if they arn’t as straight as you would like them to be.
Heres a list of the products I used for this makeup Look.
- Too Faced Bronzer Wheel- Summer Love Bronzer & Pink Leopard
- Ulta Cheek Color : Flushed
- No7 Lift & luminate foundation
- Morphe X Kathleen Lights Palette (Use any warm bronzey, gold shades you have!)
- L’OREAL Infallible Gel Liner Black
- Hua Mian LI Waterproof Liner 11: Wish APP ( Nyx Liners are good too!)
- Milani Lipstick Matte Naked
- Becca Skin Perfecter OPAL
- WetnWild Contour Stick Where’s Walnut
- NYX Micro Brow Pencil Ash Brown
Don’t forget to see the tutorial below
Also there is a GIVEAWAY GOING ON. Im giving away a Asavea Gold Titanium Curling Wand All you have to do is click Here to enter. Its free and it going on until July 1st.
So tell me whats your favorite Makeup Trend of the moment? COMMENT BELOW and lets get a fun conversation going!
Lipsense Is it REALLY ALL its hyped up to be?
Hello my Bondbeautys,
Today I’m posting about a product that really peeked my interest through Facebook & instagram! Lets cut to the chase , we are talking about Lipsense I know you all have heard about this. You have probably been invited to a lipsense party at one point. Its suppose to be this magical lip color that lasts on your lips all day long. It is suppose to be immovable so immovable that if you rub your fingers against your lips nothing will come off!
Well today we are going to talk about if its true, how long it lasts & at the end I will even show you in a video!
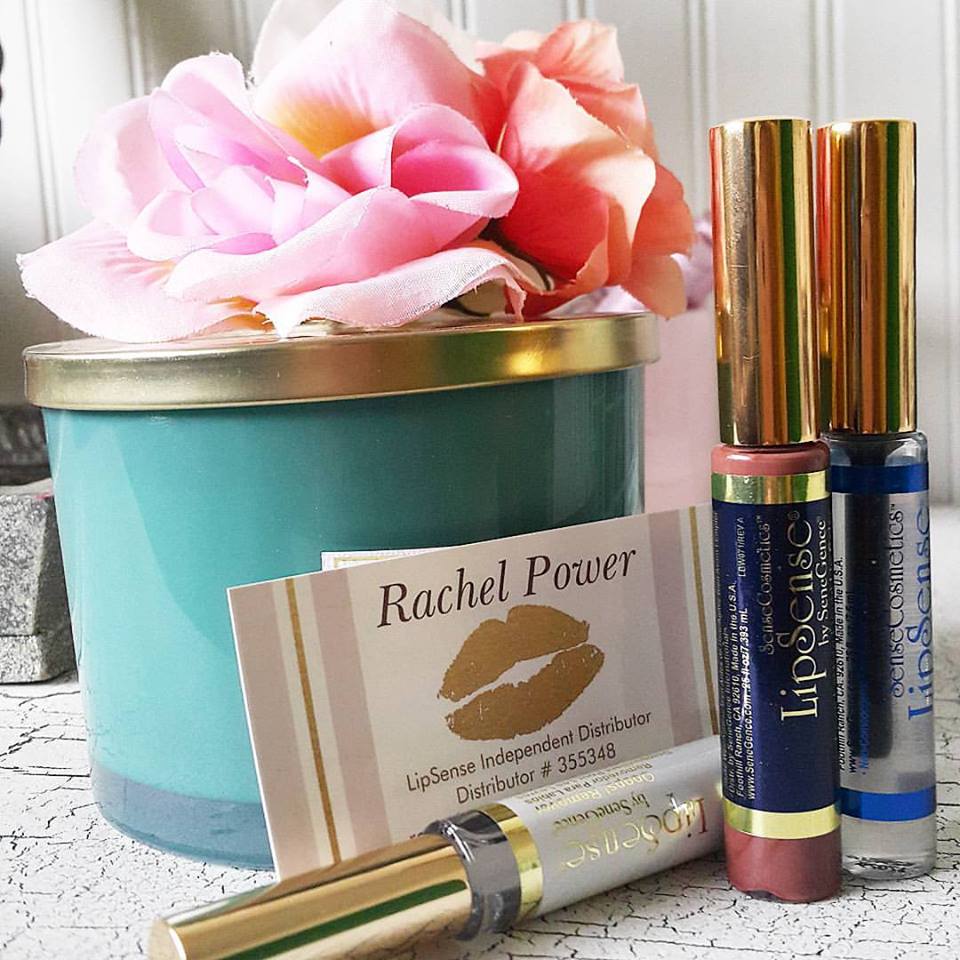
I have the starter kit (as shown above) it comes with a lip color (Bella shown), Moisturizing Gloss, & Oops remover. I received mine from Rachel Powers who did a fabulous job at packaging everything nicely and shipping it out to me quickly. I received it about 3 days after I ordered it!
Lets start with what the company claims shall we…
- Color Lasts anywhere from 4-18 hrs
- Waterproof
- doesn’t kiss off,smudge off, rub off or budge off
- doesn’t dry out your lips, instead it restore moisture to your lips
- Thinner than water & immediately evaporates on the skin
- 47 different shades & multiple finishes
So with this in mind I tested this out several times and did a full wear test with check ups in the video below.
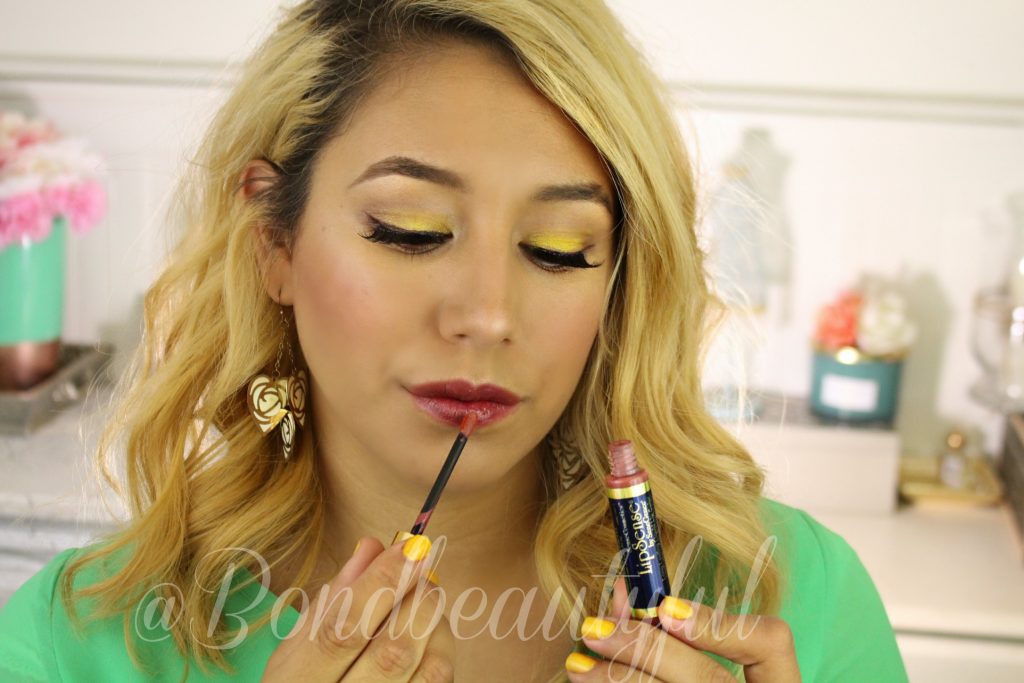
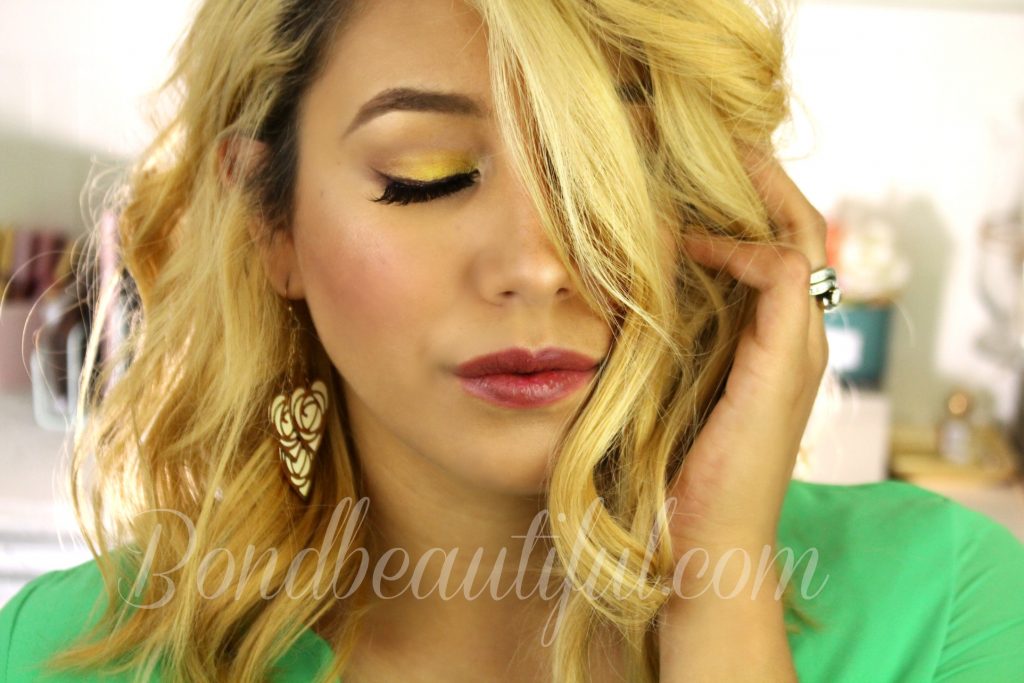
My conclusion is: This is truly amazing! I love it so much. It really does do everything it claims, which is rare to actually find a product that does that. This is my go to date night lip color because it does not rub off or kiss off! It lasts through eating and never leaves a lip print on a glass. I especially love the Moisturizing Gloss it does a really good job of sticking to the lips but not making your lips feel sticky. Also even when the gloss does come off I noticed my lips still felt moisturized and healthy.
If you have been curious or wanting to try Lipsense I definitely think you should! I love it so much I’m going to go back and get a couple of different colors. The only Con I found is that you have to go through a distributer. I went through Rachel Powers who is such a sweet amazing lady. She packaged everything beautifully even included a tips & tricks page! Just contact her and order some! Its so easy and YES she ships it right to your home! click to go straight to her Facebook.
Anyways thats enough chatter see my video review & wear test below!
Have you tried lipsense? If so whats your favorite color? if not what color would you get if you did ?
Hanna Marin Hairstyles from Pretty Little Liars |Asavea
Hello my Bondbeautys,
I know its been such a long time, but I promise I’m back and all my technical problems are behind me. So I know what the question is that you probably have.. What have I been doing? Well I’m glad you ask I have been binge watching Pretty Little Liars. I am not kidding in no way shape or form. I have grown rather obsessed with the show. If you haven’t watched it let me fill you in on the plot. Basically in a small town full of secrets where a group of 5 girls keep lots of secrets. One day one of the girls goes missing and a year later is found dead. The whole question is who killed her? and why do the other 4 girls keep getting texts from a person named A. Honestly it has kept my husband and I on our toes.
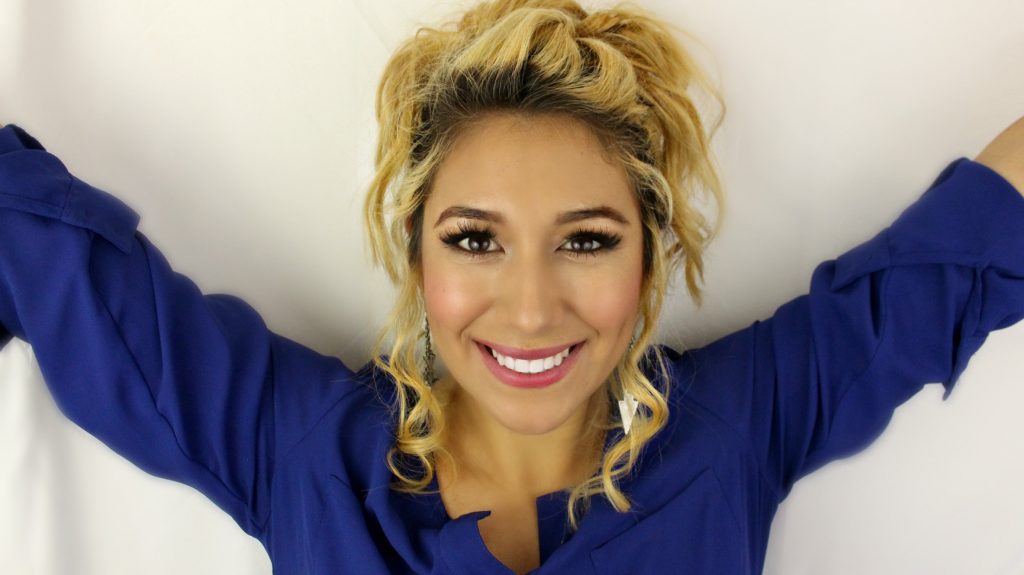
So what does that have to do with today? Well in Season 3 ,Hanna Marin, A character from the show cuts her hair and has some beautiful hairstyles for short hair. Some of which I want to recreate and show you how to do.
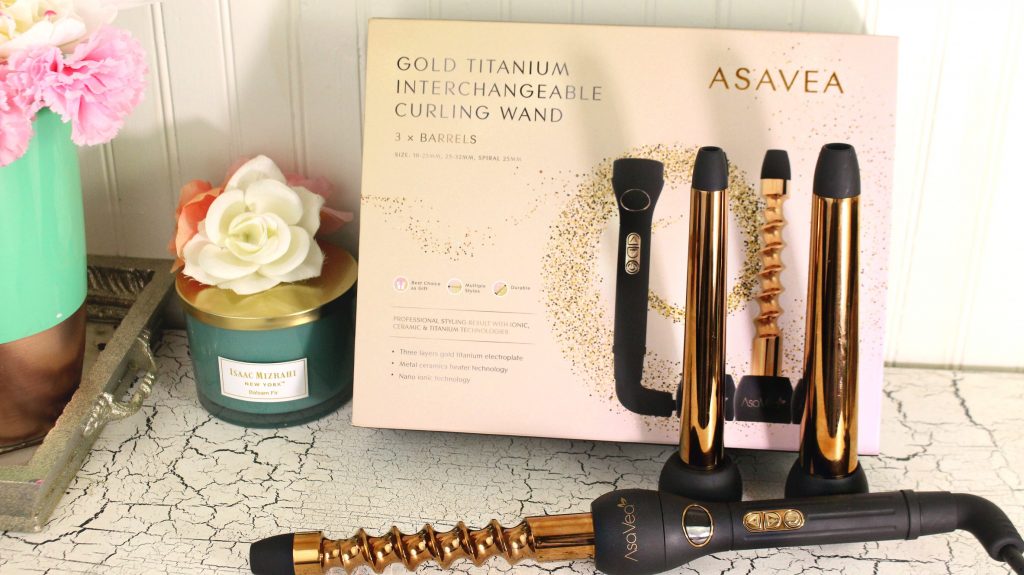
Not only do I want to show you these hairstyles, but I also partnered up with Asavea * To bring to you todays video & blog post. They recently launched a new Hairstyling tool and you guys seemed to really love it when I shared their hairstyling straightener brush. So I thought I would also share this beautiful Gold Titanium Hair Curling Wand.
(* This video & post is sponsored, so I do receive compensation for sharing this product with you. But all my opinions are honest and I truly do love this Hair Curler and recommend it.)
So think of this as a review & hair tutorial in one! Also stay tuned to the very end because, just like with the Straightening brush post, I will be GIVING ONE of these AWAY.
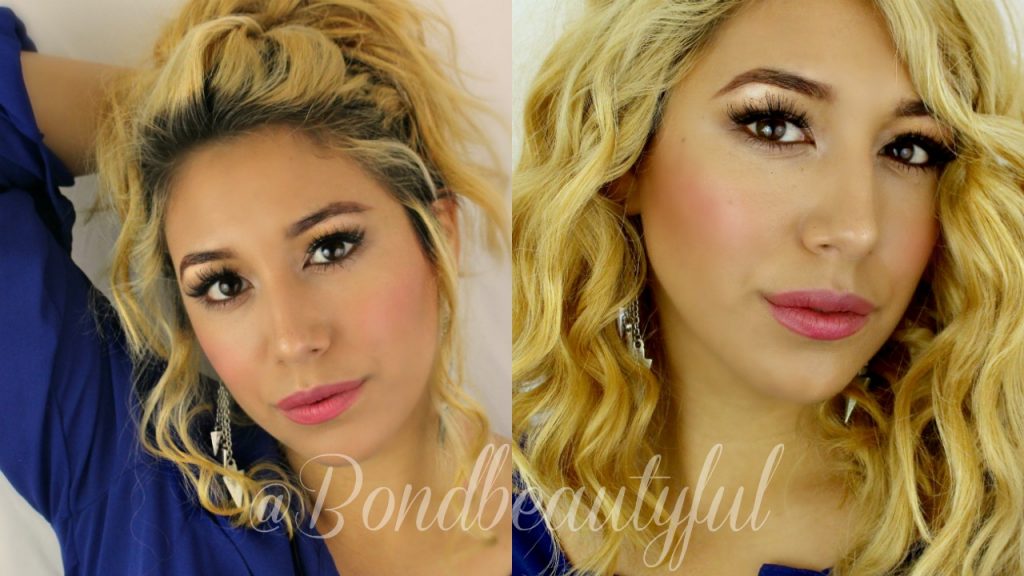
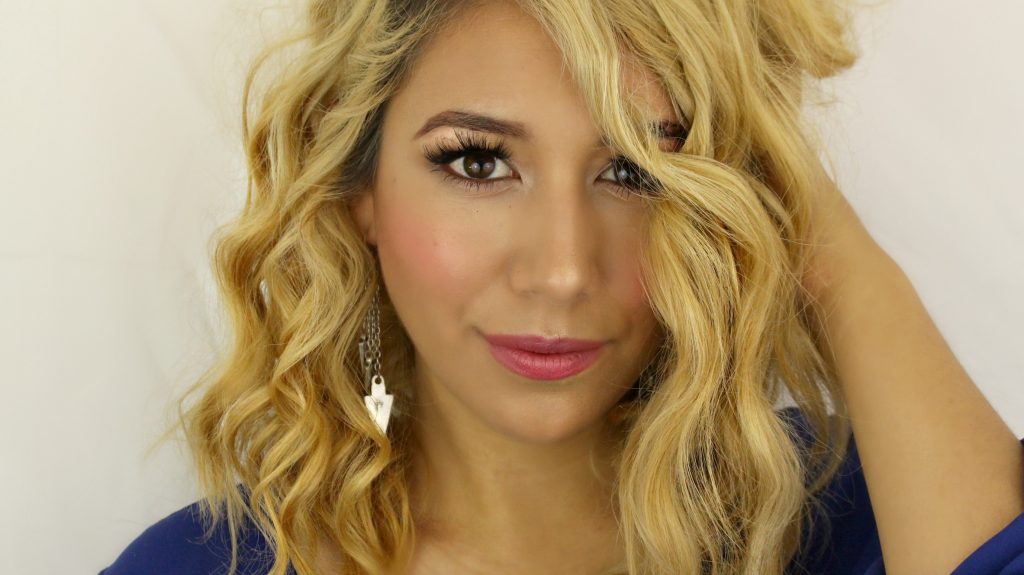
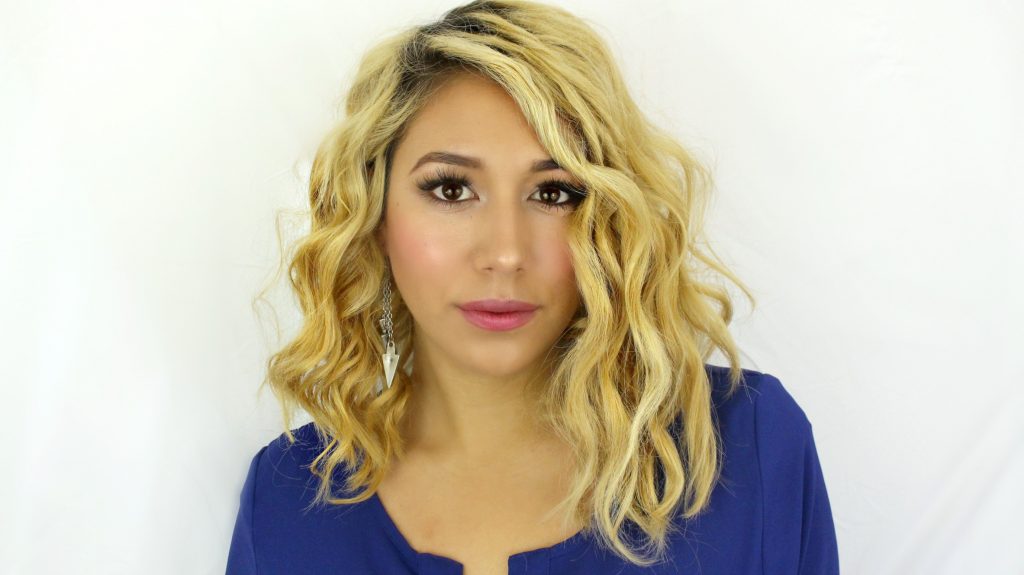
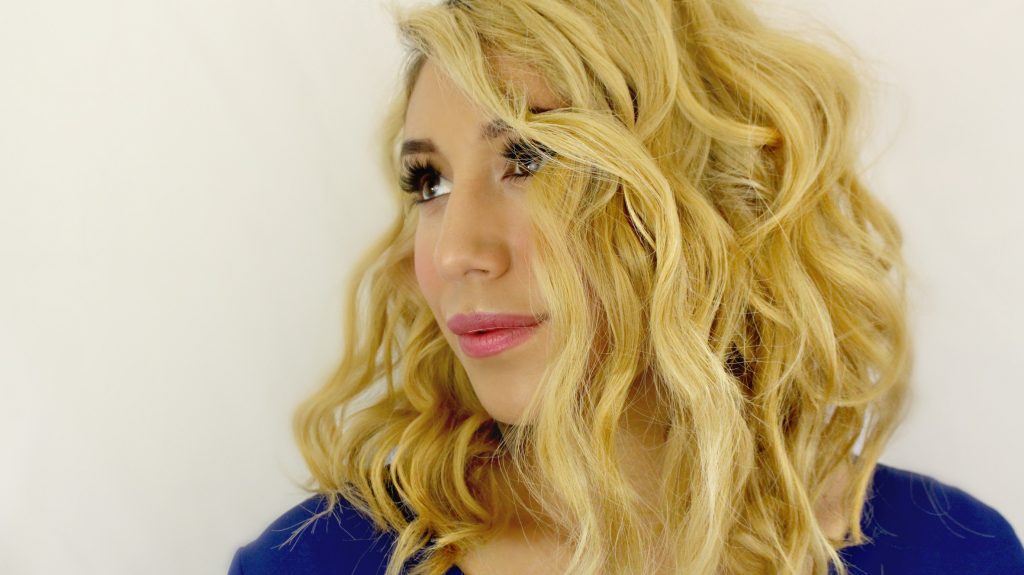
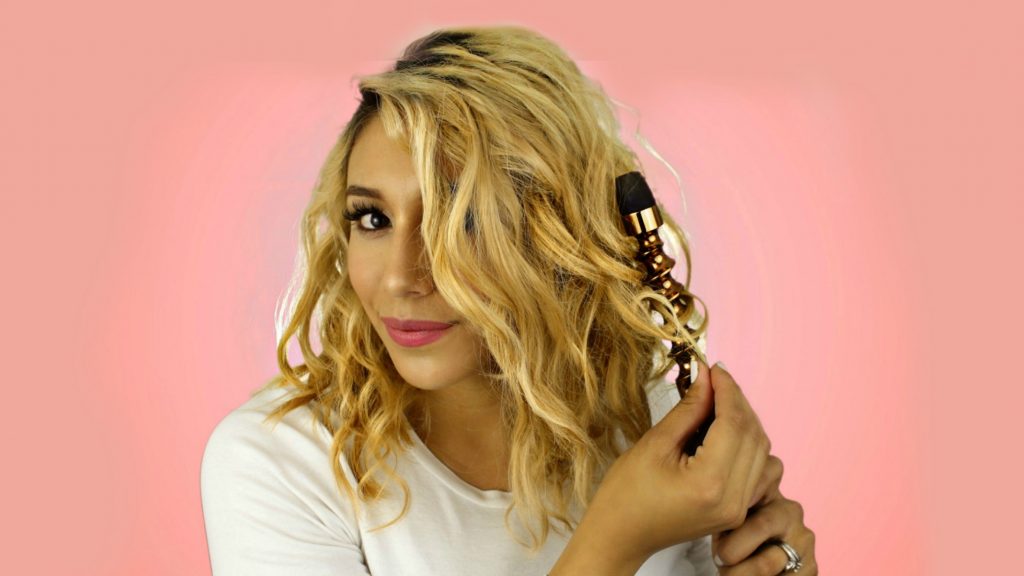
In the video below I will be showing you how to do this textured, curly, messy Lob hairstyle. This is a iconic Hanna Marin Hairstyle. She rocks this textured lob more than any other hairstyle.
This was so easy to do and surprisingly quick. I used the Spiral Barrel to achieve it and I love how it turned out. What I love most about this hairstyle is that you can really dress it up or down just by adding more texture and breaking it up more with your fingers.
So here are some of the Asavea Hair curler Pros:
- The Gold & Ceramic material help to keep your frizz under complete control
- It heats up quickly and cools down quickly
- Your hairstyle lasts longer than other curlers (or at least it did for me, It lasted me 3 days and I didn’t have to recurl my hair at All!)
- Its beautiful! I know you love the GOLD!
- It has a Swivel Cord so Its easy to use without the cord getting caught or in the way.
- The controls are easy to use and you can decided how hot you want the curler to be.
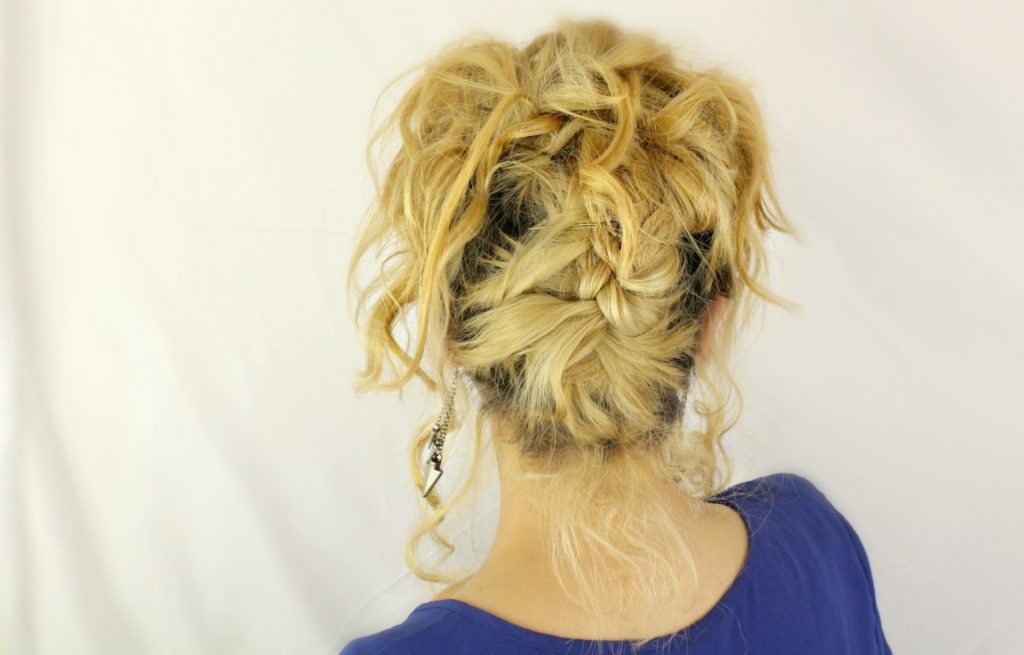
The Second hairstyle I did is a messy, easy undo. I like to do this on day three when my curls are still intact but maybe not as voluminous and I feel like putting my hair up. All you need for this hairstyle is a teasing comb & some bobby pins.
I love this because you can again make it as messy or as formal as you want. Its perfect for short hair because the braided back keeps all those little short layered hairs into place without bobby pins.
Ok ok, pictures are nice but lets see how to actually accomplish this. I promise it looks like I spent a lot of time doing this hairstyle but I really didn’t!
So lets talk about the GIVEAWAY:
- Click Here to Enter
- Will Be open until JULY 1st
- The winner will be chosen at Random , so share with your family & friends! Everyone has an Equal chance to win!
- I will announce the Winner here, and in the Description of my Video!
- I will also try to Email or Message you!
I hope your excited!! Thank you guys for sticking with me during the UPs & Downs. Im so glad to be back and Blogging again!
Please comment below and Tell me What show you have been watching or obsessing over lately?
