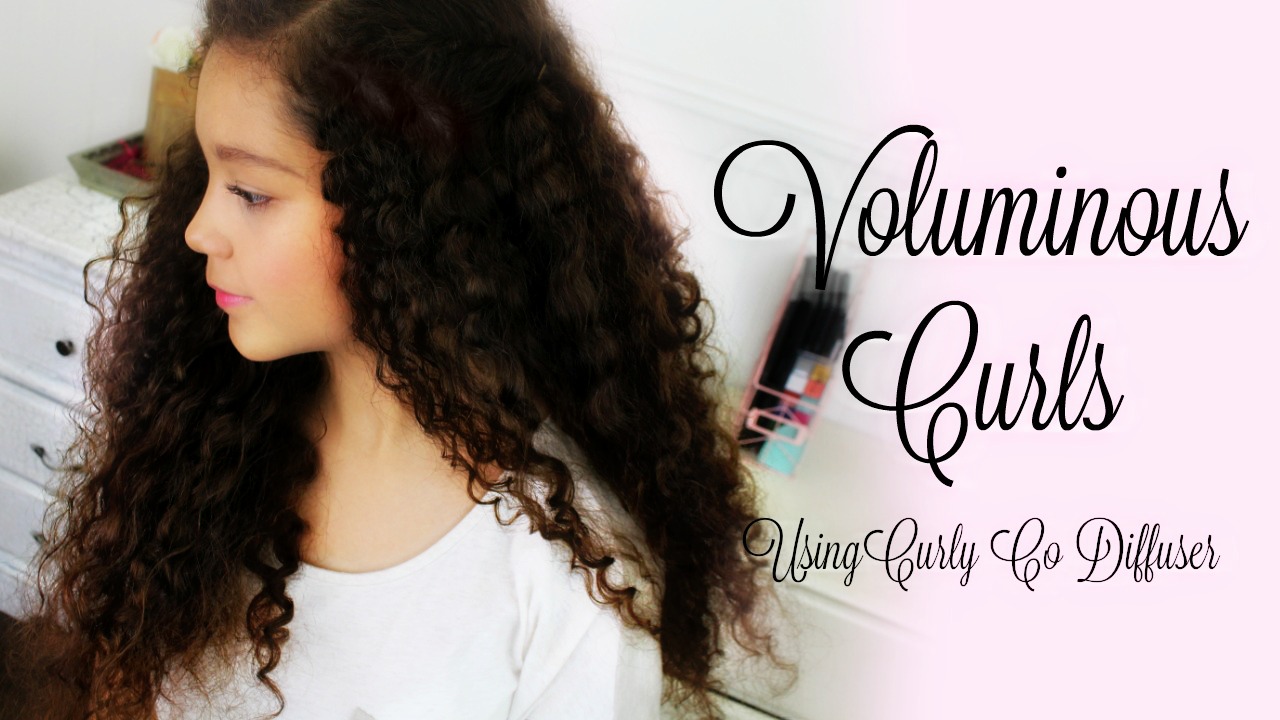
Hello my Bondbeautys,
Its a bran new day and we are doing #foundationweek. Basically it is where I do A new foundation review/first impressions post every day or 7 days. I started this on my Youtube channel and really wanted to do some blog posts to go along. Plus I know you would really enjoy some good written details.
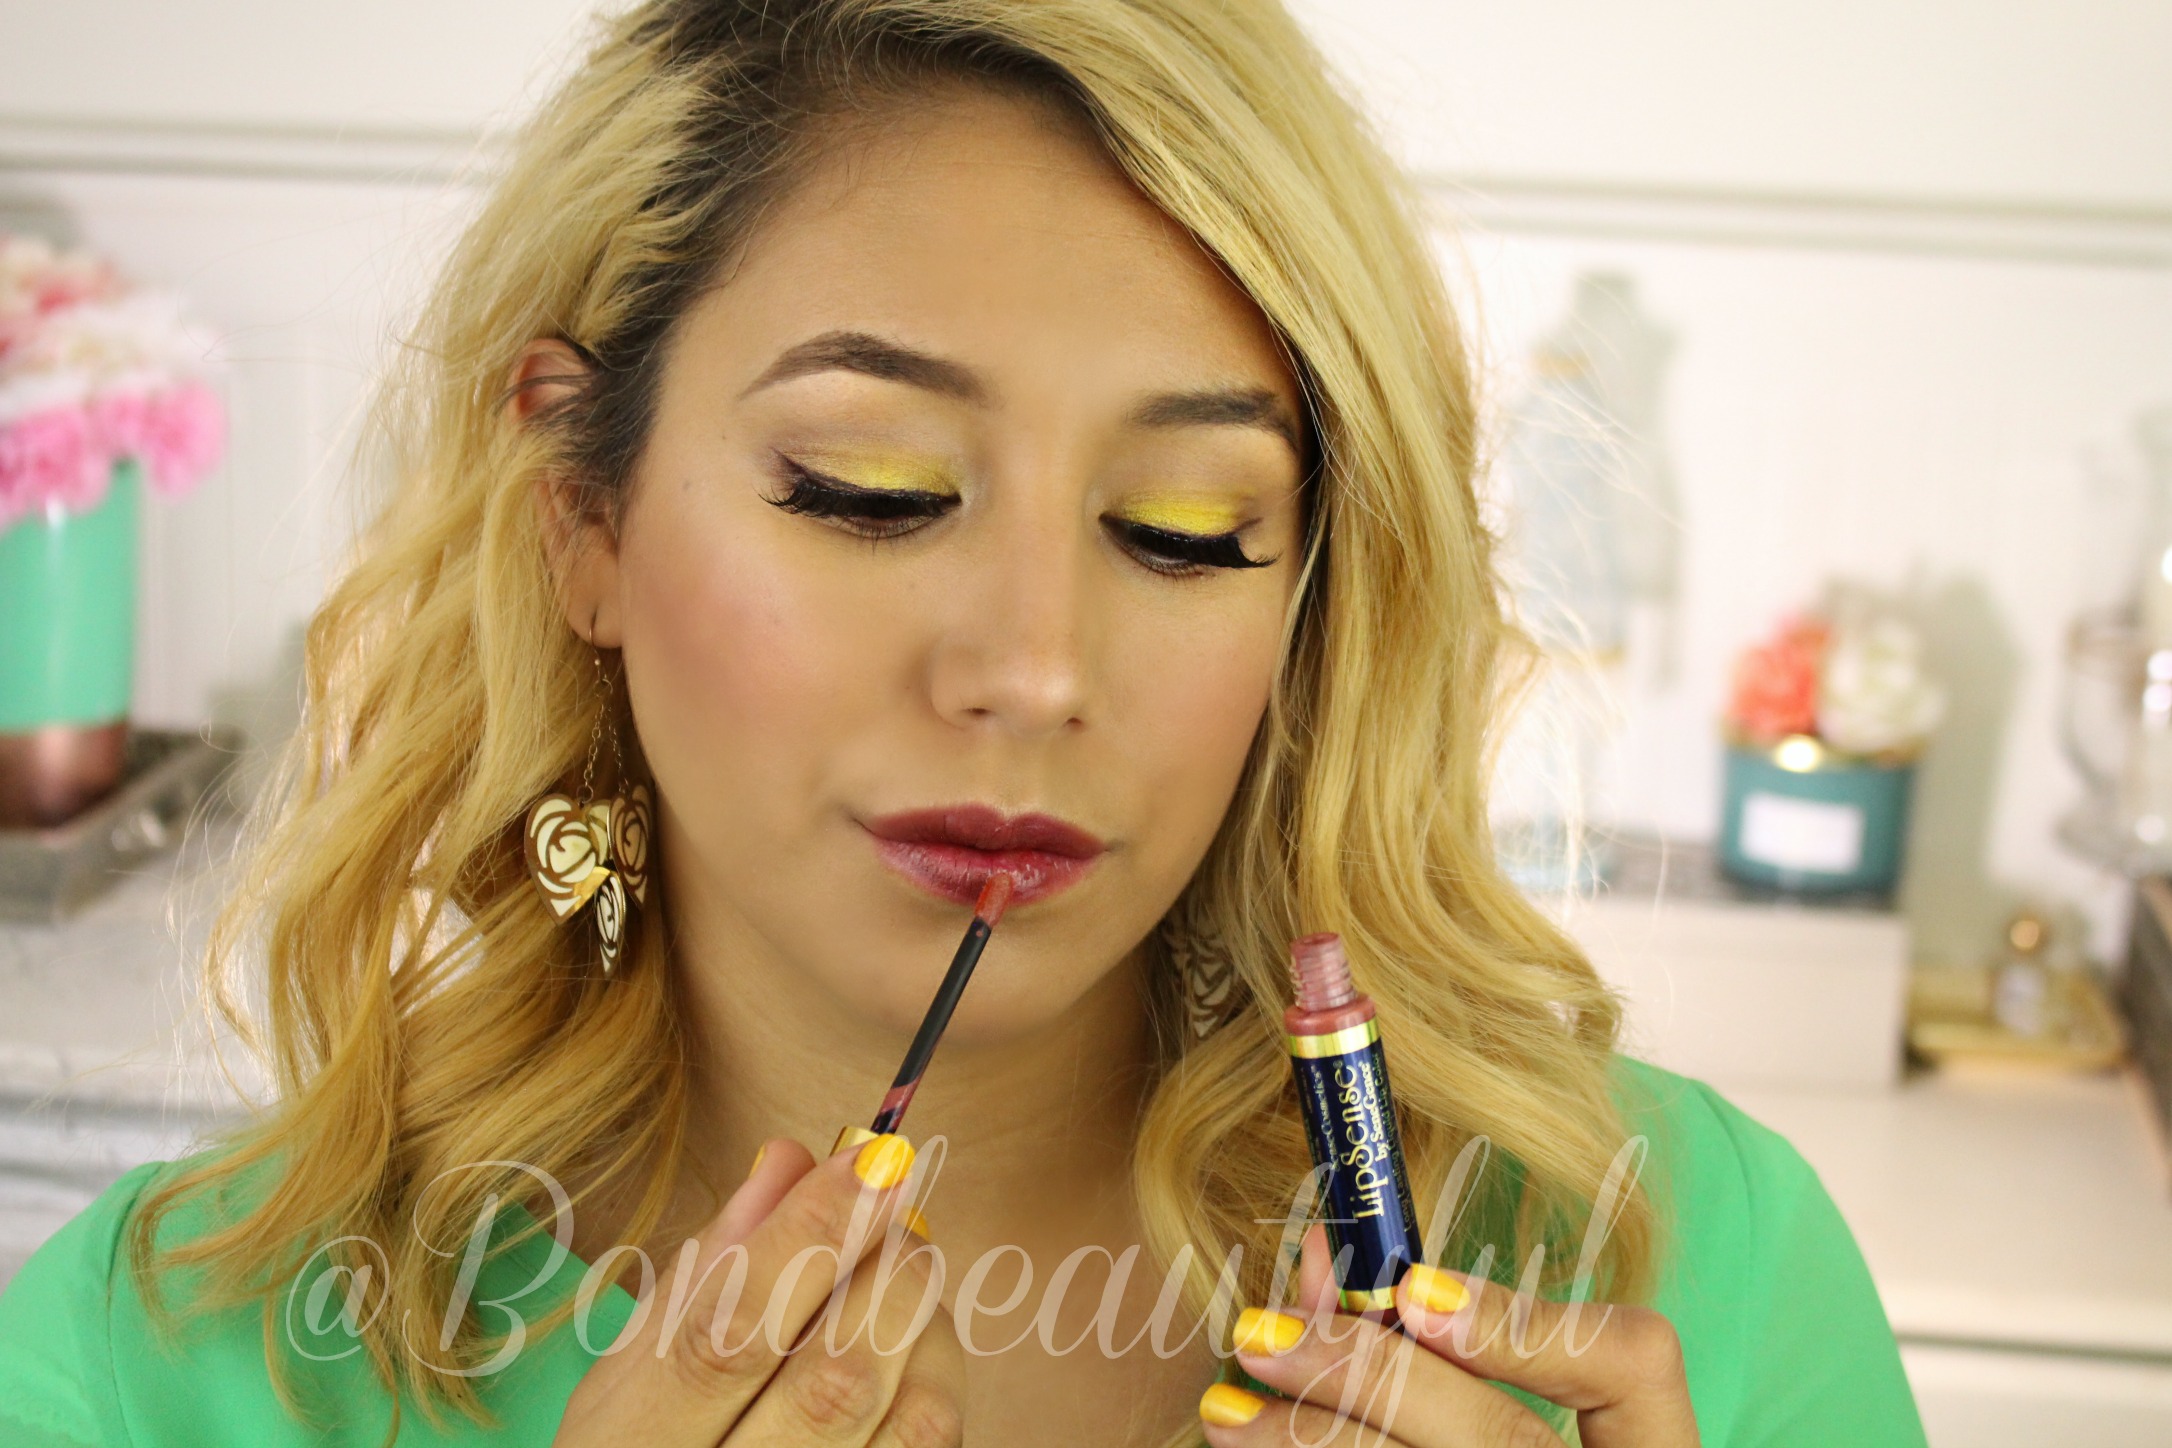
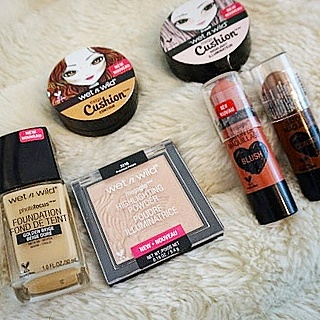
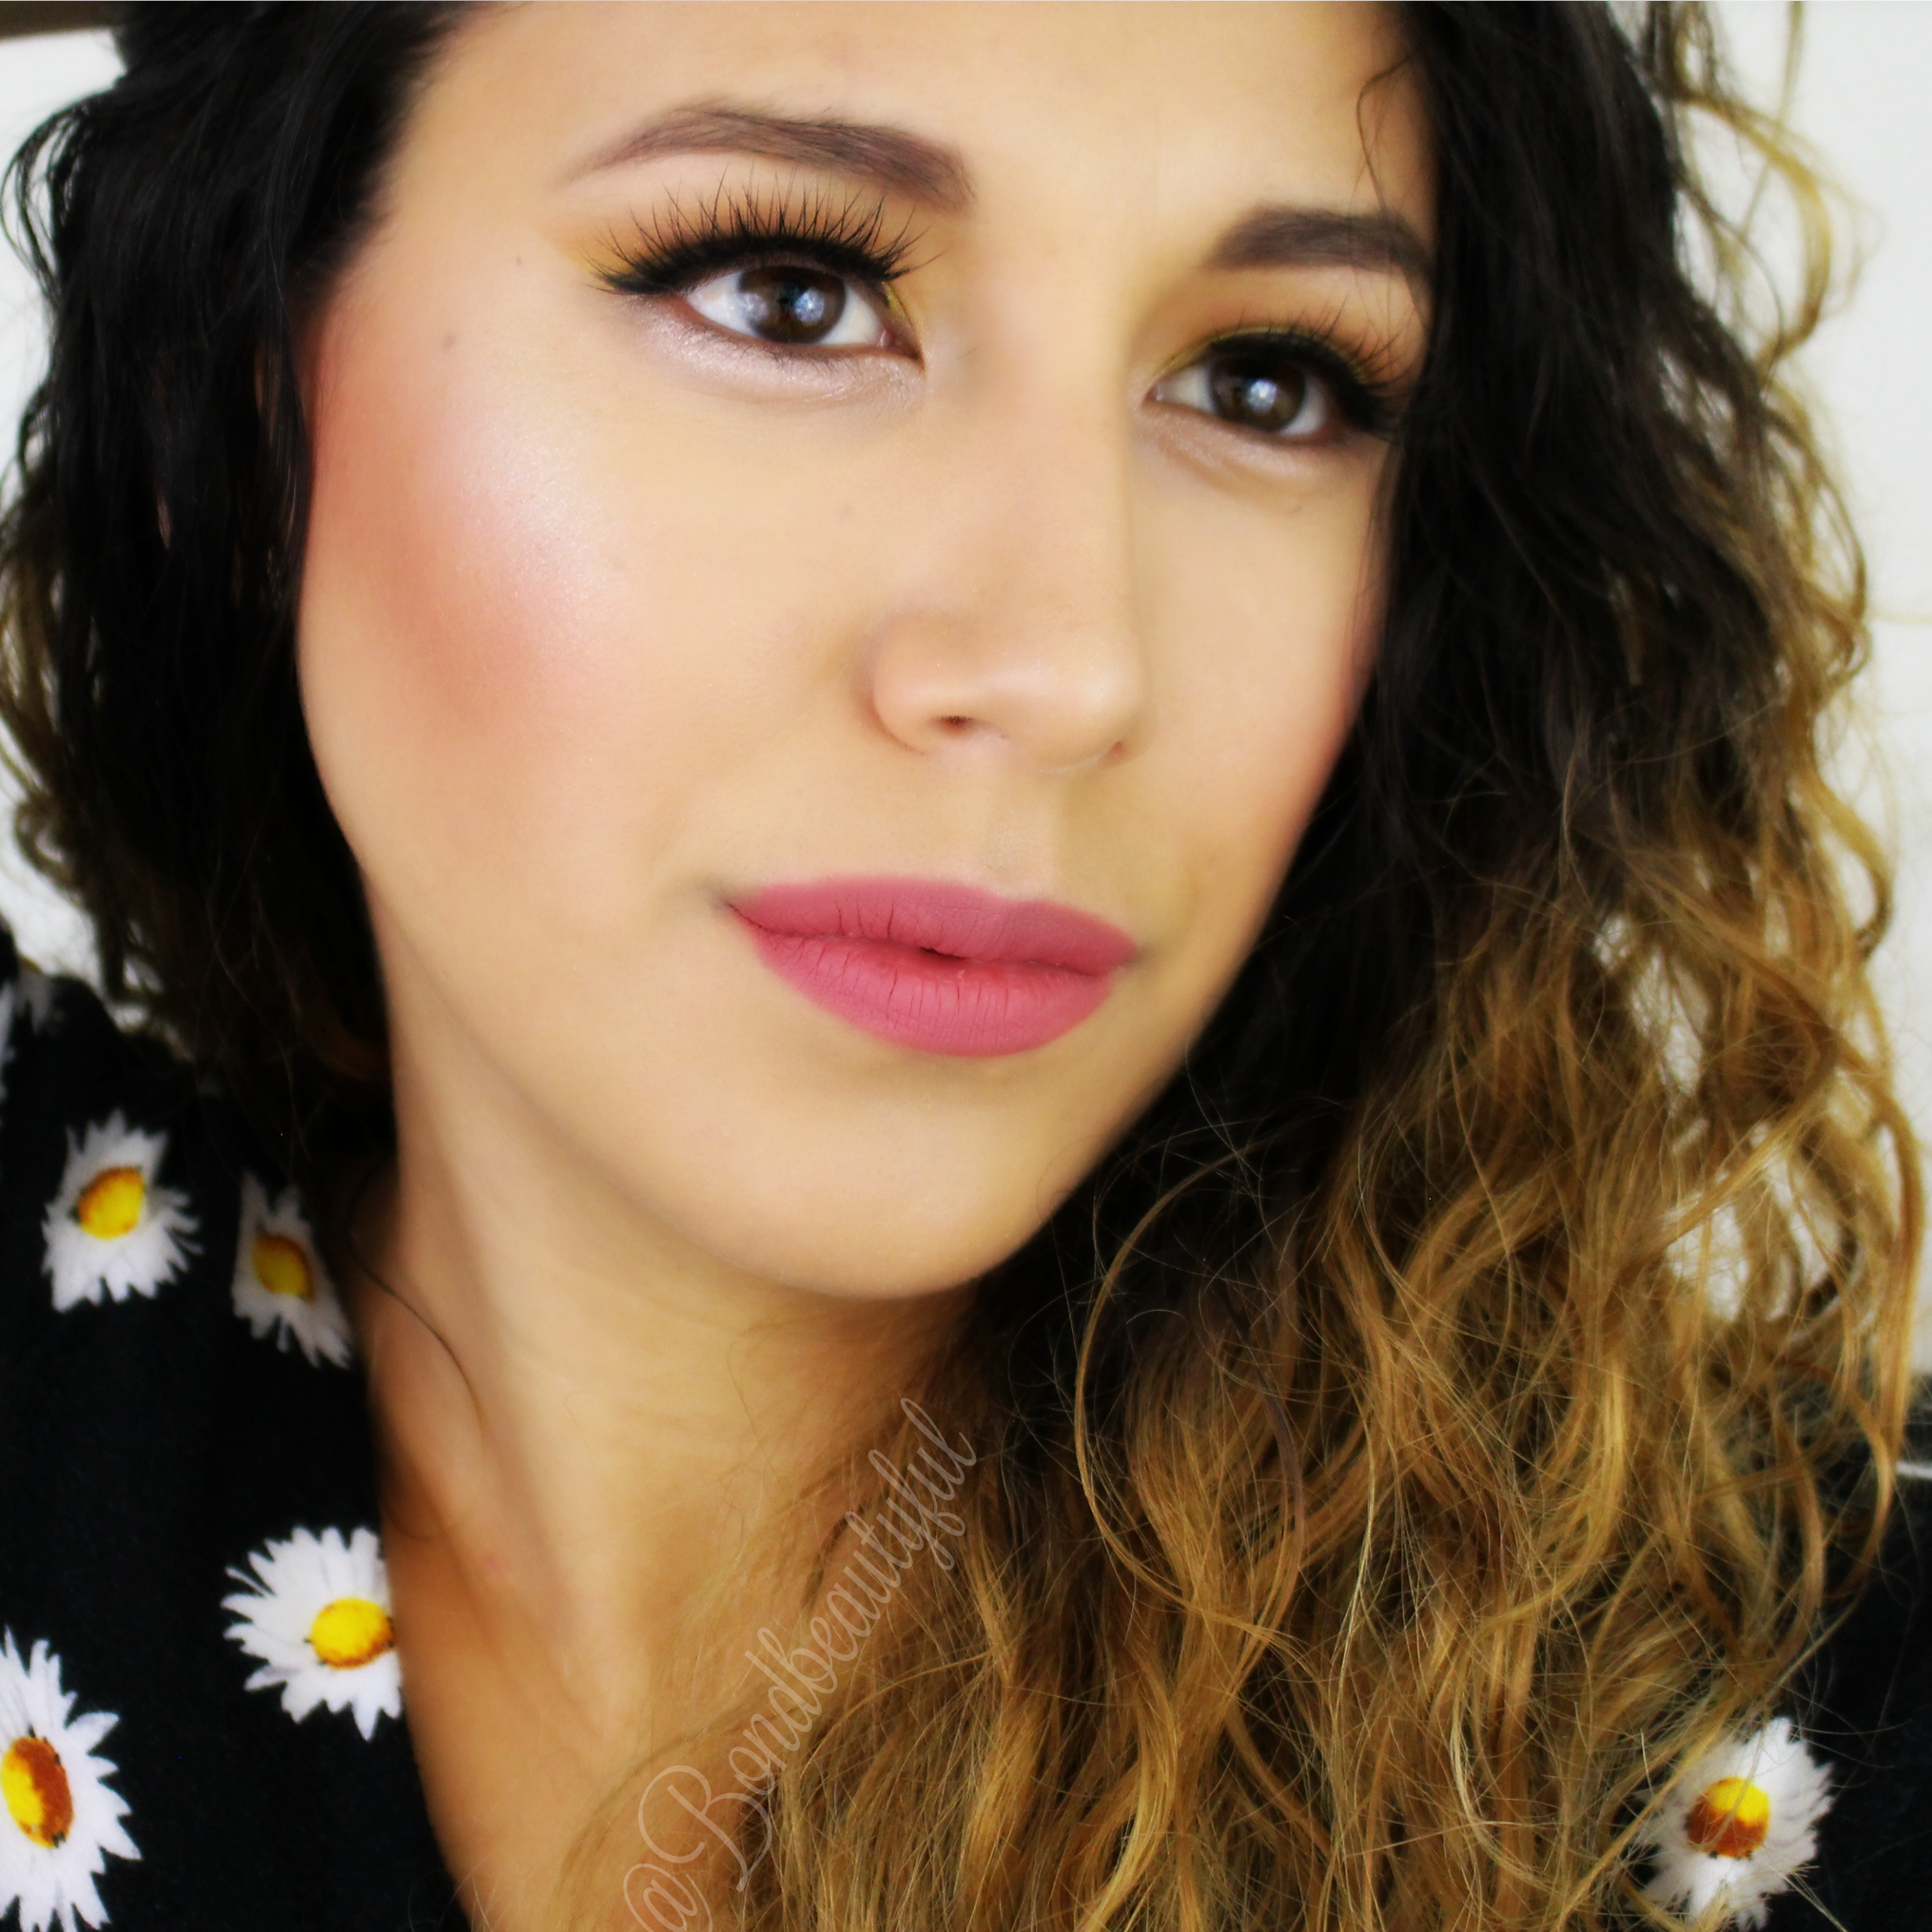
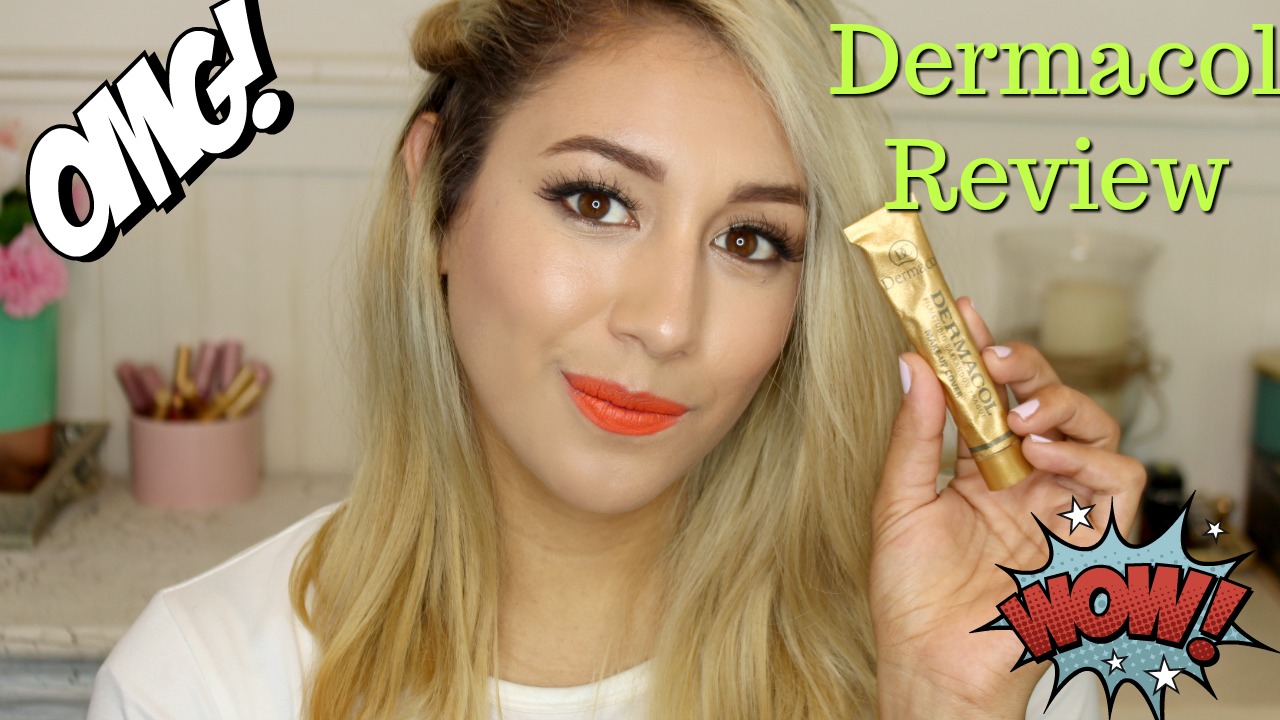
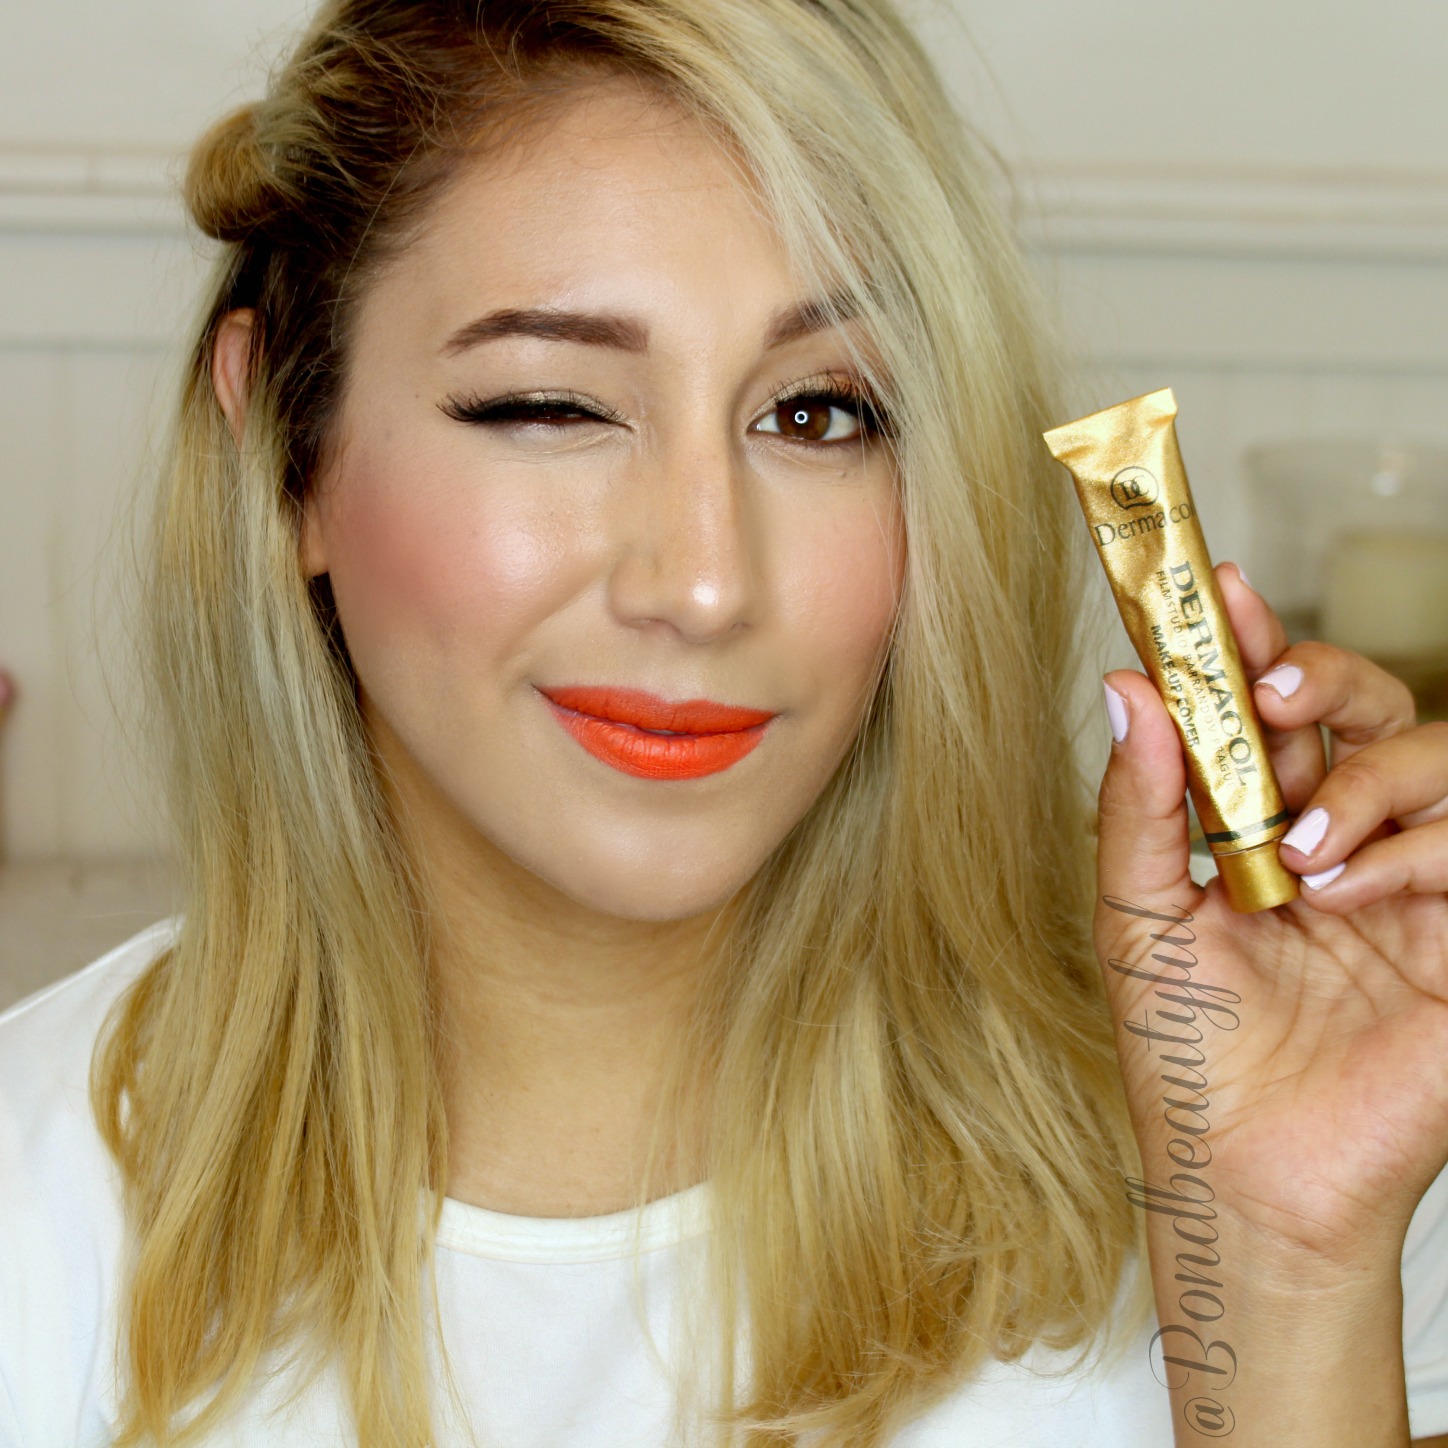
Today I wanted to share this FULL FULL COVERAGE FOUNDATION. The Dermacol Makeup Cover Foundation*. This is seriously the Worlds most full coverage foundation, I’m not exaggerating. My Perfect shade match is Dermacol 221, If you want to see what shades of foundations match me well then look in the description box of the Video below.
*I do receive compensation for clicking my link, if you do not want to click on my link then feel free to google Dermacol Foundation.
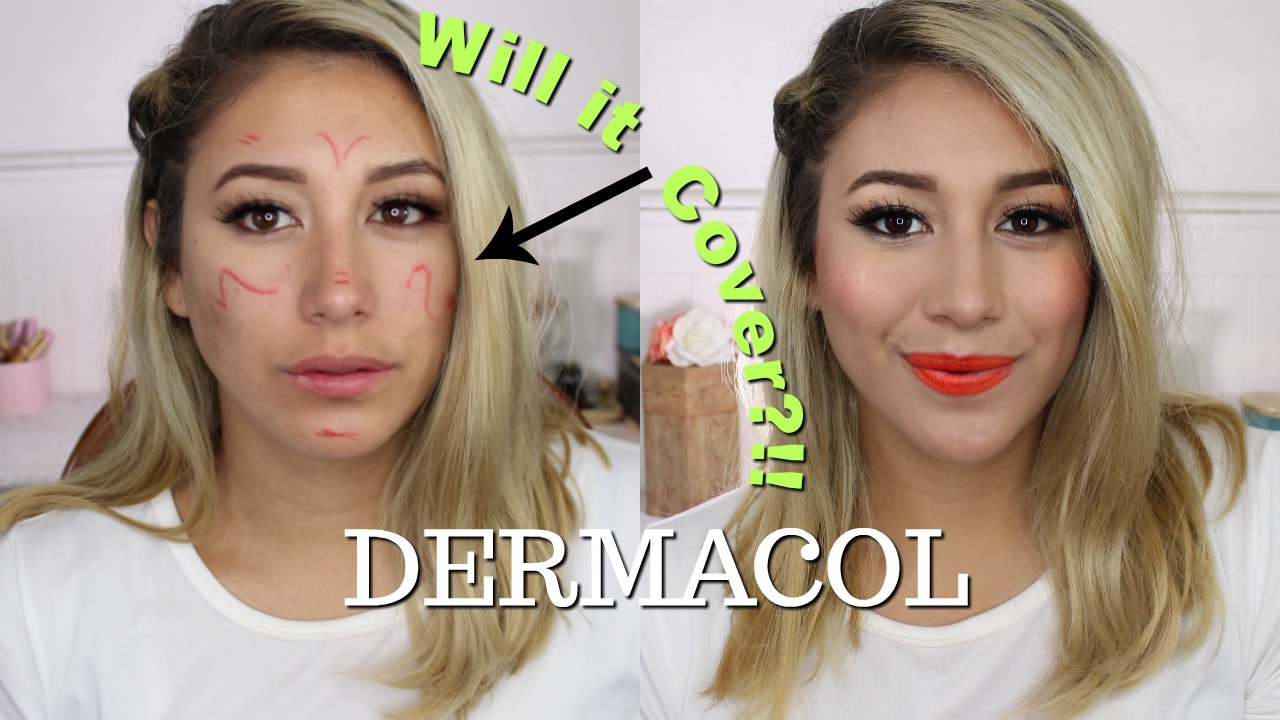
So why is this foundation the Worlds Most? It covers everything! To show you I went through and completely marked up my face with a red marker. Why Red? well its more realistic because often times acne & imperfections are red. I know its genius! This foundation smoothed over everything so easy, I still can’t believe it. The best part is that you only need a pea size amount for you entire face. Less is more with this one.
Lets talk Pros & Cons:
PROS
- Use thin Layers & covers Everything
- Long Wearing
- smooths over imperfections and leaves a dewy/natural finish on the skin (Healthy Glow)
- Applies Good with Brush Or Sponge (I personally love using a Brush)
- Perfect for Pictures or an event
- If you want to wear it for everyday you can mix it in with your moisturizer
- DOES NOT OXIDIZE
- affordable foundation
CONS
- Feels A little Thick on the Skin
I think this is a good foundation for everyone to have. If you have dry skin or Oily skin I think you can wear this. If you have Oily skin make sure to powder with a mattifying powder or use a mattifying primer. Now this is why I think everyone should have this, even if you do not use this all the time. This is a great foundation to use to spot conceal spots around your face. So if you need more coverage on your forehead apply your regular foundation all over and only apply this on the area on your forehead you need more coverage. I give you guys my stamp of approval and the best part is how affordable it is. See it Here.
If you want to see how this foundation wears through out the day, I did do a full First impressions video where I take you with me along my day so you can see for yourself how it Wears.
So I hope you enjoyed my review I will be back tomorrow to share another blog post. If you want to see how well it covers see the video below!