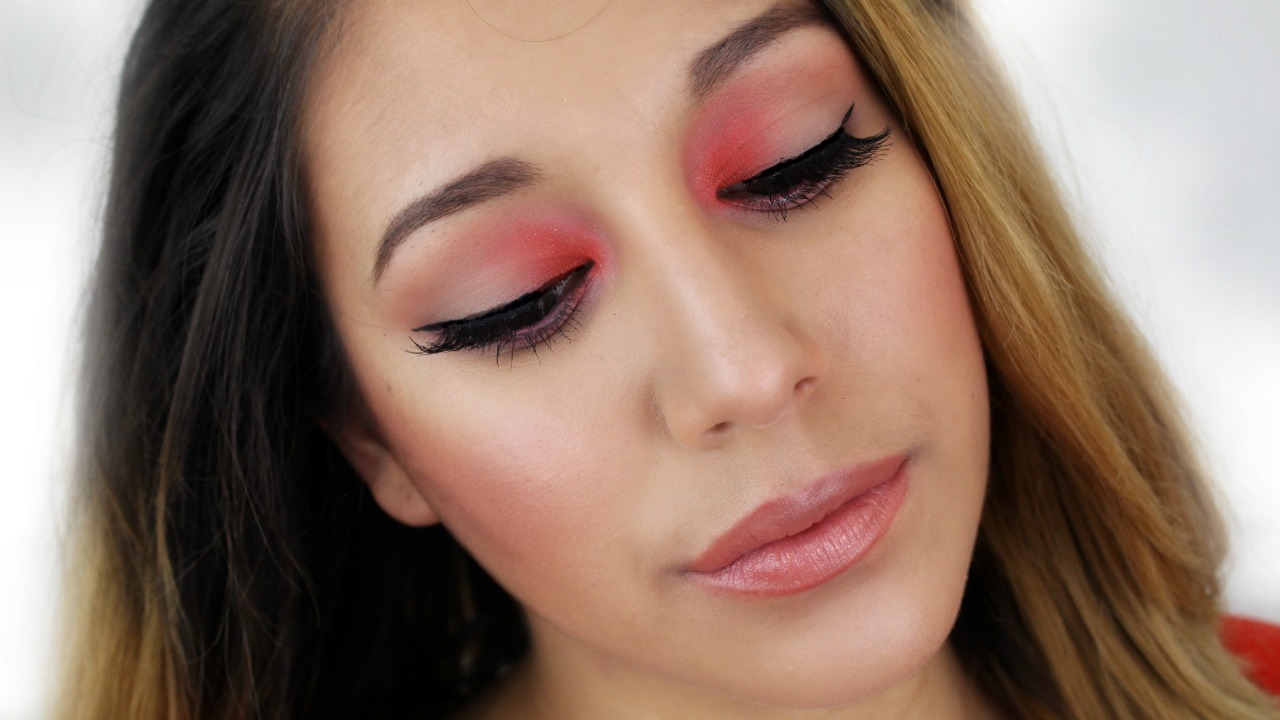
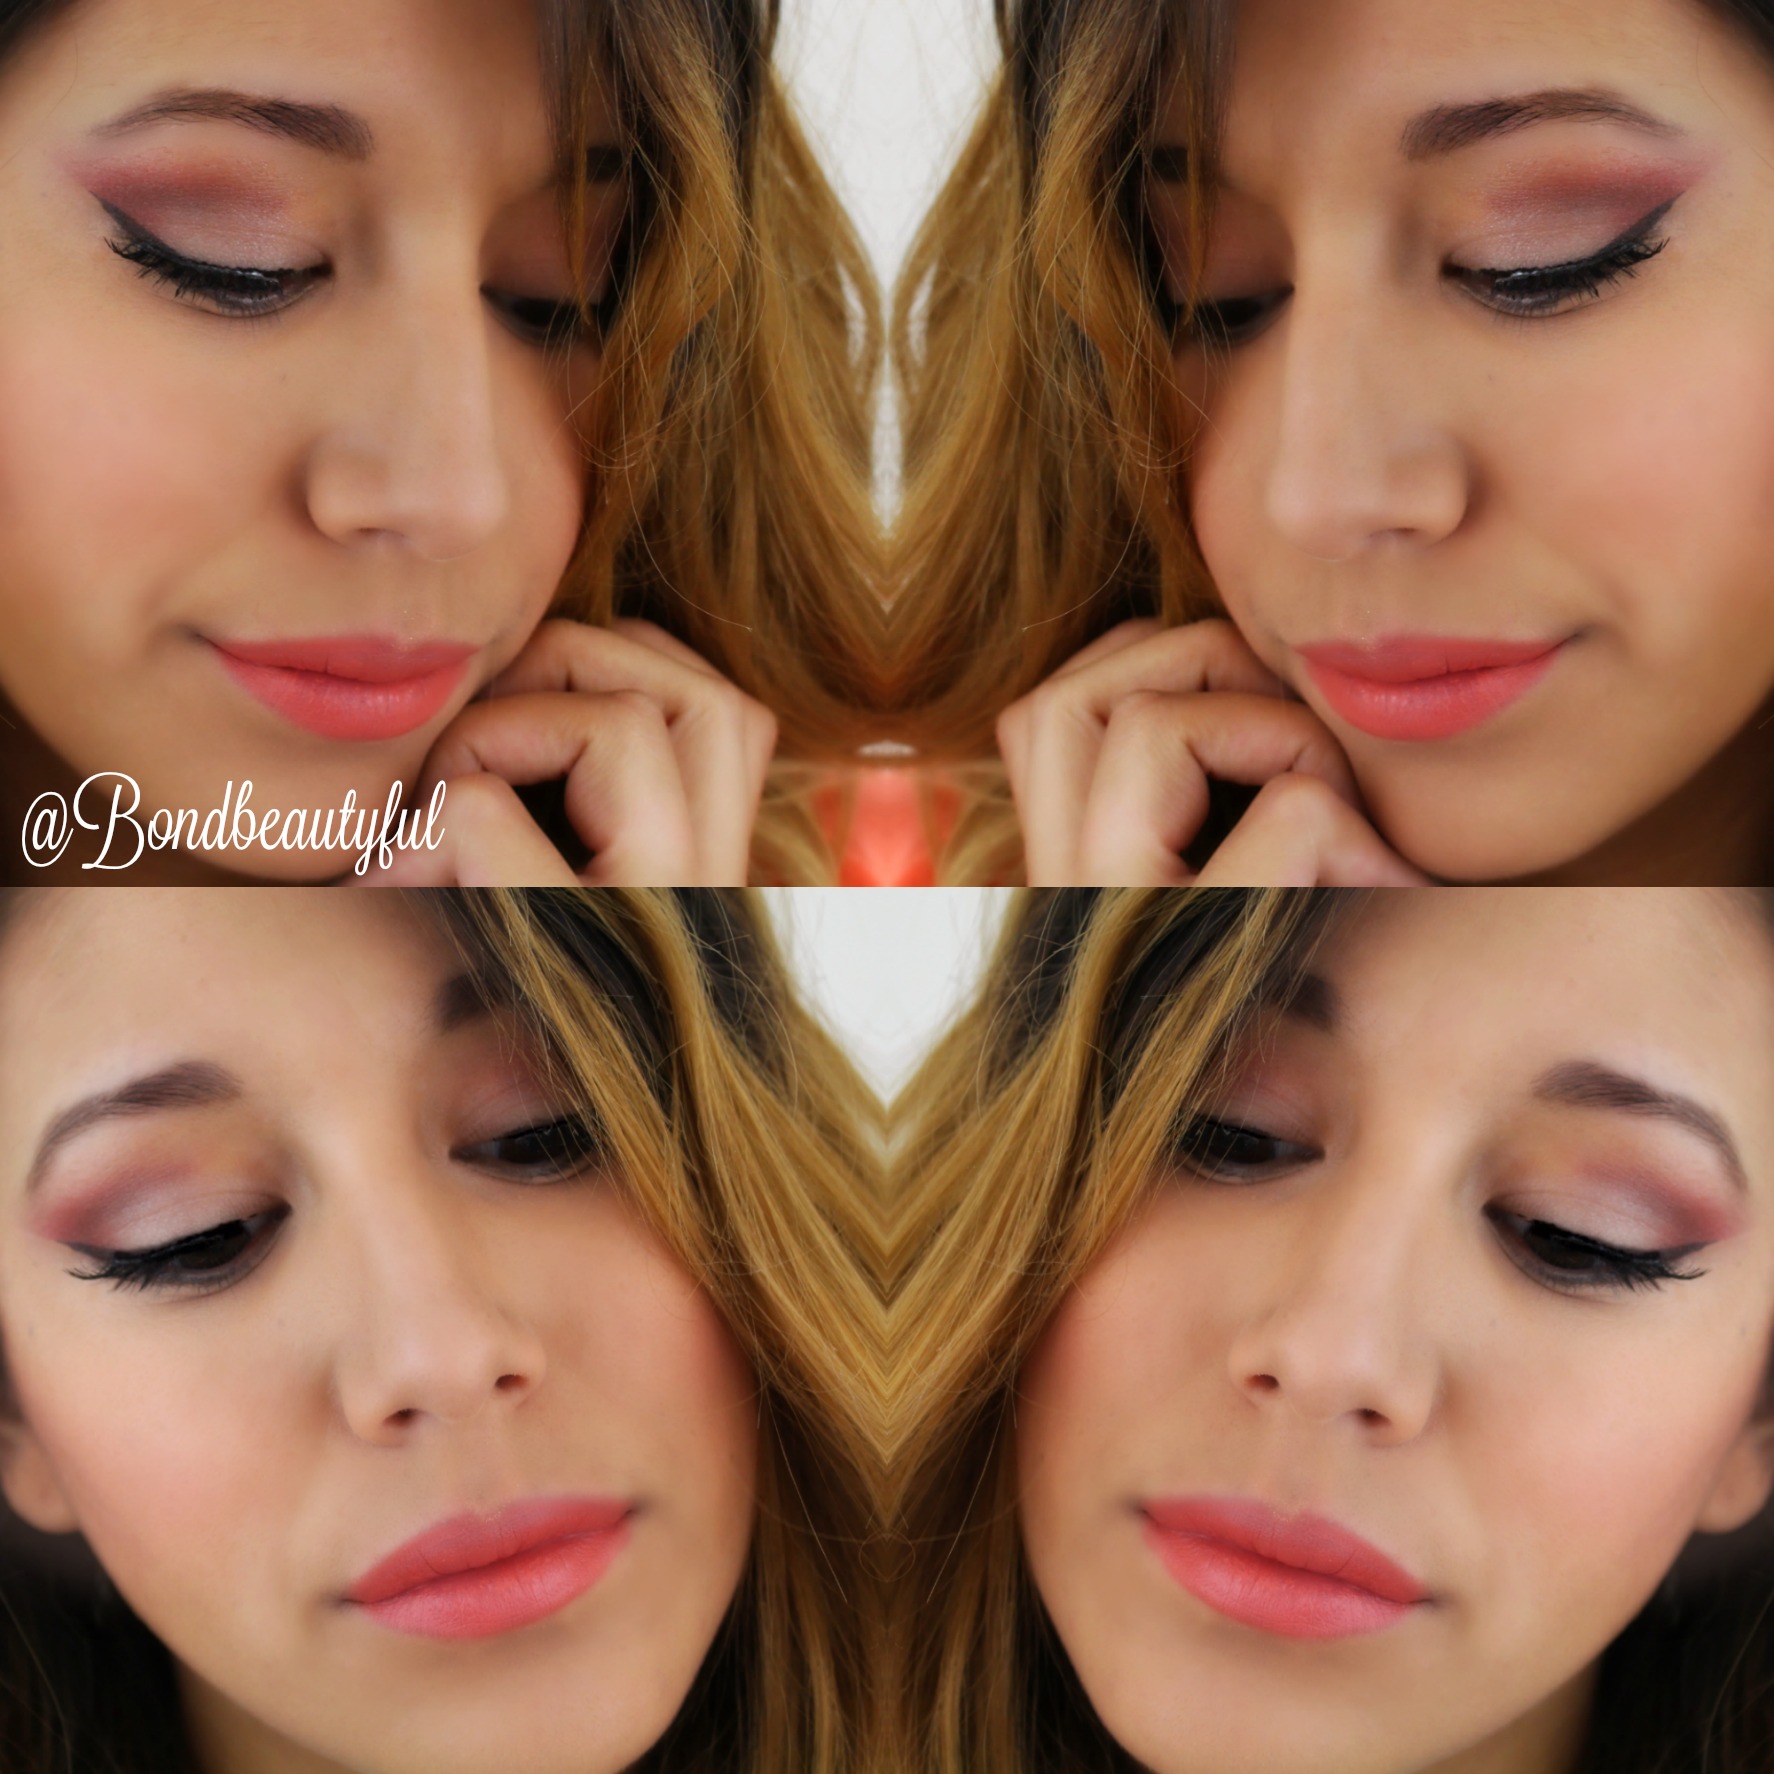
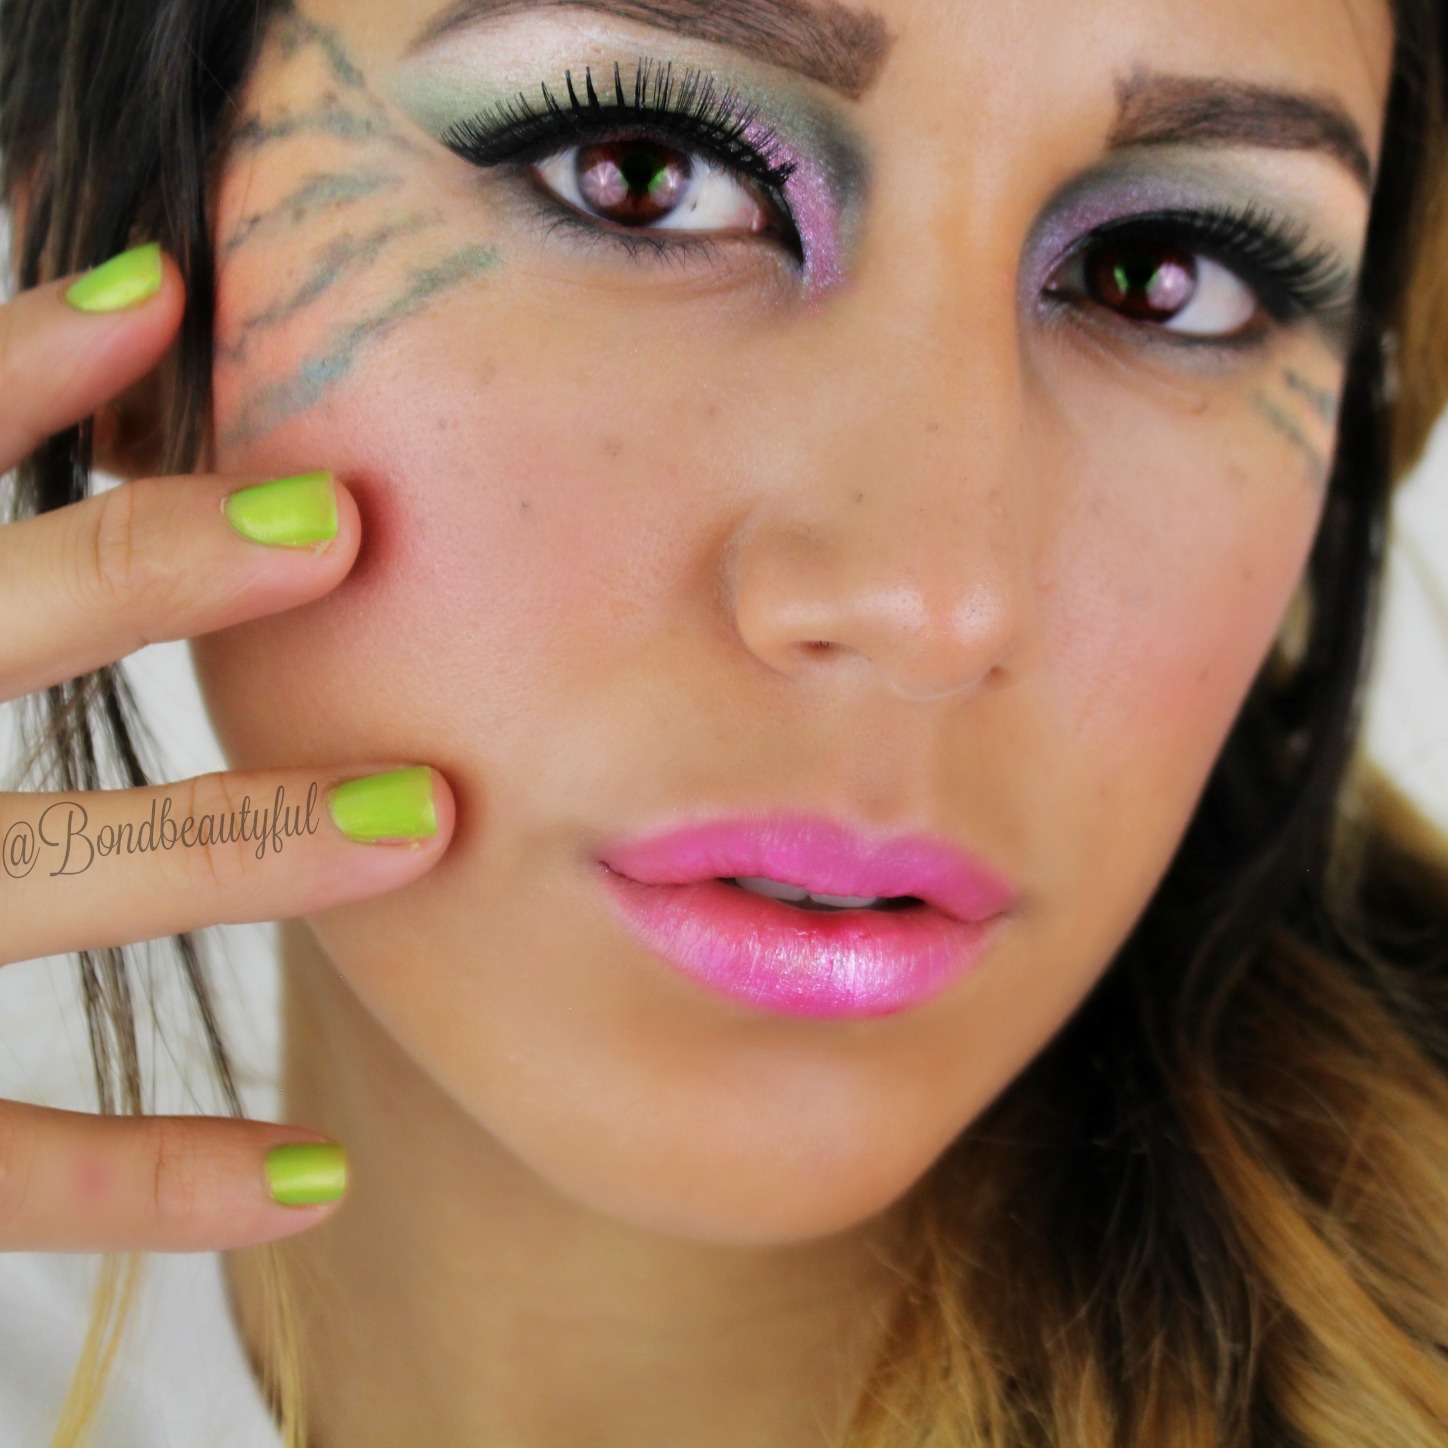
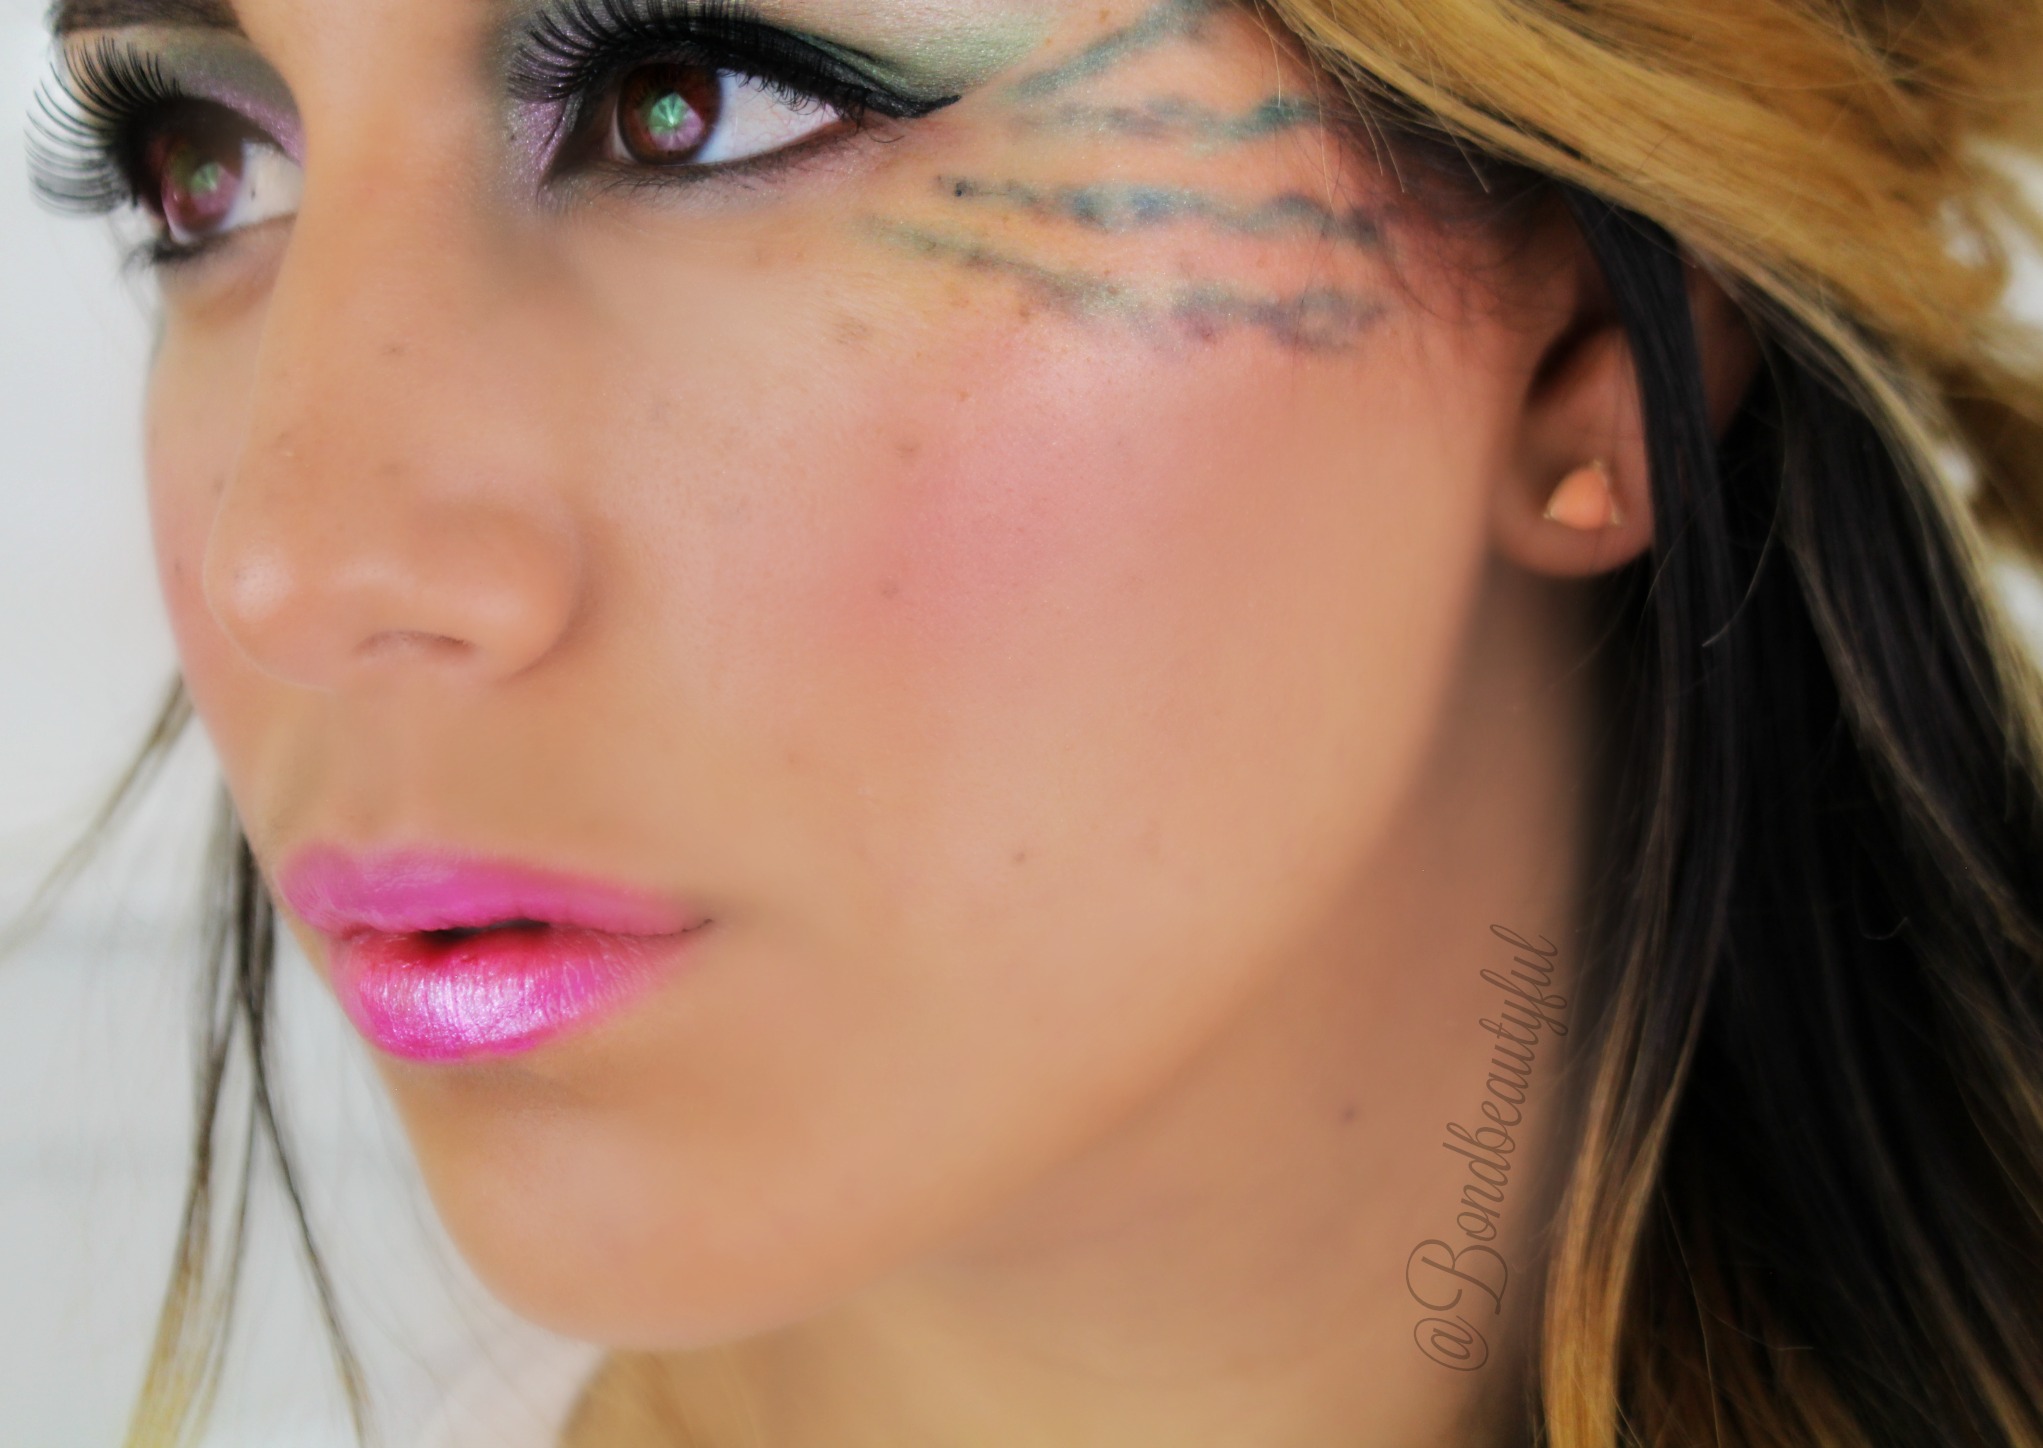
Today I am doing the Dollar Tree Makeup Challenge! Basically you can only use makeup from the Dollar Tree to create a look! I decided to do something out of the ordinary and fun. For some reason my favorite fruit of the moment is watermelon so I decided to do a watermelon inspired look! I have been doing more editorial type of makeup pictures lately on my Instagram and so I thought why not on youtube?
Here is the whole challenge video for you to see for yourself how it turned out! It was definitely very difficult, but as you can see from the Instagram pictures it worked out great!
If your not subscribed to my youtube SUBSCRIBE! It is completely free and easy! I love posting up makeup videos and I regularly post 3 up a week! Here are how the pictures turned out on Instagram!
What do you think? Should I do more tutorials where I show you how to do my Instagram editorial style looks? Let me know in the comments!
Hello my Bondbeautys,
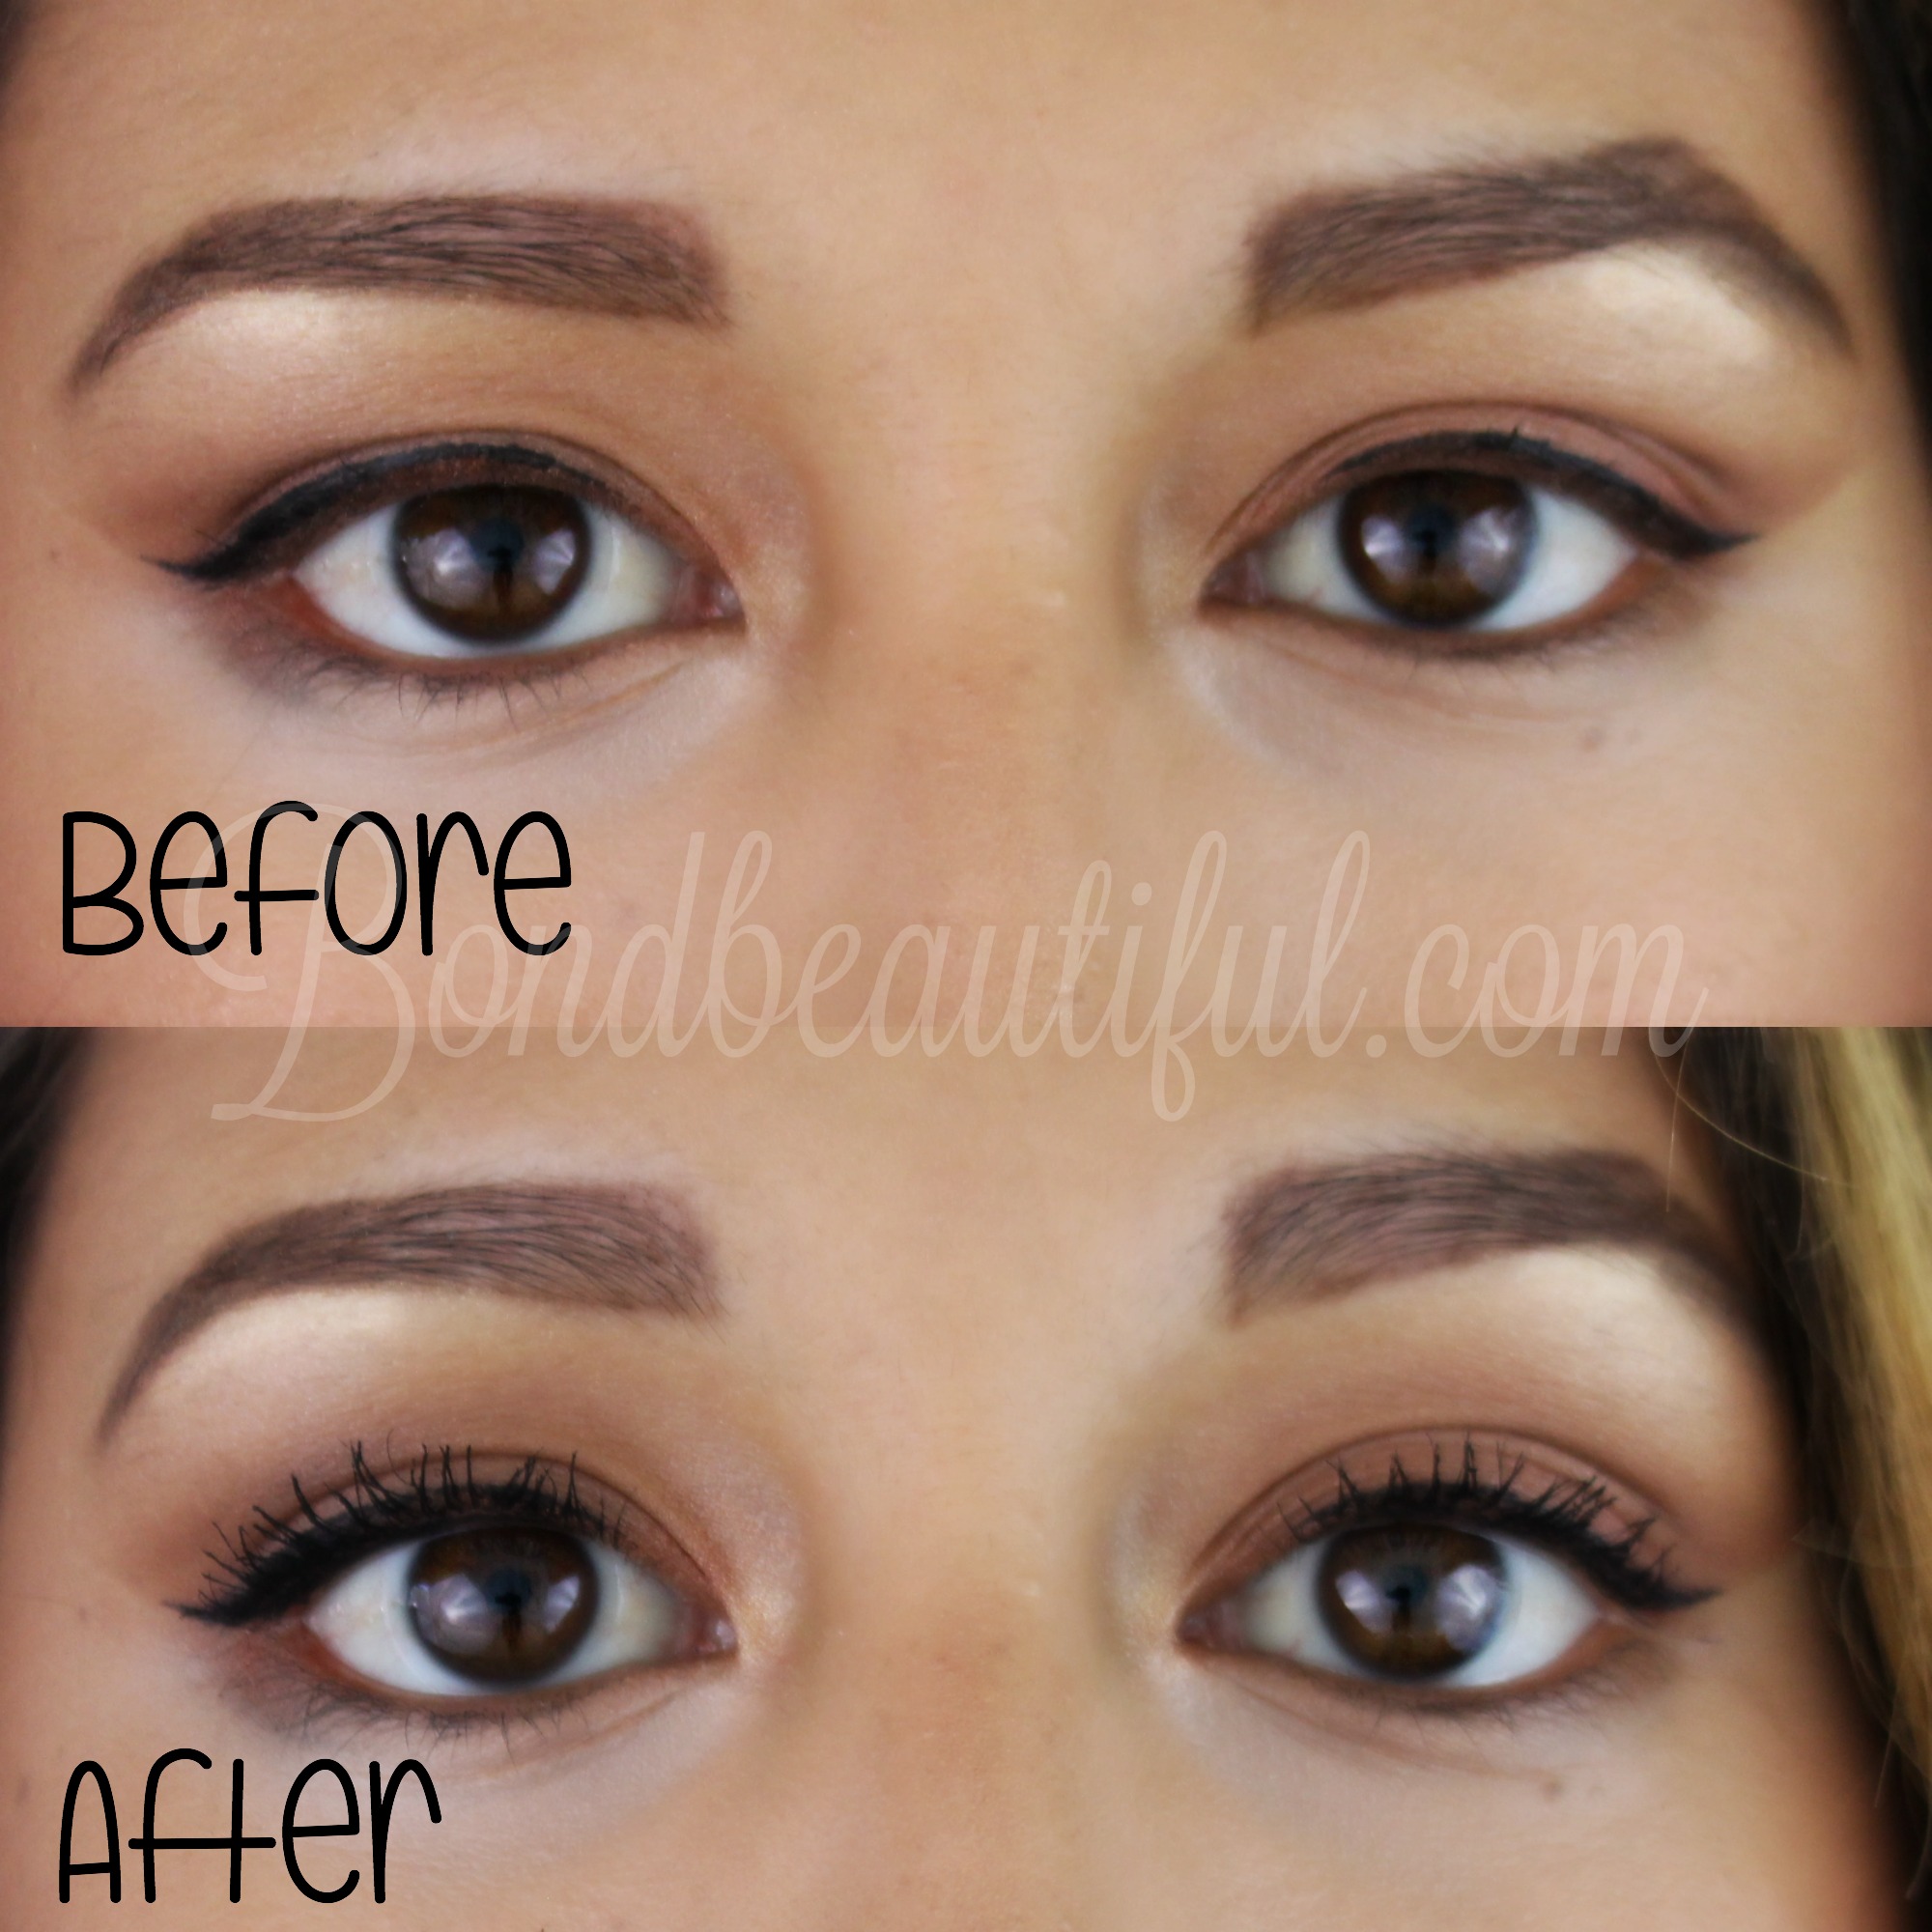
Im excited to talk to you today about some tips & tricks to making your lashes appear longer! This is honestly my mascara/ lash routine!
These steps are so simple and they just take a little longer than just applying regular mascara; but they truly make all the difference! I have a full video for those who are visual learners so check it out down below!
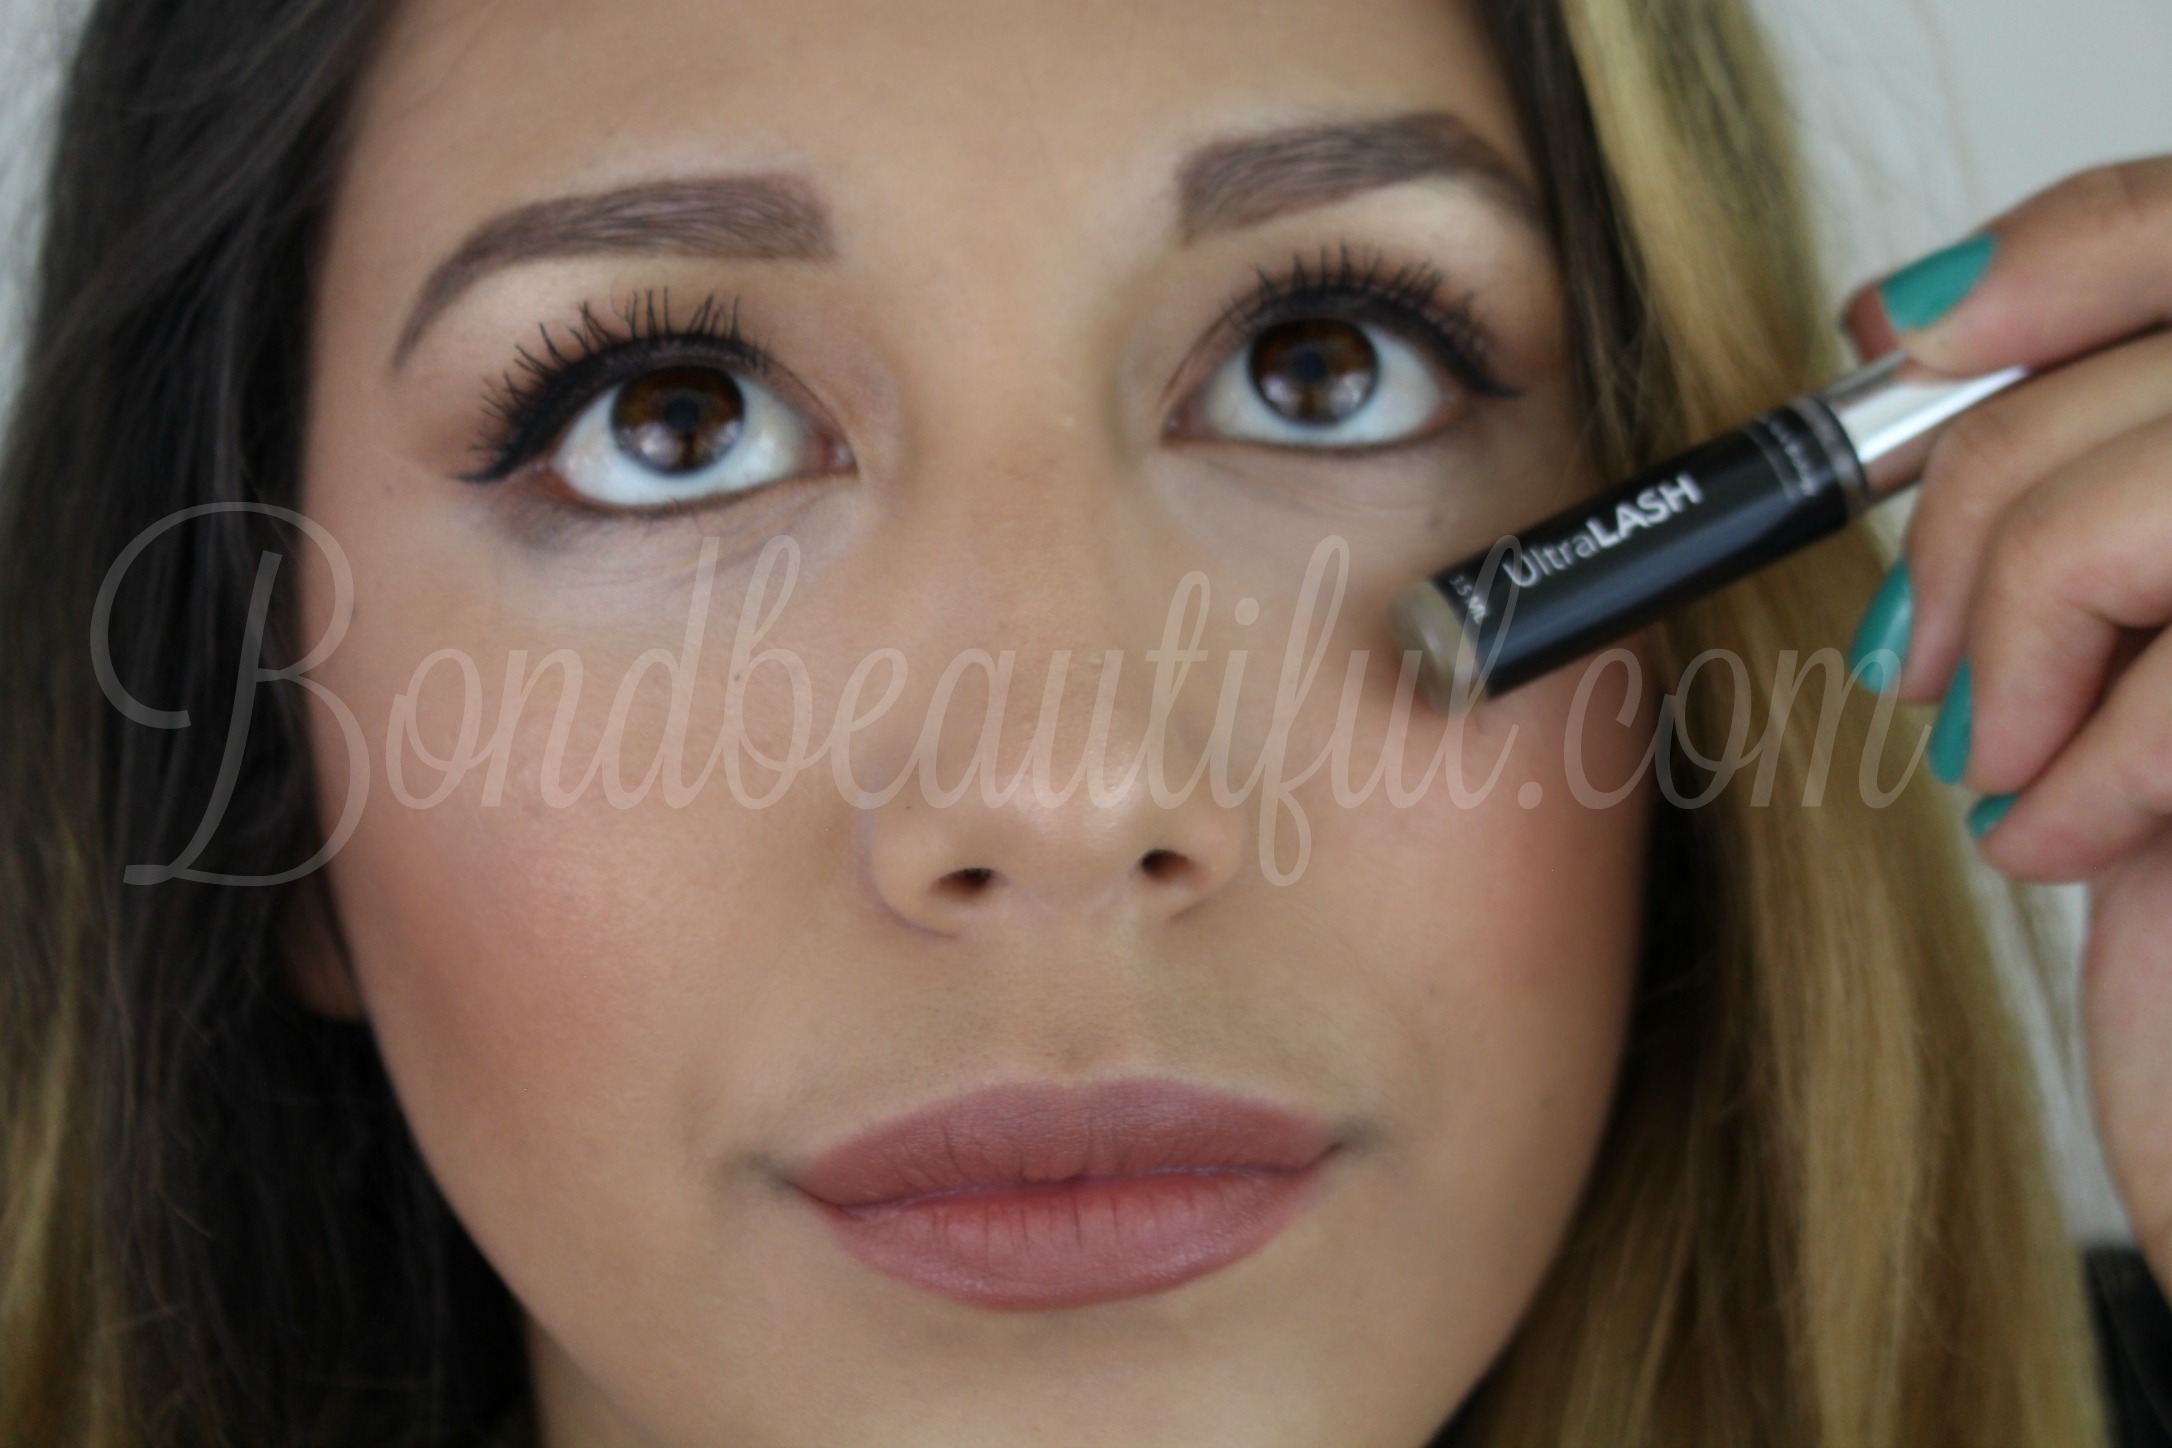
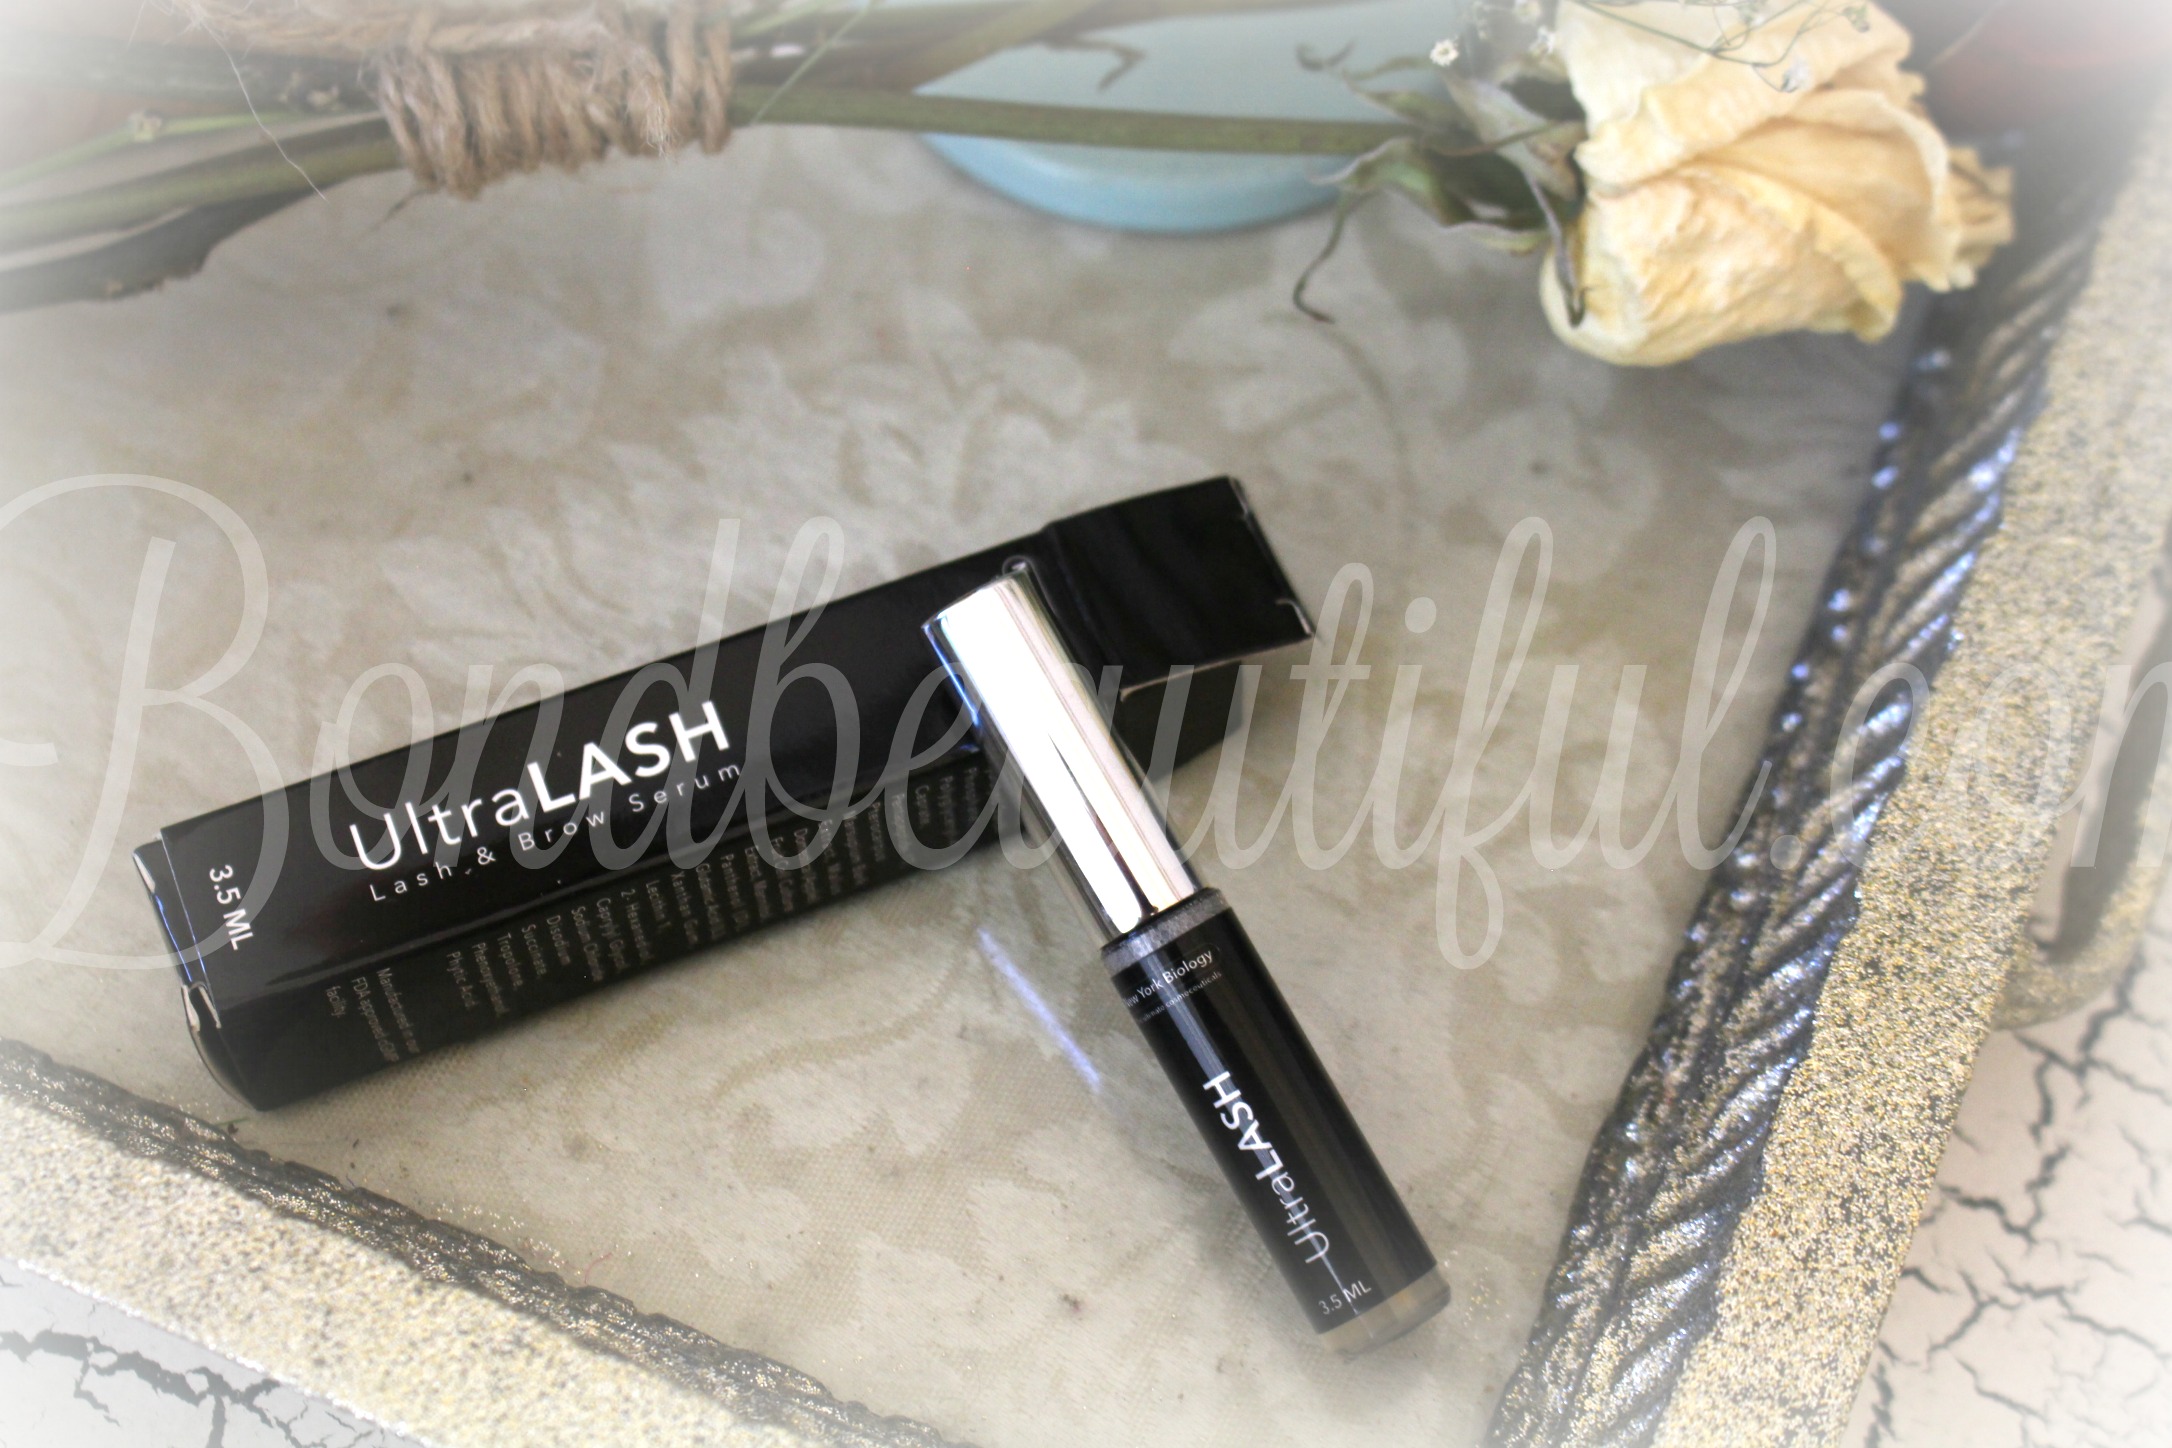
Step 1: Apply a lash serum before bed. The one I use is the Newyorkbiology Lash & Brow Serum. All you need to do is apply to lash line every night before bed. This helps your natural lashes actually grow and thicken! (it really works!)
Step 2: Curling your lashes! There is a trick to this guys. First , use a good lash curler. Mine is from ELF it only cost me $2 but it still is amazing! It fits my eye shape well and doesn’t tug lashes! It also has a beautiful even curl. I like to curl my lashes 3 times before applying mascara. The first two times I curl it straight on and the third I will bend the curler upwards so it is at a 90 degree angle to my cheek! (See video for demo)
Step 3: MASCARA I love using a Fiber Mascara to really get my lashes looking thicker & longer! The mascara I love for this is the Limelight mascara. Unlike other fiber mascaras this one has enough product to really adhere the fibers onto your lashes. I don’t have any problems with the fibers being loose or flaking off into my eye! (And I have sensitive eyes) This one has really made a difference (full review on this mascara coming soon)
So I apply 3 thin coats of mascara. I know it seems like a lot but it really isn’t! You can do just 2 if you want. The last coat is the key to making your lashes look longer though! On the last coat you are just going to dab at the very tips of your lashes so that the fibers can really grab the tips making them look noticeably longer!
Step 4: Last curl your lashes one more time once your mascara is completely dry! This is where you need to be careful not to break your lashes or tug any out! Its so important to wait until your lashes are DRY! Then when curling make sure to only have curl them DO NOT clamp down all the way!
TIPS: MAKE sure to slowly clamp down & release when using a lash curler so as not to pull any lashes out!
Here is the full video with demo footage so you can really see how I do it! I hope you enjoy!
https://youtu.be/MM4tjE1b2BU
So Now YOU TELL ME.. What is your favorite mascara? I love seeing your comments so make sure to give me mascara suggestions below! Also share & subscribe its FREE and you will get posts sent right to your email!
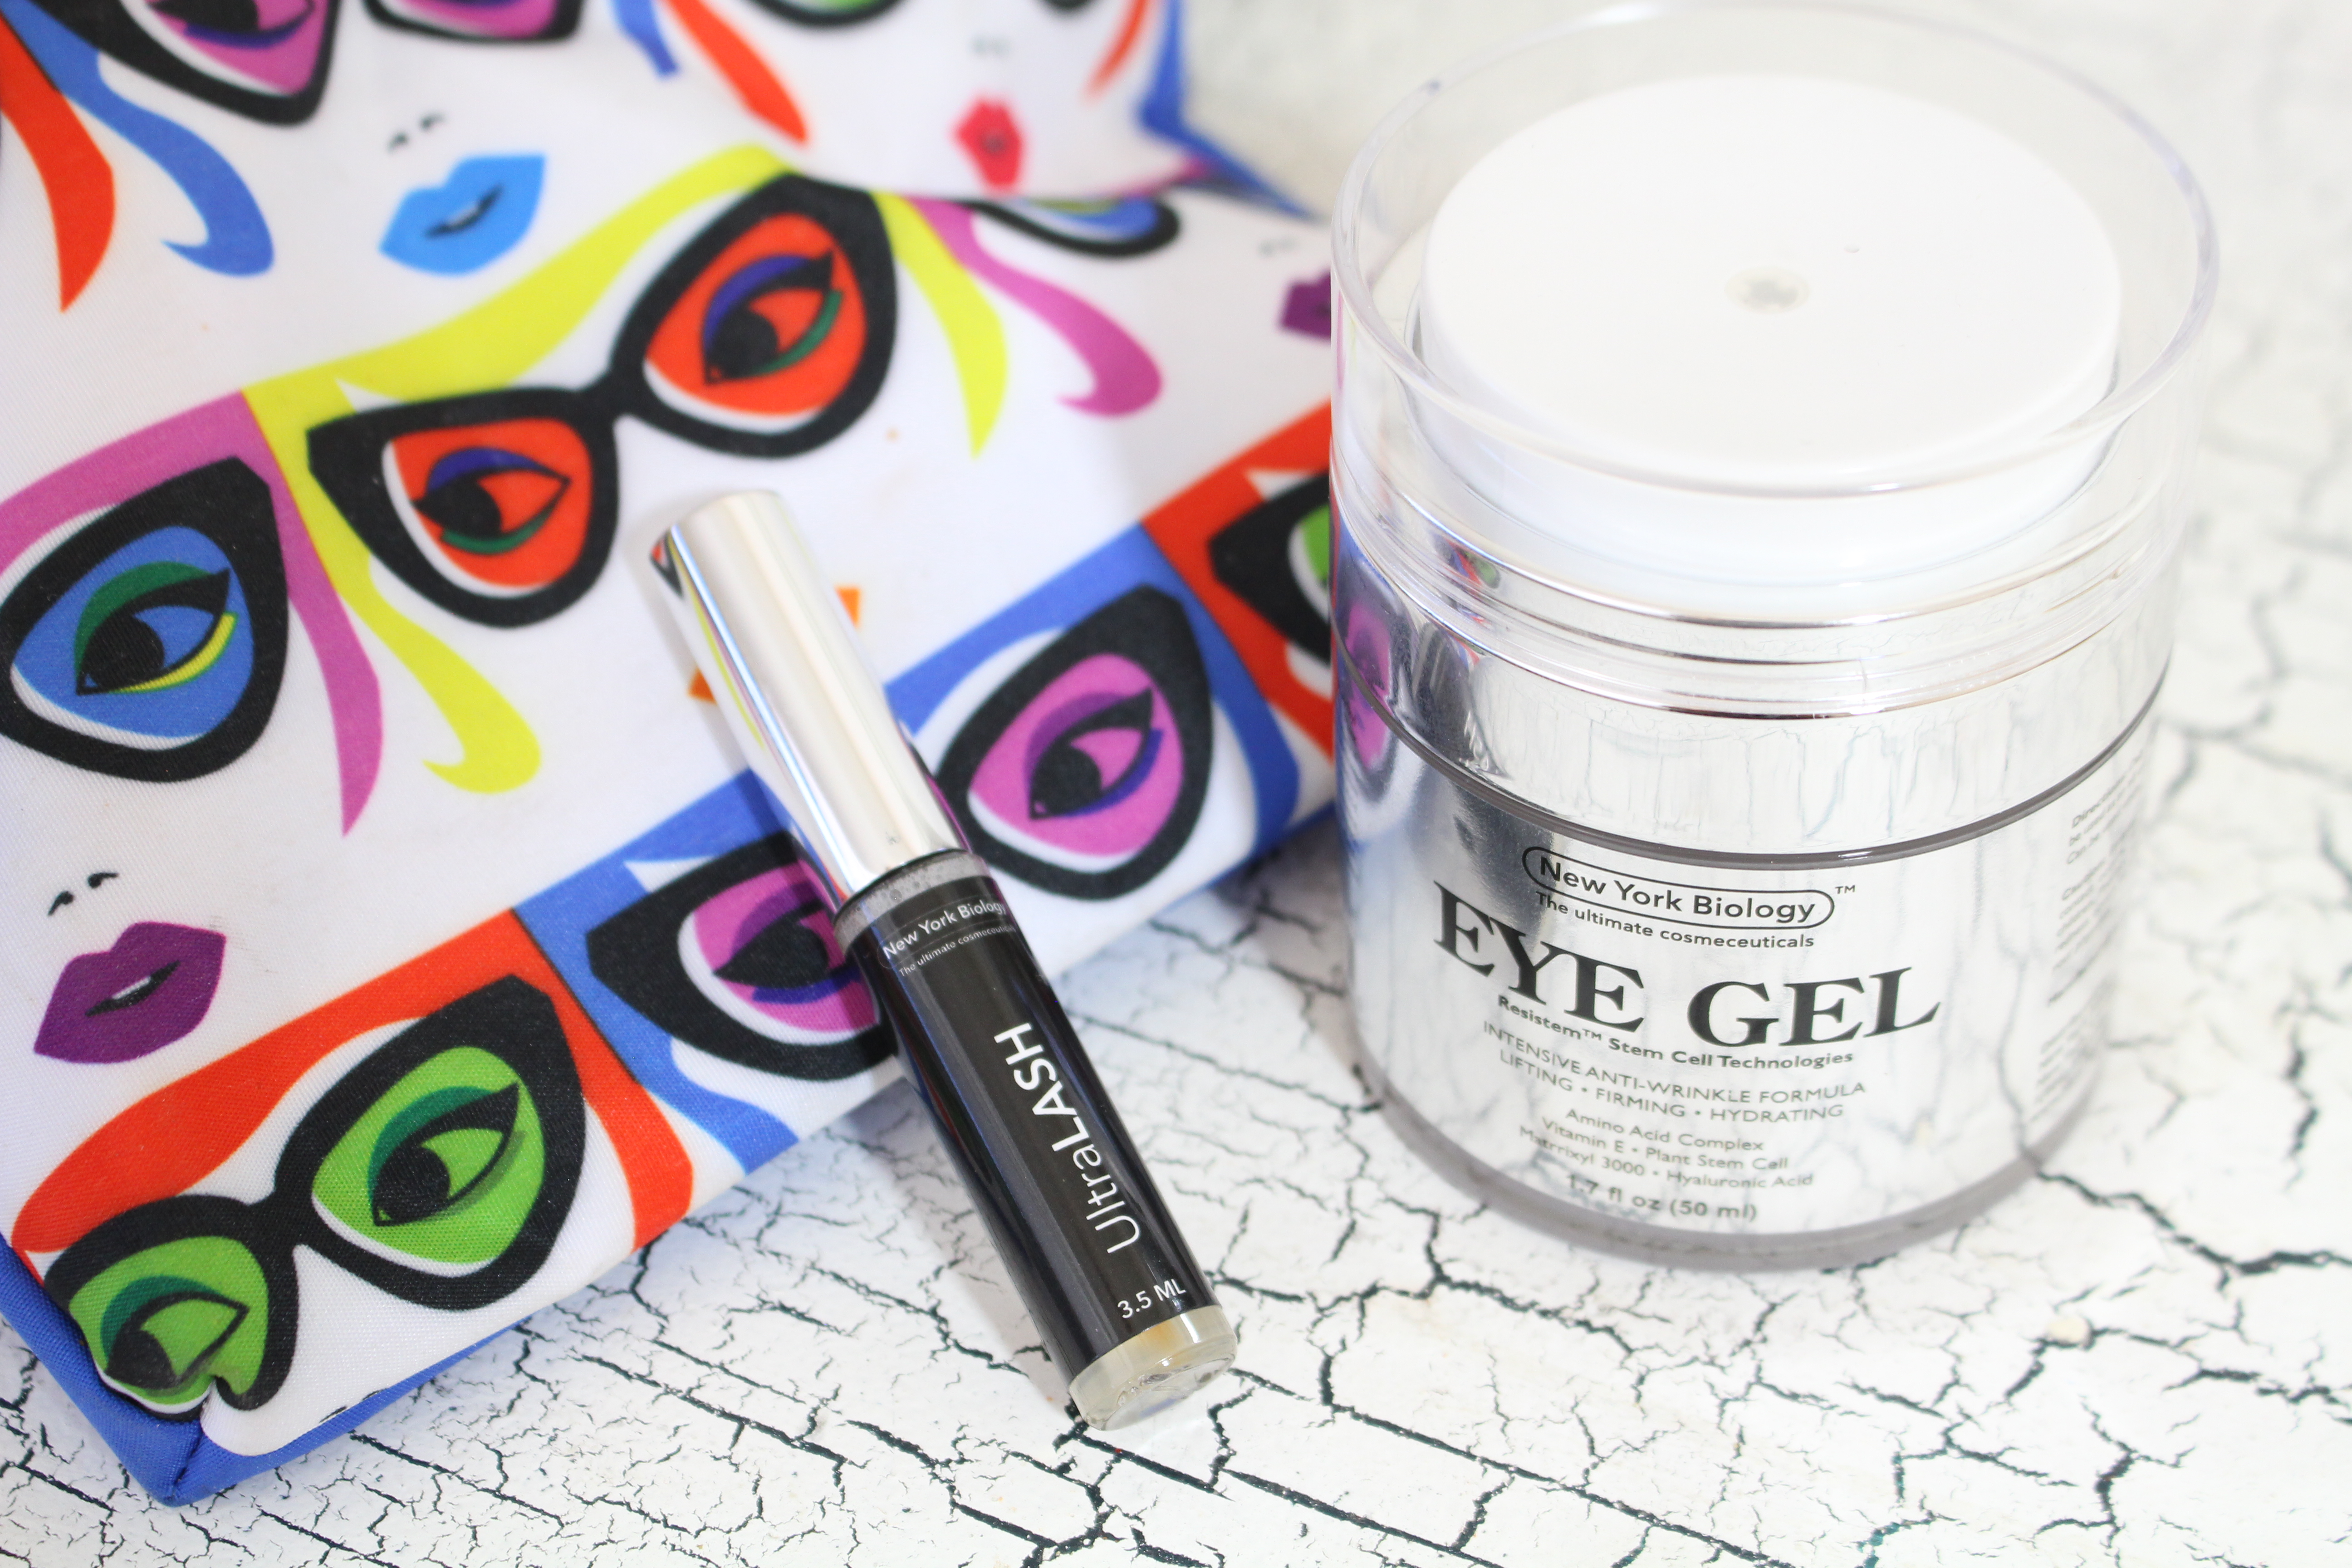
Last week I talked about the New York Biology Eye Gel. Today I wanted to talk about The New York Biology Lash & Brow Serum. I have been trying this out for about a month now. I want to tell you guys about this product because I am very surprised and impressed! Last month I was really into waterproof mascara, which dried my lashes and broke most of them off. As you guys probably already know waterproof mascara isn’t the best thing to use when you want your natural lashes to be long & beautiful.
So lets talk about what the claims are:
Irritation- free & Allergy- free
Add Volume
Lengthen
Grow faster
Darken Lashes or brows
thickens brows
What does it really do? (after 30 days of use)
Helps your lashes grow faster
Lengthens
thicken brows
brows hairs grow
Pros?
Cruelty free
alcohol, paraben, & chemical free
Great for sensitive eyes or contact wearers because it doesn’t irritate at all
Cons?
It does not have a stopper so it if it tips when its open the product will spill out
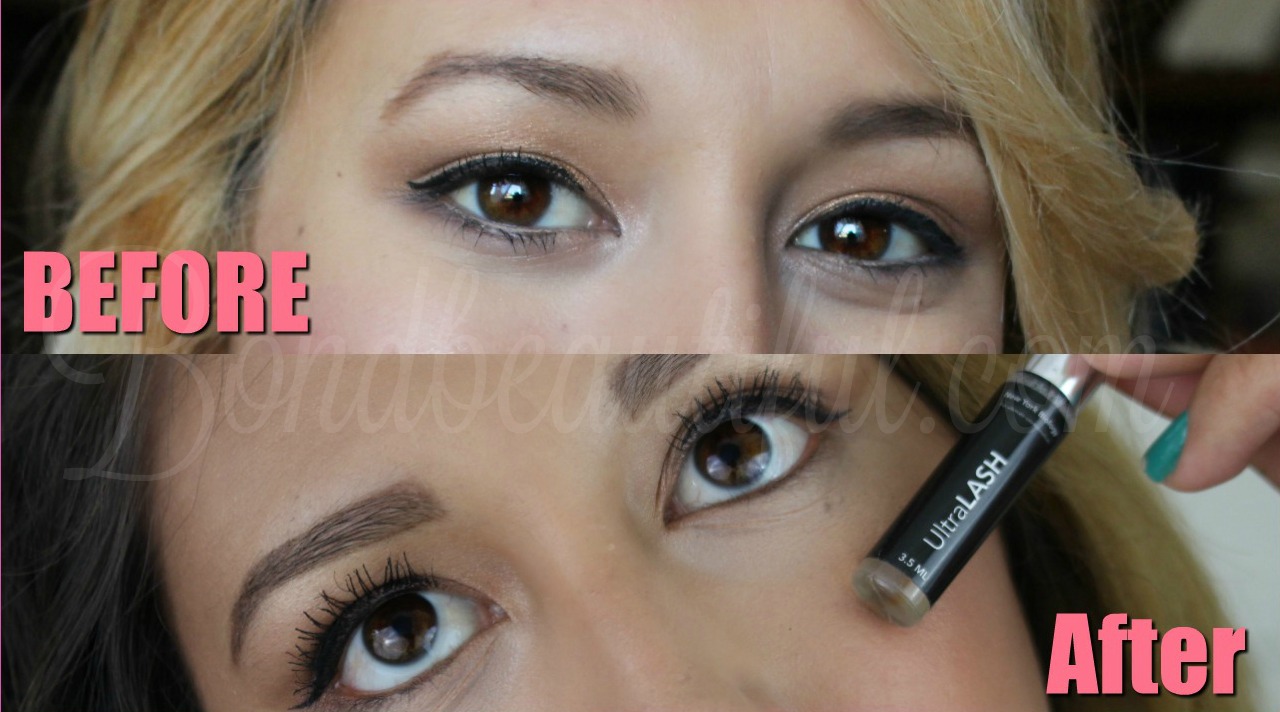
Does it work? Yes , because of the nutrients and vitamins it contains it really helps your lashes & eyebrows grow faster than they would by themselves. Like any product it takes time so that is what I noticed after 30 days. This is a product for someone who is patient because it isn’t going to make your lashes really long and voluminous after one use.
Here are my results after 30 days.
I will continue to use this and update you in another month to see how much volume & length I have after two months.
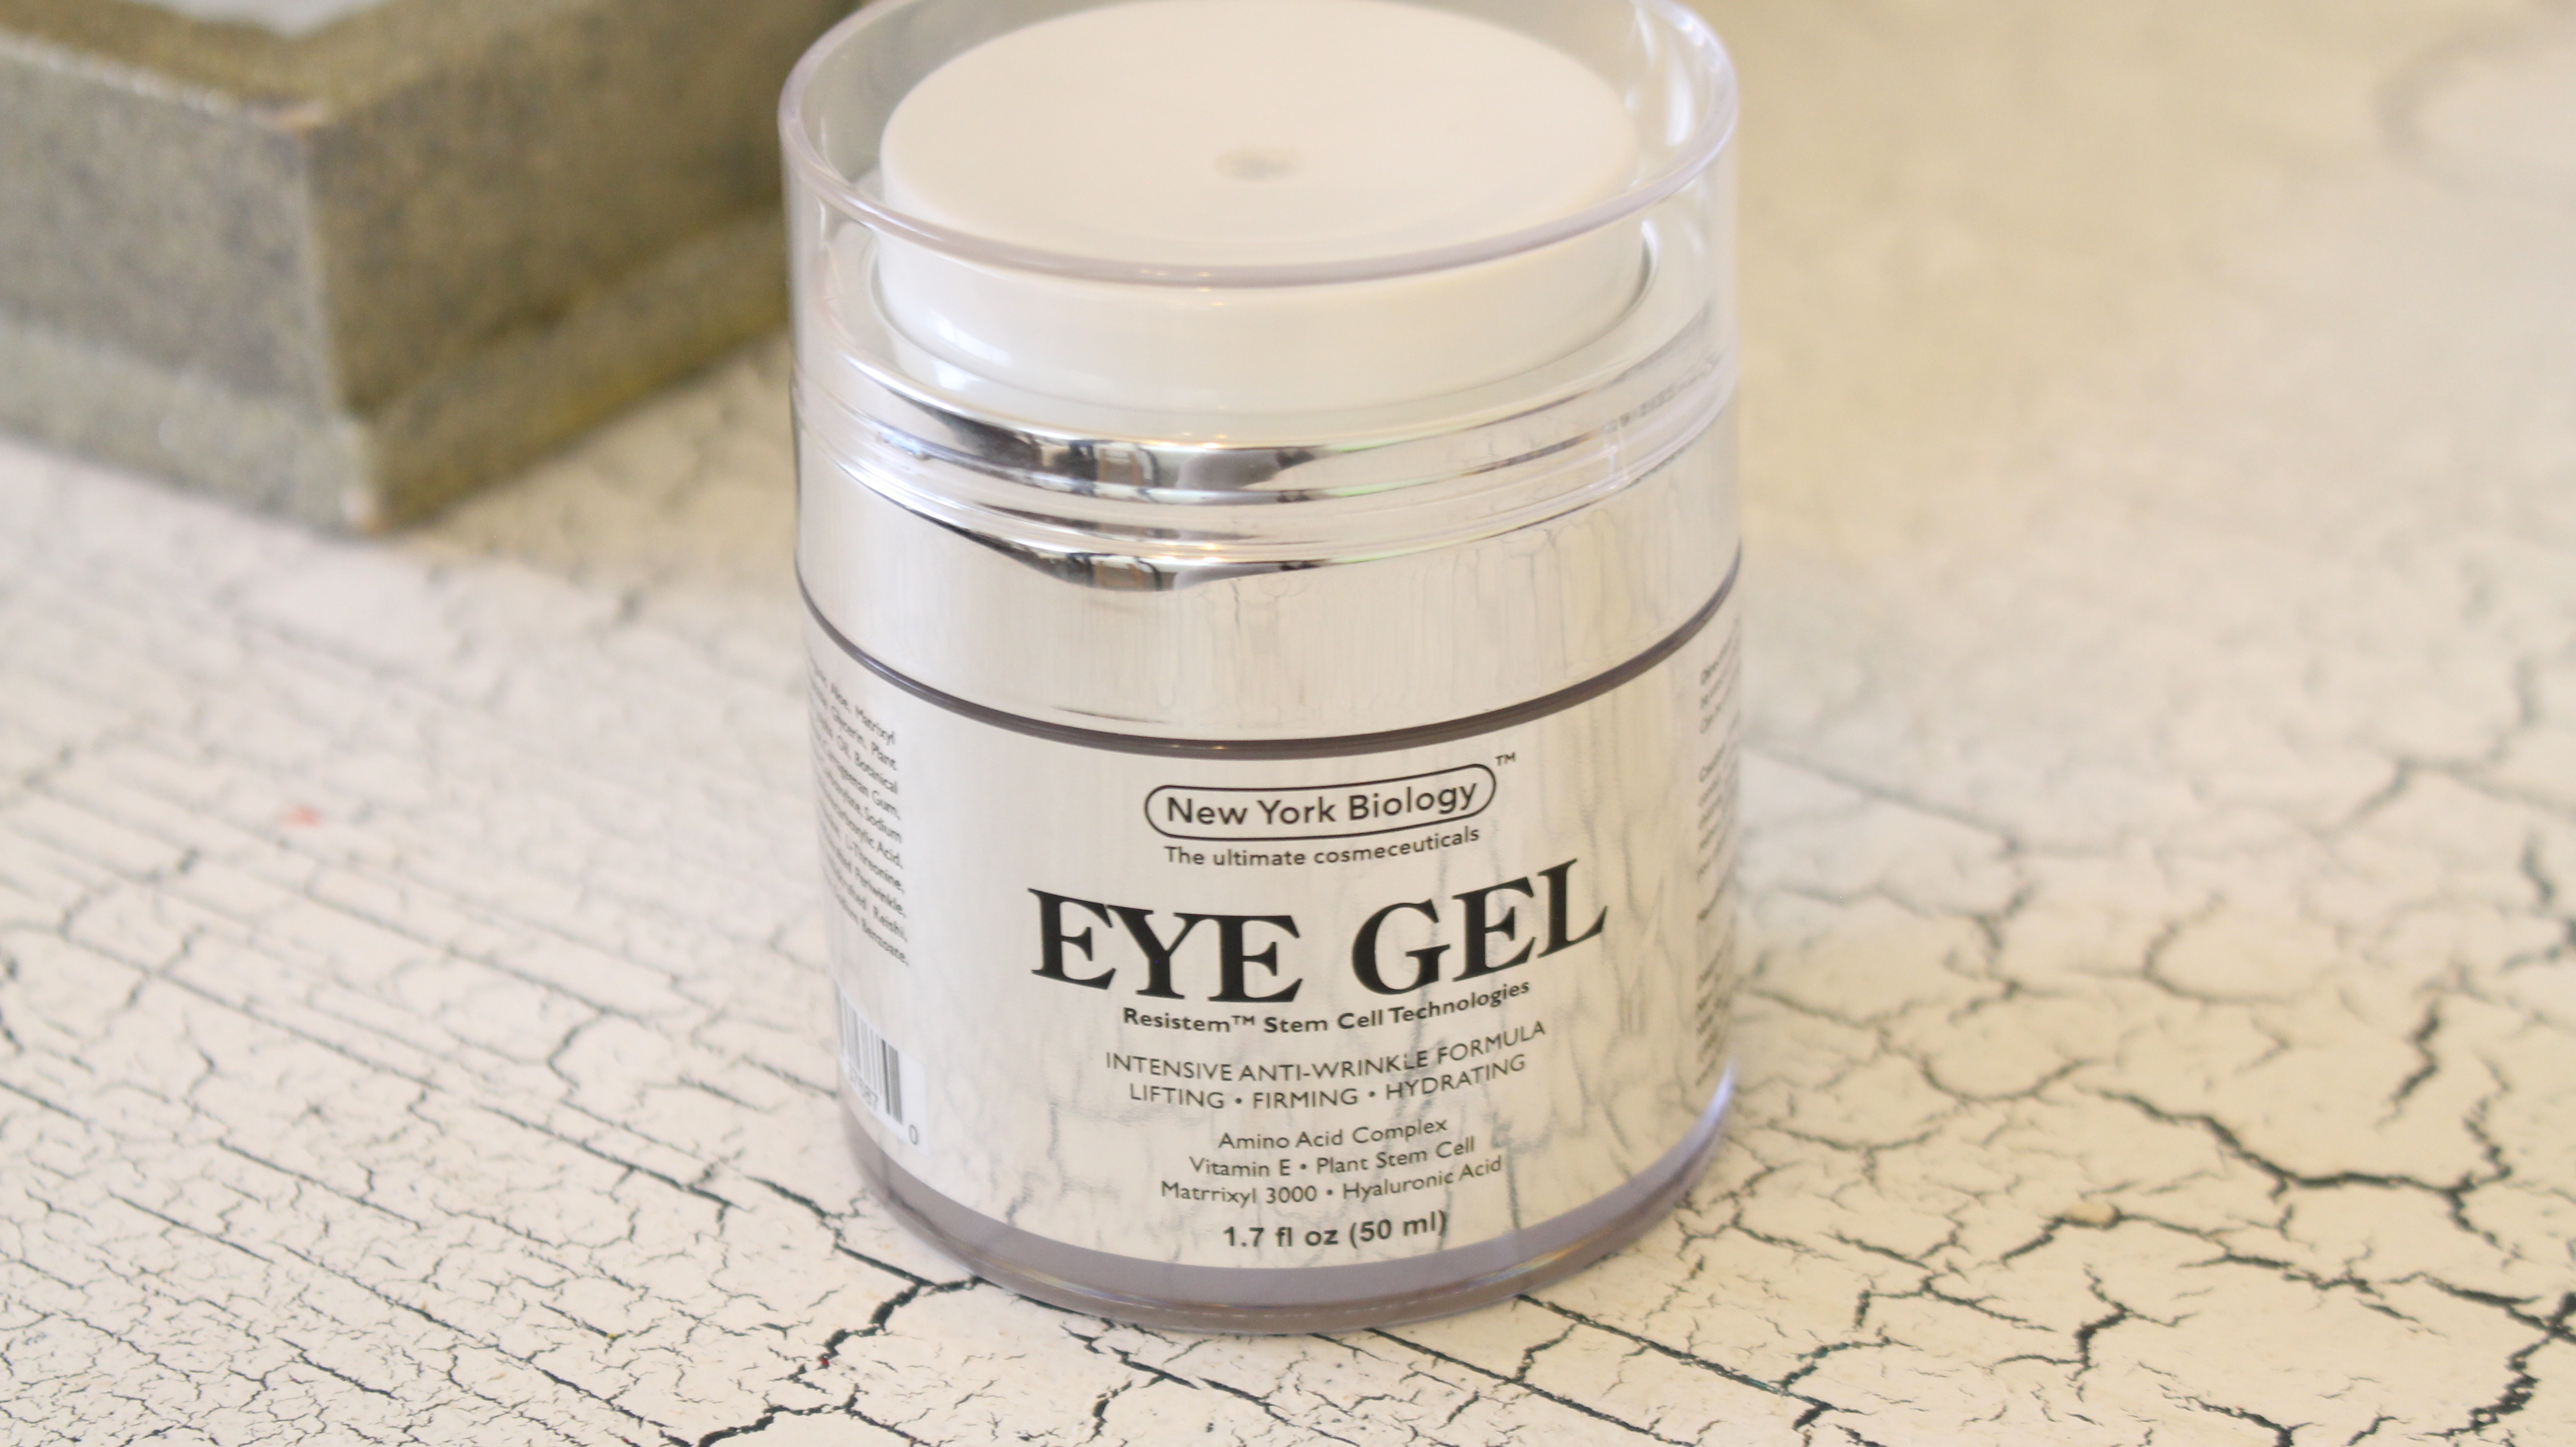
Today Im doing a review on the New York Biology Eye Gel. Im going to be talking about pros, cons, price, where to buy & does it actually work. (I was sent this product for free to review but I always give my 100% honest opinion)
This Eye Cream Deeply Nourishes and Hydrates Your Skin with its Powerhouse of Nutrients.Suitable for any age and skin tone, and for both men and women.
Some of the Benefits Include:
– Reduces the appearance of puffiness and fine lines around the eyes.
– Has the power to transform your look and boost your confidence.
– Helps rebuild cells, firms skin and repair wrinkles without dermabrasion or other expensive treatments.
– Hydrates and Firms your skin leaving a youthful looking appearance.
Does it work? Yes , does reduce wrinkles and fine lines that are caused by lack of hydration in that area. I use to have wrinkles and fine lines under my eyes as well as on my forehead. I noticed a big difference after using this for about 30 days.(see pics below)
Before:
(these are all unedited photos)
After:
Pros & Cons:
Pro#1 Hydrates Skin
Pro #2Reduces Puffiness (gives a cooling effect feels nice)
Pro#3 absorbs into skin rather than sitting ontop
Pro #4 Gel like formula is neither stick, greasy or oily
Pro#5 doesn’t effect the wear time of your makeup
Pro#6 can be used day or night, out in the sun or under makeup
Pro #7 Packaging makes it possible to really measure and control how much product your pump out
Pro #8 you only need a pea size and it is enough for both eyes
How to apply?
* You can apply this morning or night or both!
I wash my face
I pump a pea size into my hand and dab it around the under eye area, my eye lid, & in the middle of my eyes. Basically all around the eyes. (this can also be applied on the face if you so choose)
Then I continue and apply my day moisturizer & makeup
I am so impressed with this New York Biology Eye Gel. I feel Like often times we apply so many serums & moisturizers to our face but skip our eyes. We do this for two main reasons: First, because we don’t want our eyelids to get oily(so that our eyeshadow lasts) & second we do not want our eyeshadow or concealer to crease. The great thing about this is that it will absorb into your skin and it won’t leave any tackiness. * If your skin feels tacky or sticky after using this then you applied way to much! Here is my full review video, which includes before & after .
I have been so into skin care lately, Im starting to realize the big benefits you get from taking care of your skin. I hope this was helpful and taught you a little bit about a difference that a skin care product can do for you! Let me know your thoughts have you tried this? if not what eye cream do you use?
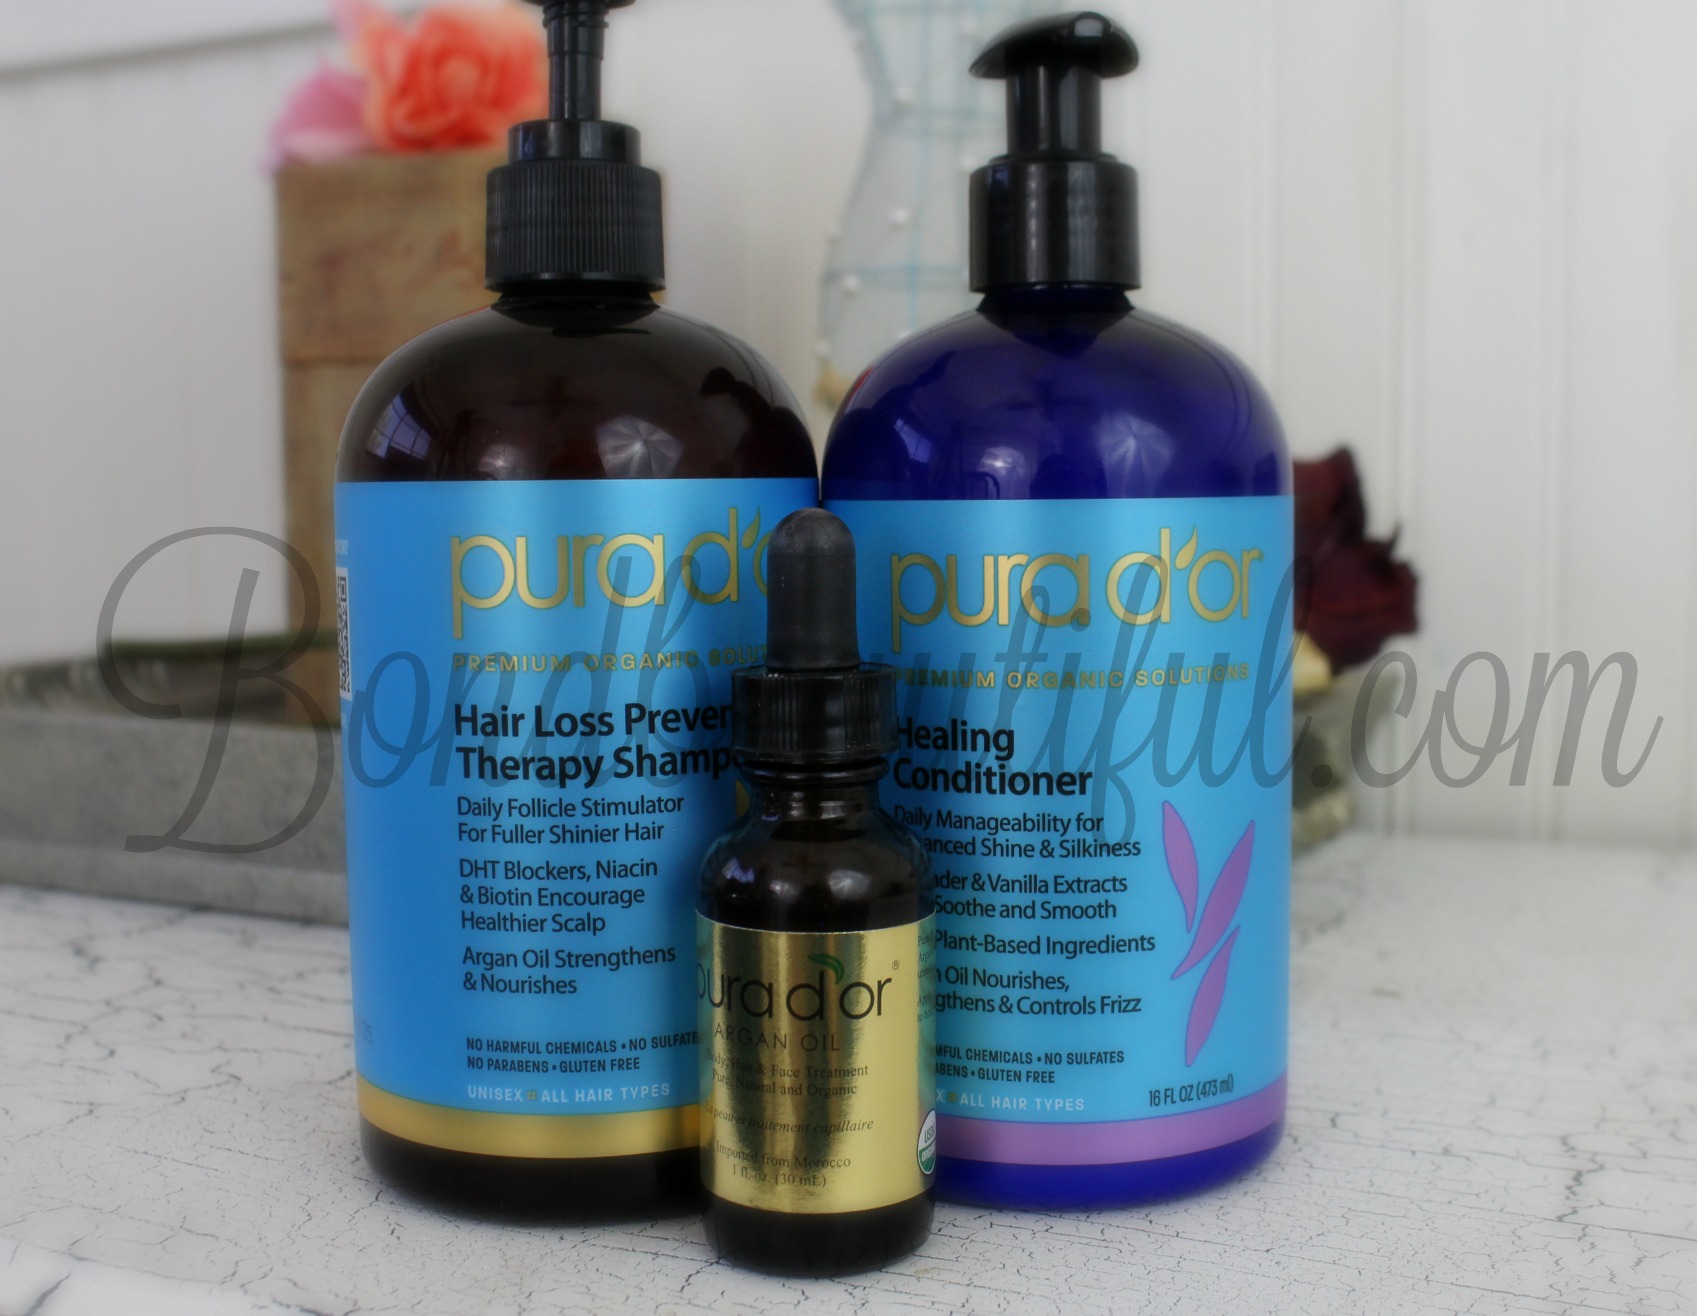
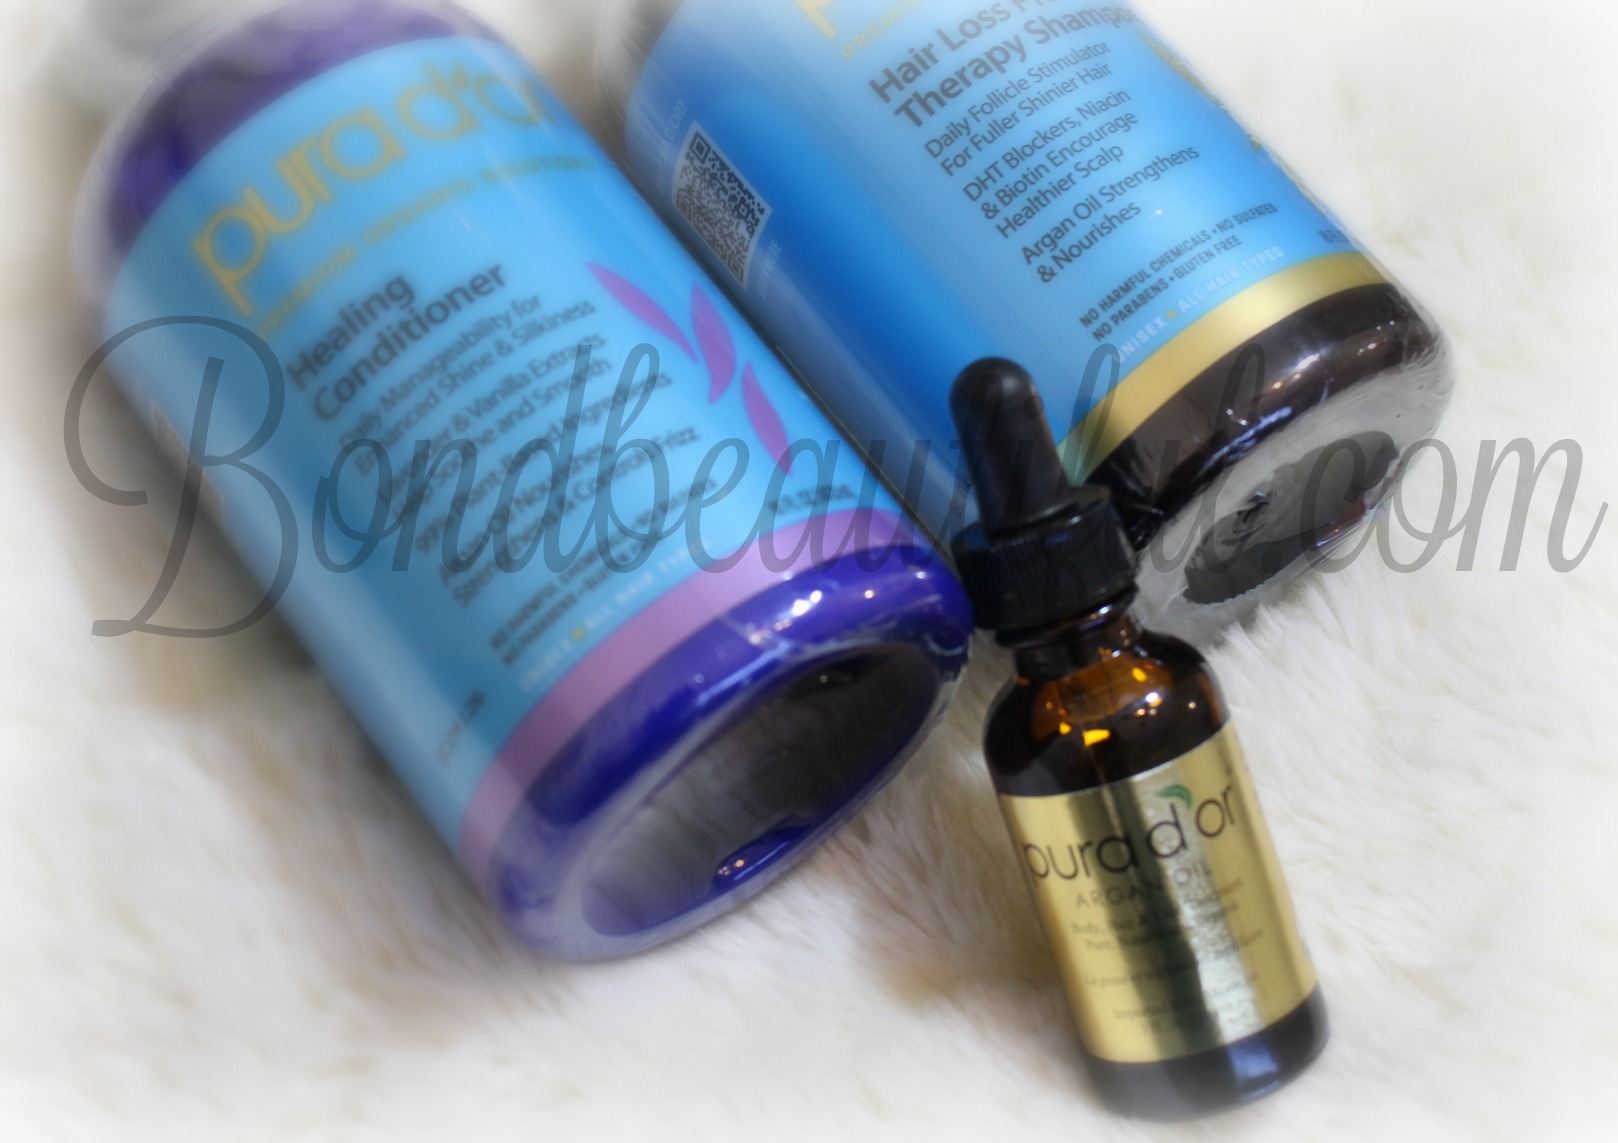
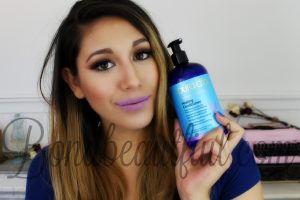
Today I am bringing to you a review on the Pura d’or shampoo & conditioner + argan oil. This is an organic product, which means no harsh chemicals, no parabens & no sulfates. I will be talking about pros & cons, price, where to find, does it work, and is it worth the buy.
Good for all skin types (If oily use as night treatment 1 drop) (if dry add into foundation, or 2drops before bed , or 1 drop before foundation application)
Very versatile (ends of hair, face, skin)
Doesn’t change the wear time of my foundation
hydrates & conditions
reduces frizz & split ends
Makes hair look shinier
Makes skin look & feel soft and healthy
I absolutely have fallen in love with this Argan Oil I use it in so many different ways. I have added it to my day & night routine. To see how & learn more about why I love this and how to use it check out the video below.
Is it worth the buy? Yes I think so , I really did notice a difference right away. I felt like it was actually doing something for my hair. It was nourishing & making it healthier. Organic shampoo & conditioners are not easy to find and this one is a great option that you can find almost anywhere.
Let me know what you like from Pura d’or? Whats your favorite hair or skin care product? Comment down bellow lets get a conversation going!!
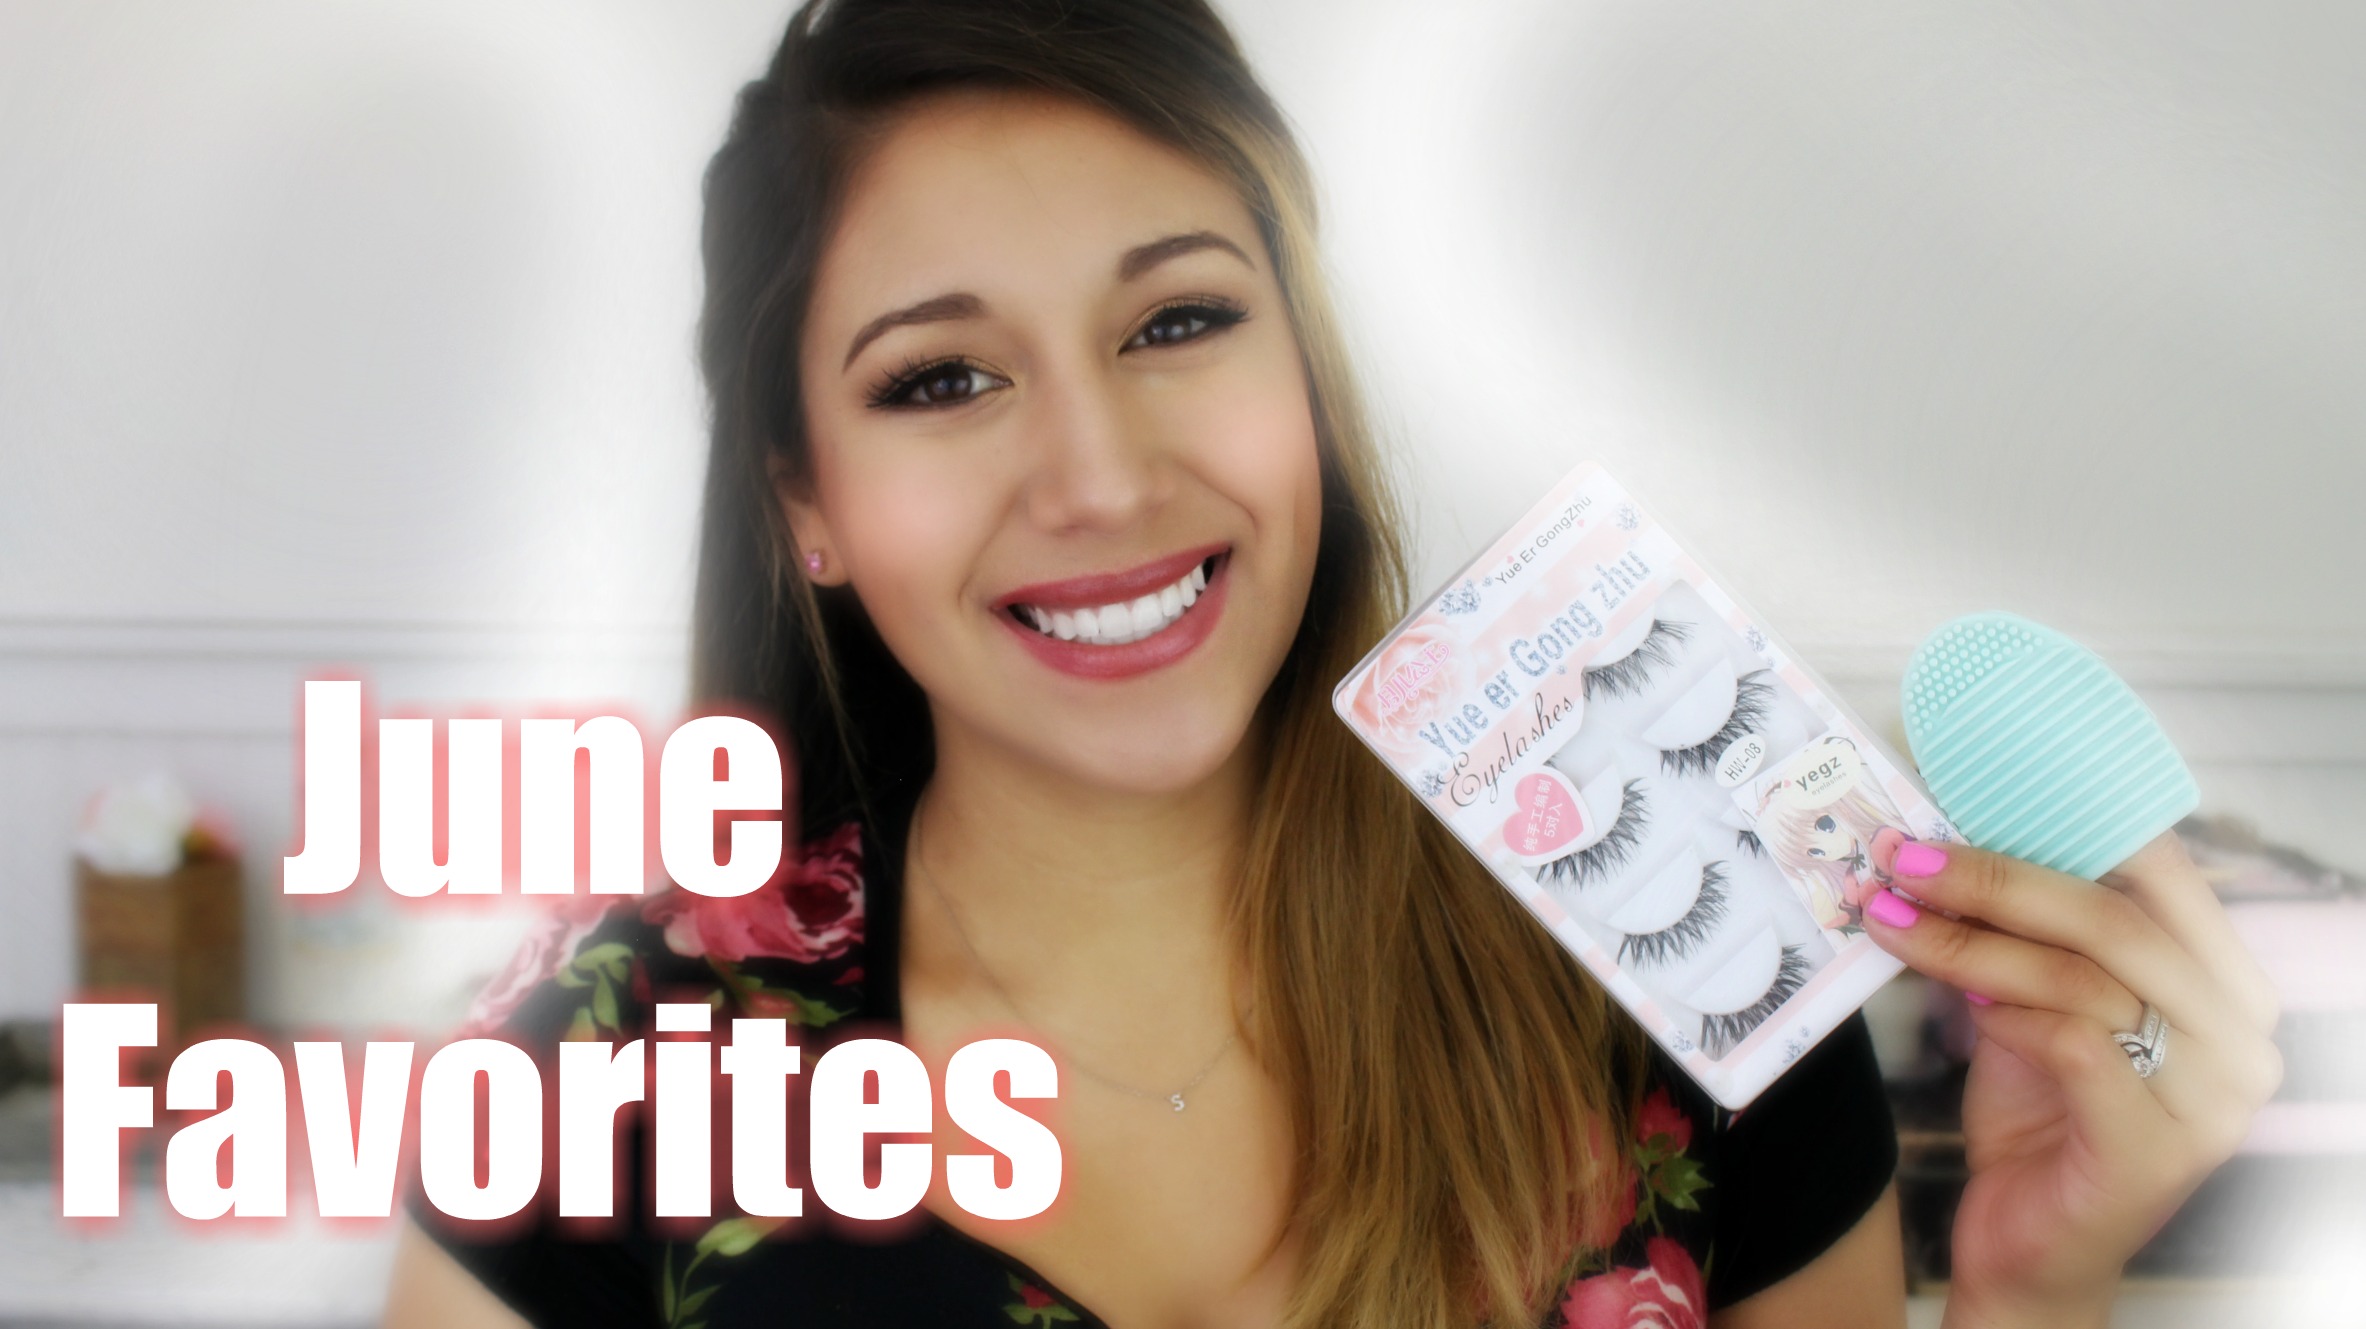
I am so excited to share with you some of my favorite hair, skin & makeup products for this past month. I love doing these kinds of posts because then you have a chance to see products that have truly not only worked for me but that I am personally in love with. (video below to see all products)
Pura d’or Argan Oil I have dry to normal skin. Sometimes my foundation looks cakey on certain parts of my face. It looks like makeup sits on top of my skin rather than blending into my skin. This makes my makeup look un natural . To fix this I add this oil to my foundation (two drops) or just to my face before foundation. It really gives me a natural looking flawless face. The makeup sits so nicely onto of it and helps it really blend into my skin.
Dauphines of New York Headband : This headband is perfect for this summer time. Its so hot in Arizona and its nice to keep your hair out of your face. So this headband is useful and cute all at the same time! I used for the 4th of July and loved it!
(Find it at Anthropologie)
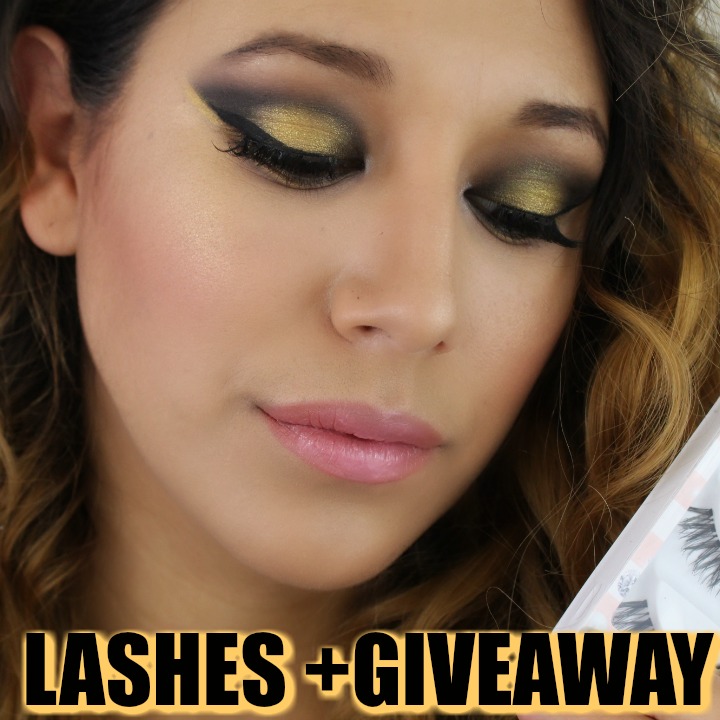
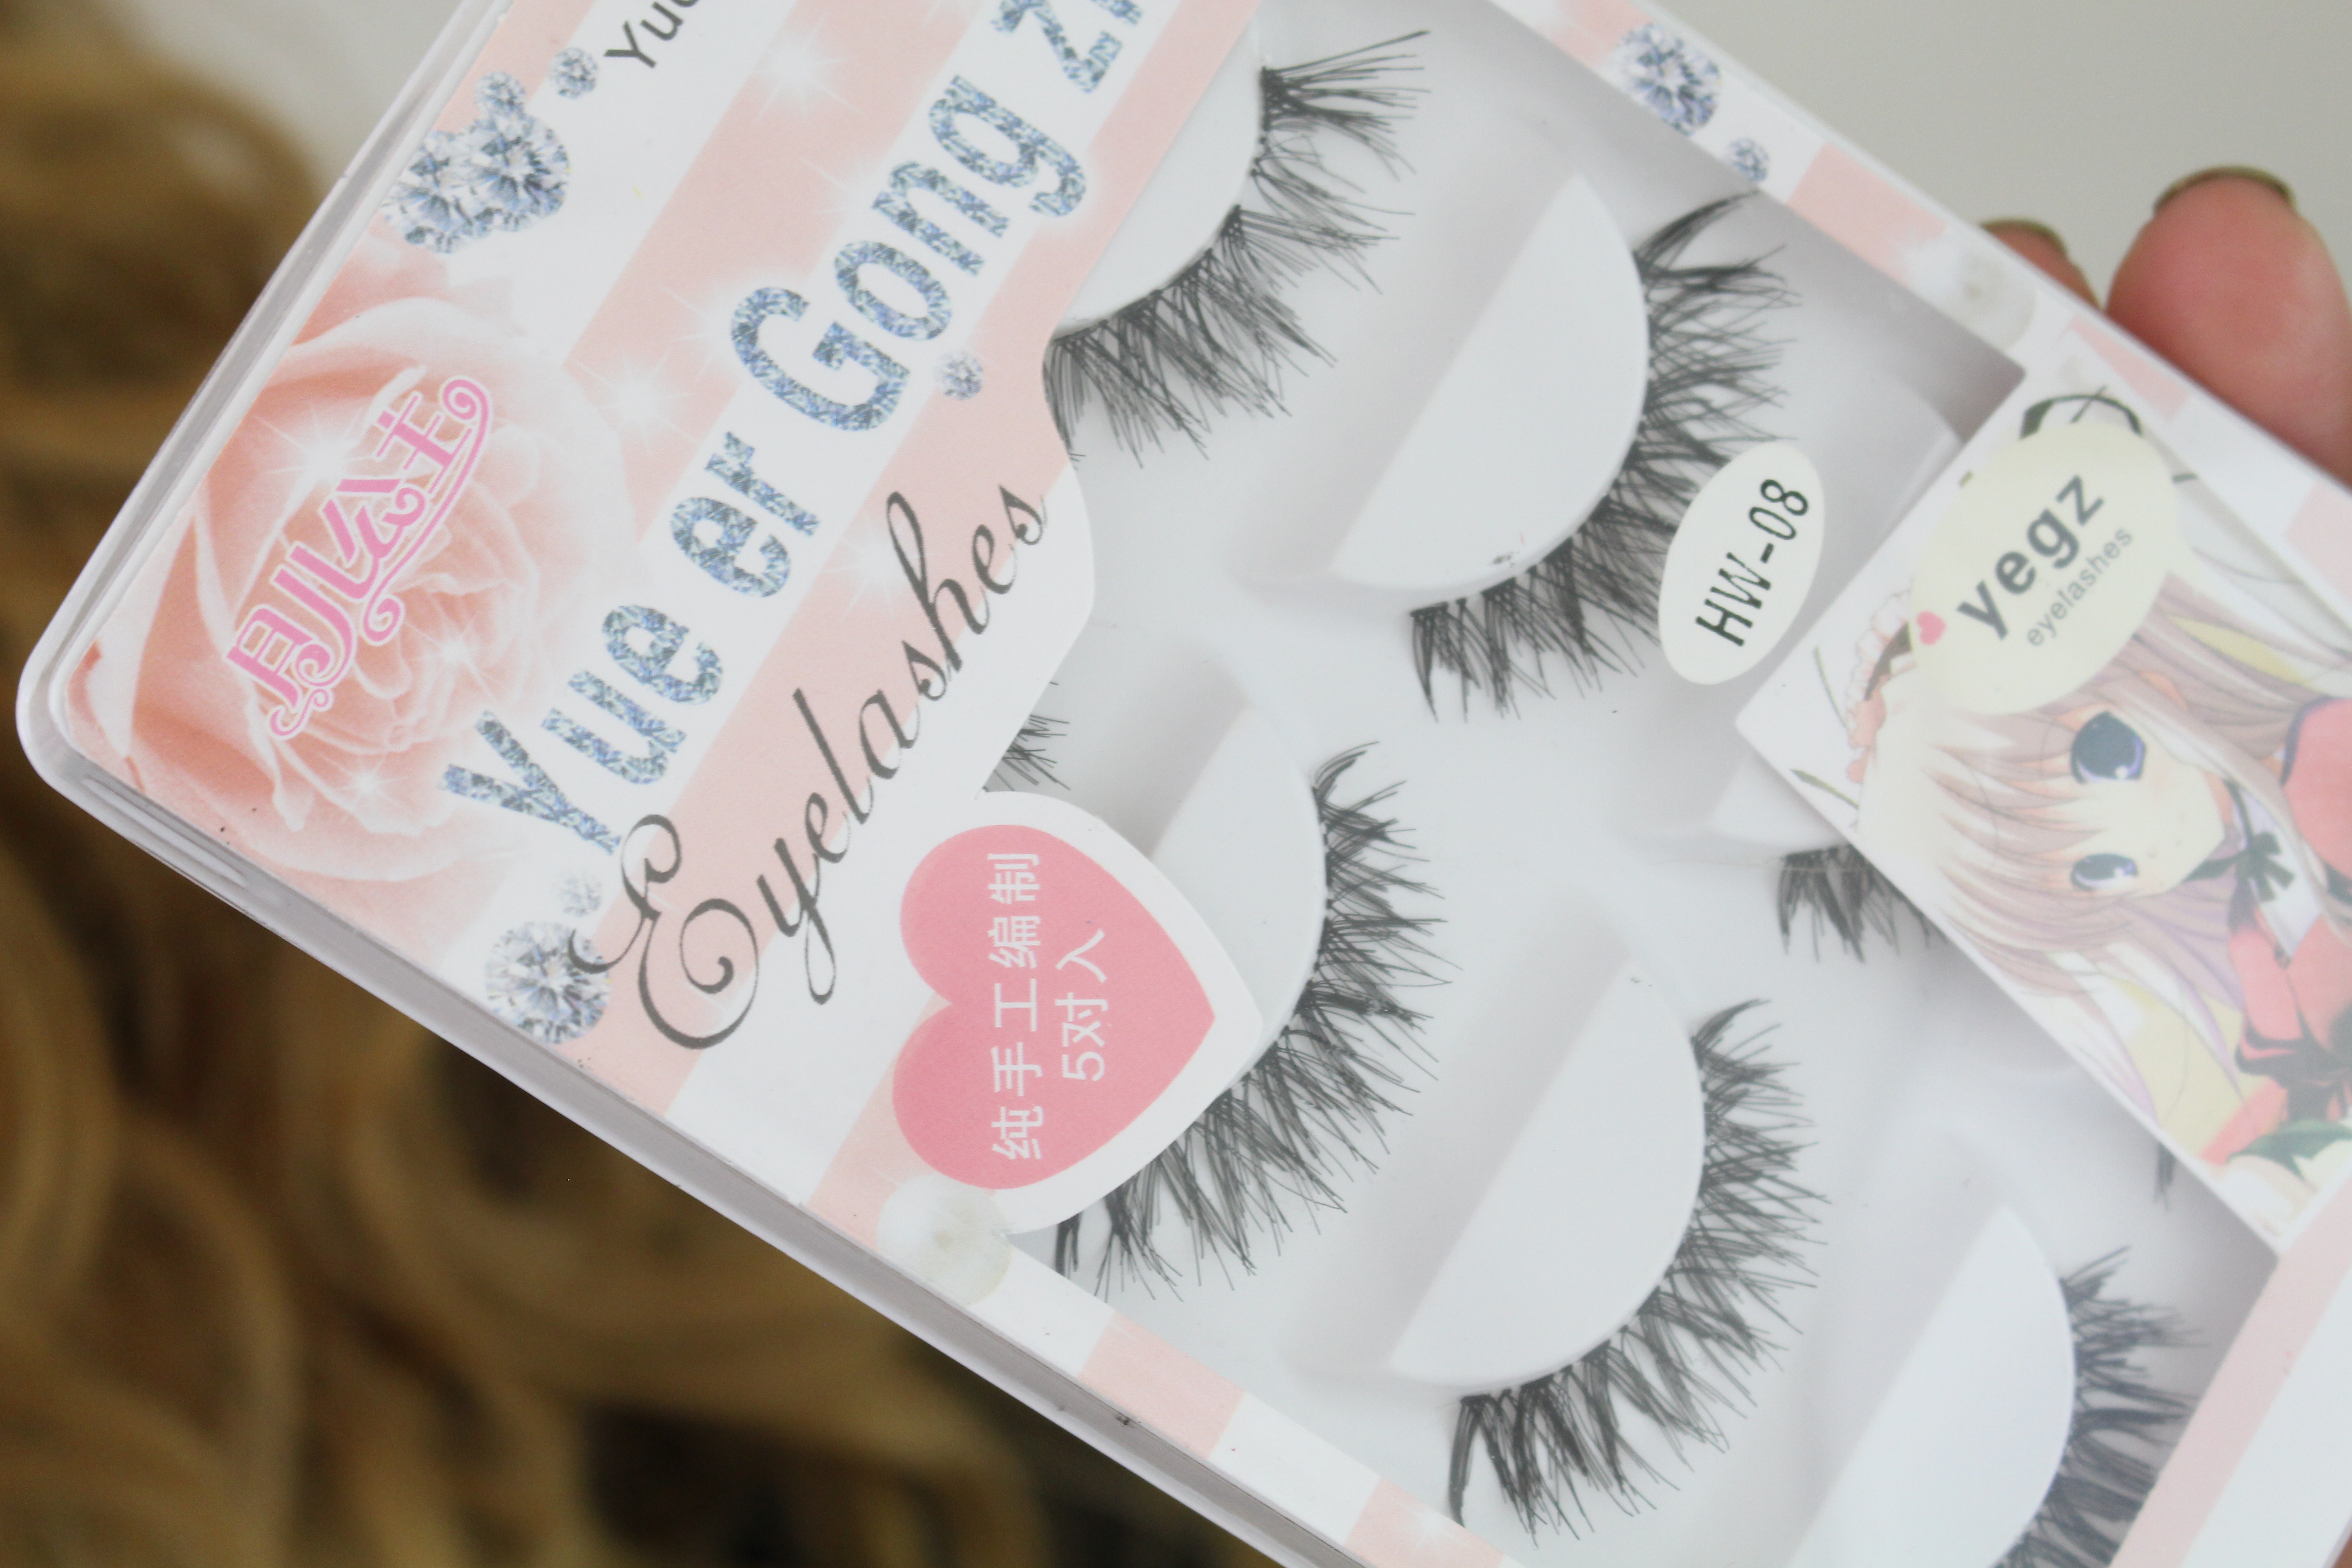
Yuer er Gong Zhu Eyelashes : Love these lashes they are glam but look natural all in one. I love these for dates or even everyday. ( I have a giveaway going on so make sure to check out that video too down below. Im giving away these lashes!)
Ittse Eyeshadow Golden Gate : I am so obsessed with this eyeshadow , this is the eyeshadow I used in multiple of my 100 days of makeup pictures. (over on my Instagram)
Fit Me Matte & Poreless Foundation 220 This foundation is such a great matte foundation. Even with my dry skin it still looks great! I also love to mix the Argan Oils in with this particular foundation. It turns this matte foundation into a natural finish foundation, that just looks fresh and perfect.
Wet N Wild Brushes: Great affordable brushes , super soft and do not shed.
Wet n Wild To reflect Shimmer Palette Boozy Brunch: My favorite Highlight of the moment. Such an unexpected find!
Wet n Wild Mega goo contouring Palette Dulce de Leche: I have been using and abusing this contour palette. I love the contouring shade in here it is a neutral which makes it more wearable and it looks beautiful.
Amazon Brush Egg : This is such an amazing find. It helps clean your brushes just as good as the brush cleaning mats except it is 1/10th of the price. Only 2 bucks , such a steal!
Wet n Wild Color Icon Blush Apri-cot in the Middle: This is a perfect natural blush that goes with any makeup look. So it is perfect for everyday or for special occasions. The reason I like this so much is because it doesn’t take away from your look. Its a no brainer blush.
Bella Pierre Cosmetic Mineral Blush Desert Rose This blush is a beautiful light pink. Another blush that goes with any look but especially blue looks! I love it with a blue smokey eye . (shown in the picture below)
Be a Bombshell Smooth Criminal Powder: Since I have dry skin I have to be so careful when choosing a powder. I can easily turn into a cakey mess. So I have been loving this powder to set my under eye concealer! It smooths the area out with out drying it out.
Wet n Wild Highlighting Pen Posing Nude & A Happy Medium: These pens are so great for highlighting. They are also great for adding to other concealers. Specially hard to work with concealers tend to work better with this concealer.
LA girl Pro Concealer Natural: This concealer is such a great alternative to the MAC Pro long wear concealer. It is not as thick and full coverage but it is definitely so good! I use it for under the eye and it is perfect. I also highlight with it around the face.
Sally Hansen Gel Shine 3D Top Coat: Are you looking for a super shiny top coat that makes it look like you came from the salon? Well I finally found a incredible top coat at the drugstore! This one is so great , it makes my nail polish last longer & looks shinier than any other top coat! Love, Love , Love!
ELF Acne Fighting Gel: This gel really surprised me. It didn’t magically make my acne go away but it helps my blemishes get smaller and start to go away. Its amazing and I am so surprised. I will wash my face before bed and apply it after. Then in the morning my blemishes will be ten times smaller and look a lot better than the day before. This is my secret weapon to beautiful looking skin.
NYC Lip liner Bare: Perfect lip liner to pair up with your nude lips!
Wet n Wild Velvet Matte Lipcolor Looking for Truffle: Such a velvety soft matte lip color! So amazing and this shade is a cooler nude and I love it. So in style right now!
NYX Butter Gloss Eclair: These butter glosses are just that buttery! This color looks so great topped over light pink type of nude lipsticks. (shown below)
NYX Soft Matte Lip Cream Stockholm: This has been a long time favorite. To me this is the perfect matte nude lip color. Its so affordable as well. If you struggle to find the perfect nude shade try this one out!
LA Colors High Shine Butter Gloss Snuggle: This is a beautiful nude, almost gold shimmery gloss. The formula is very slick and soft without being sticky. The color is perfect to add to the lower lip of your nude lips! (great lipstick topper) I especially have been loving it over a matte cool or grey nude lip. I add it right to the center of my bottom lip and blend! (shown below)
Want to see all my favorite products up close & personal then click the video below!
Whats your favorite beauty product for this last month? Let me know in the comments!
Happy Tuesday! So on all my social media (twitter,Instagram,tumblr,flickr,&Facebook) I have been doing 100 days of makeup challenge. This is where I challenge myself to do a completely different makeup look every day for 100 days. Since starting that I have really received so much support from all of you. I am so thankful for how sweet and supportive you guys have been. Because of how much love I have been receiving from you guys I wanted to give back! So today I’m doing a giveaway! (more info below)
Now before we get into that I wanted to tell you about this amazing lashes I have been obsessed with lately. These are Skyluna Yue er gong zhu Lashes. Now I am not sponsored at all I just recently discovered these and fell in love. These are crisscrossed dramatic lashes that are synthetic. They have a clear band which makes them easier to wear without eyeliner. Six comes in a pack and a single pair has lasted me over a month! I am so impressed with how well they are made for the price. They cost me $2.75 on amazon and that includes shipping. I have been so impressed that I want to give one away to you!
Rules of Giveaway:
Must be 18 or older, or have parental consent.
US only (Sorry if your not from US)
Must be subscribed to my youtube & Follow me on Instagram
I will email you on your youtube when the winner is chosen
you have 2 weeks to enter(until July 12th) just click this link
To see a full review and more about giveaway see the video below.
Thank you guys so much for your love & support on my makeup journey I hope you will subscribe by email (ITS FREE) to receive my blog posts straight to your email!
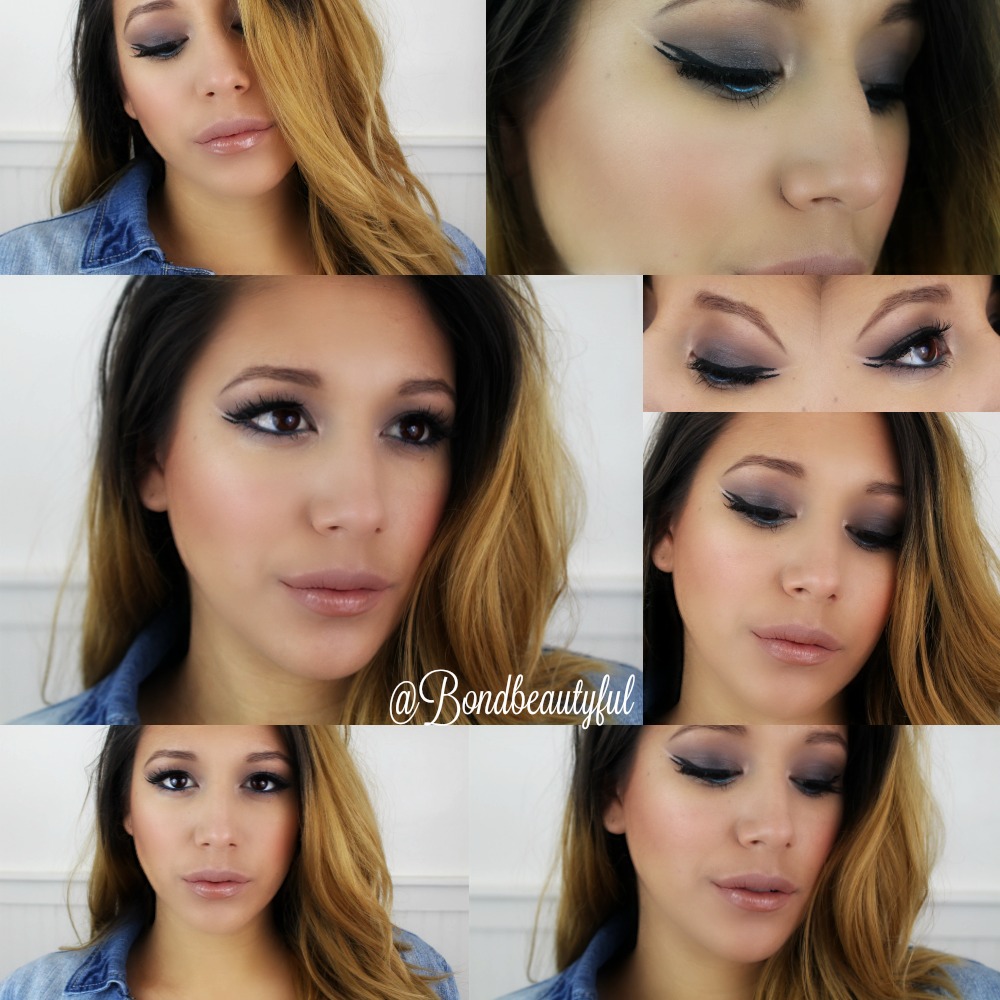
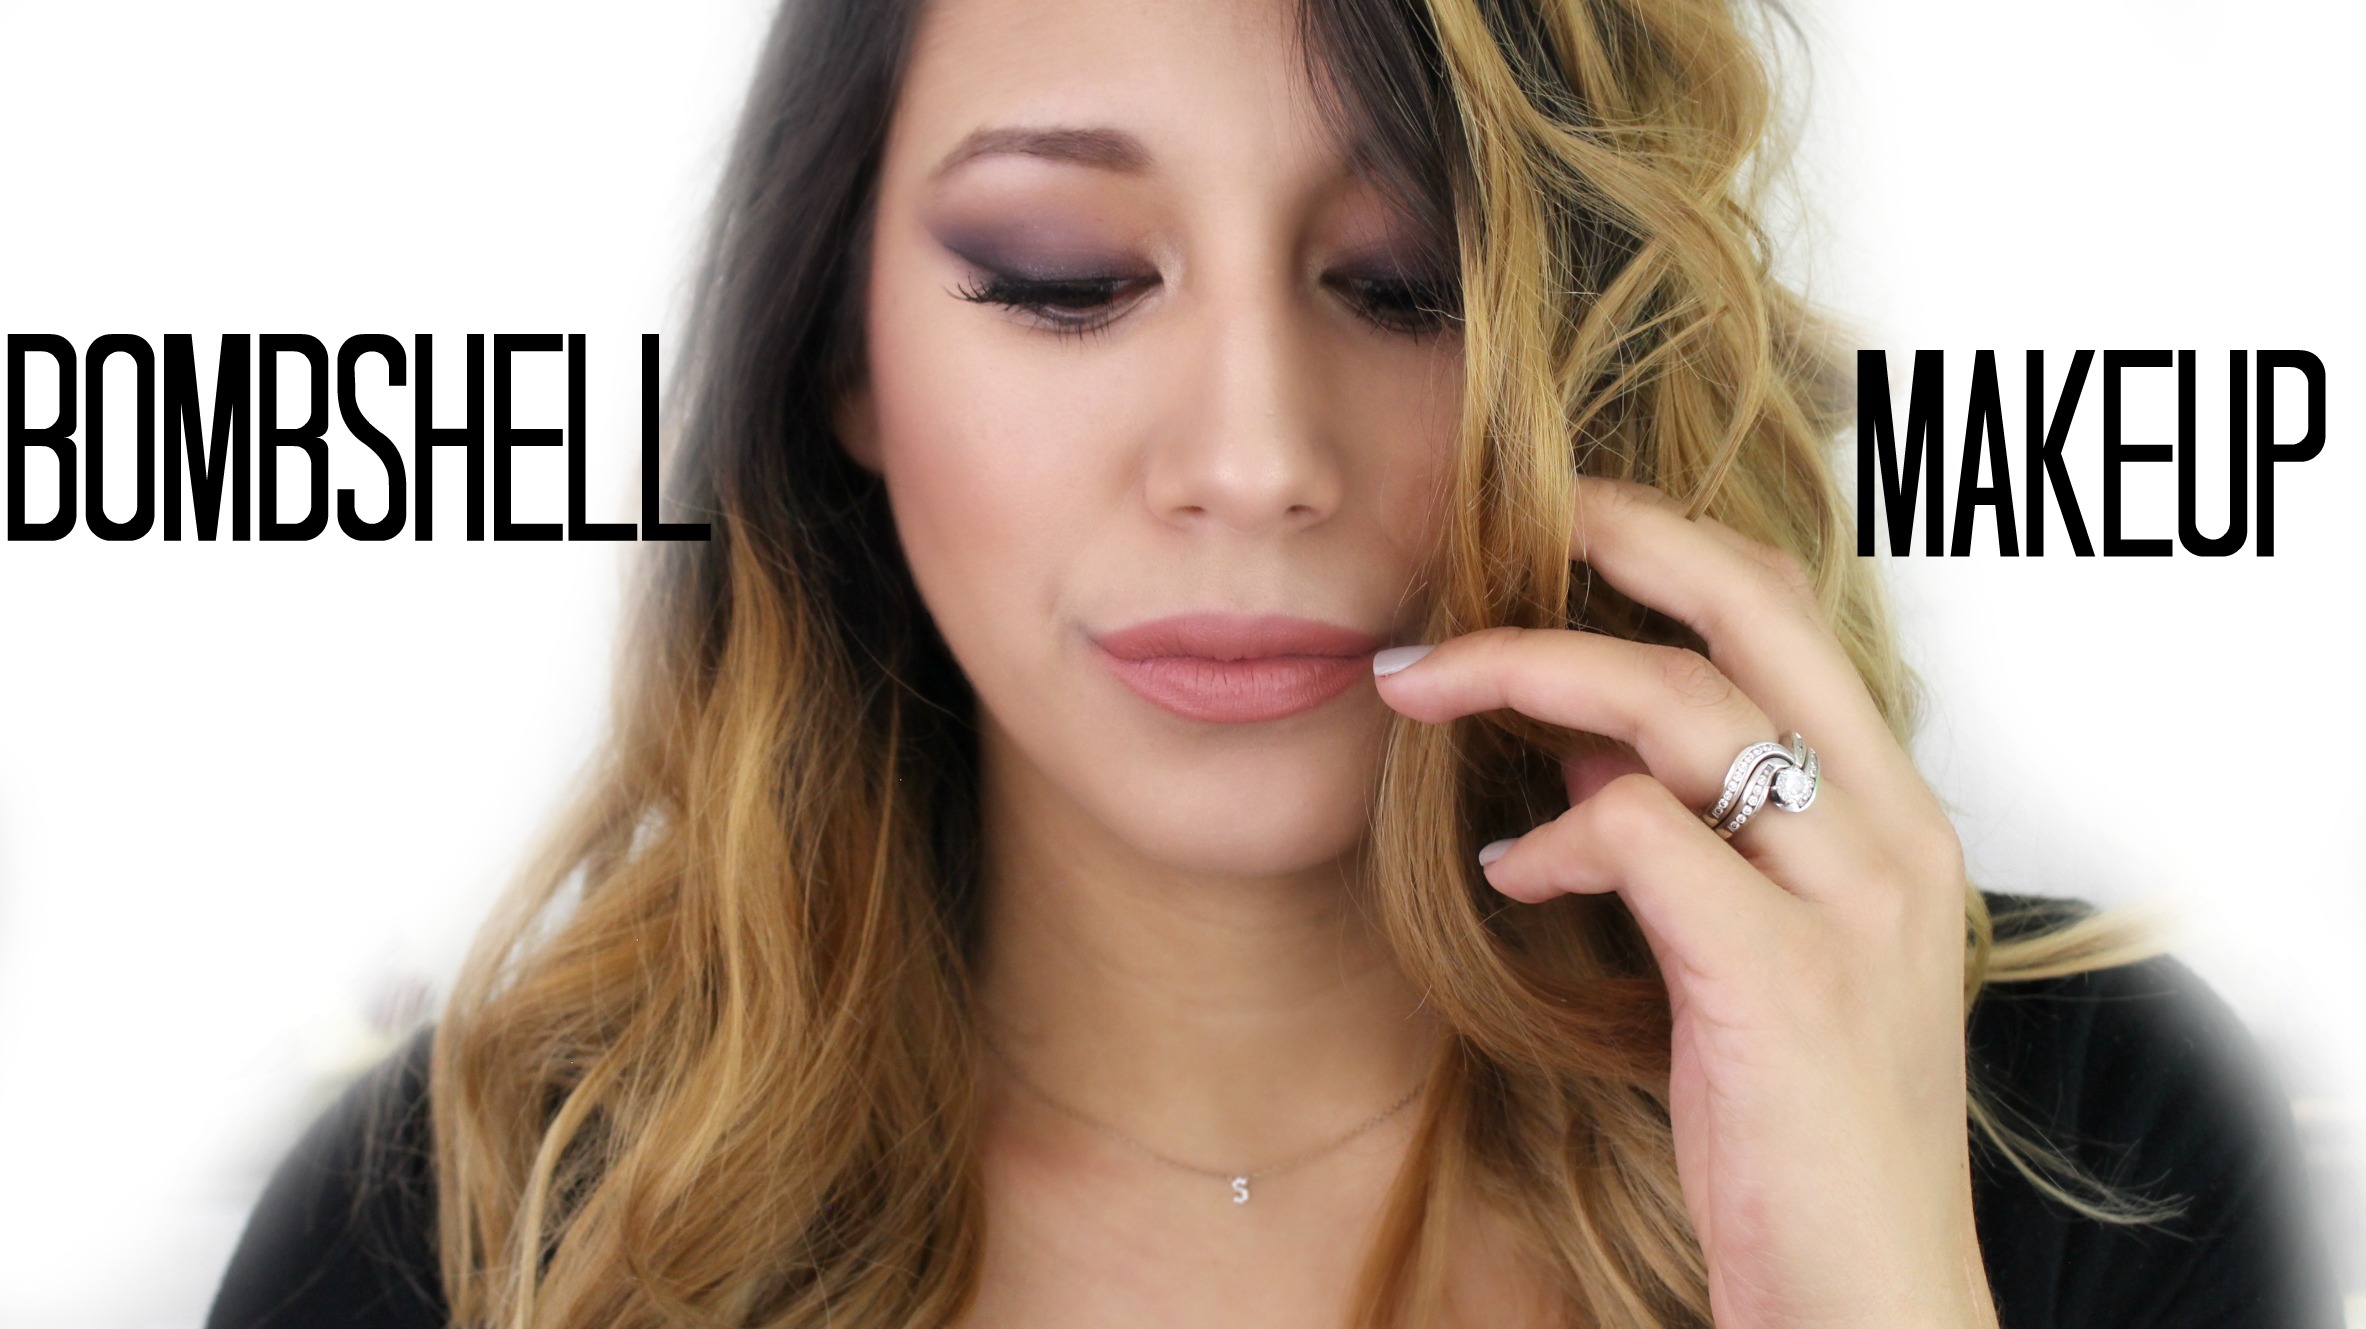
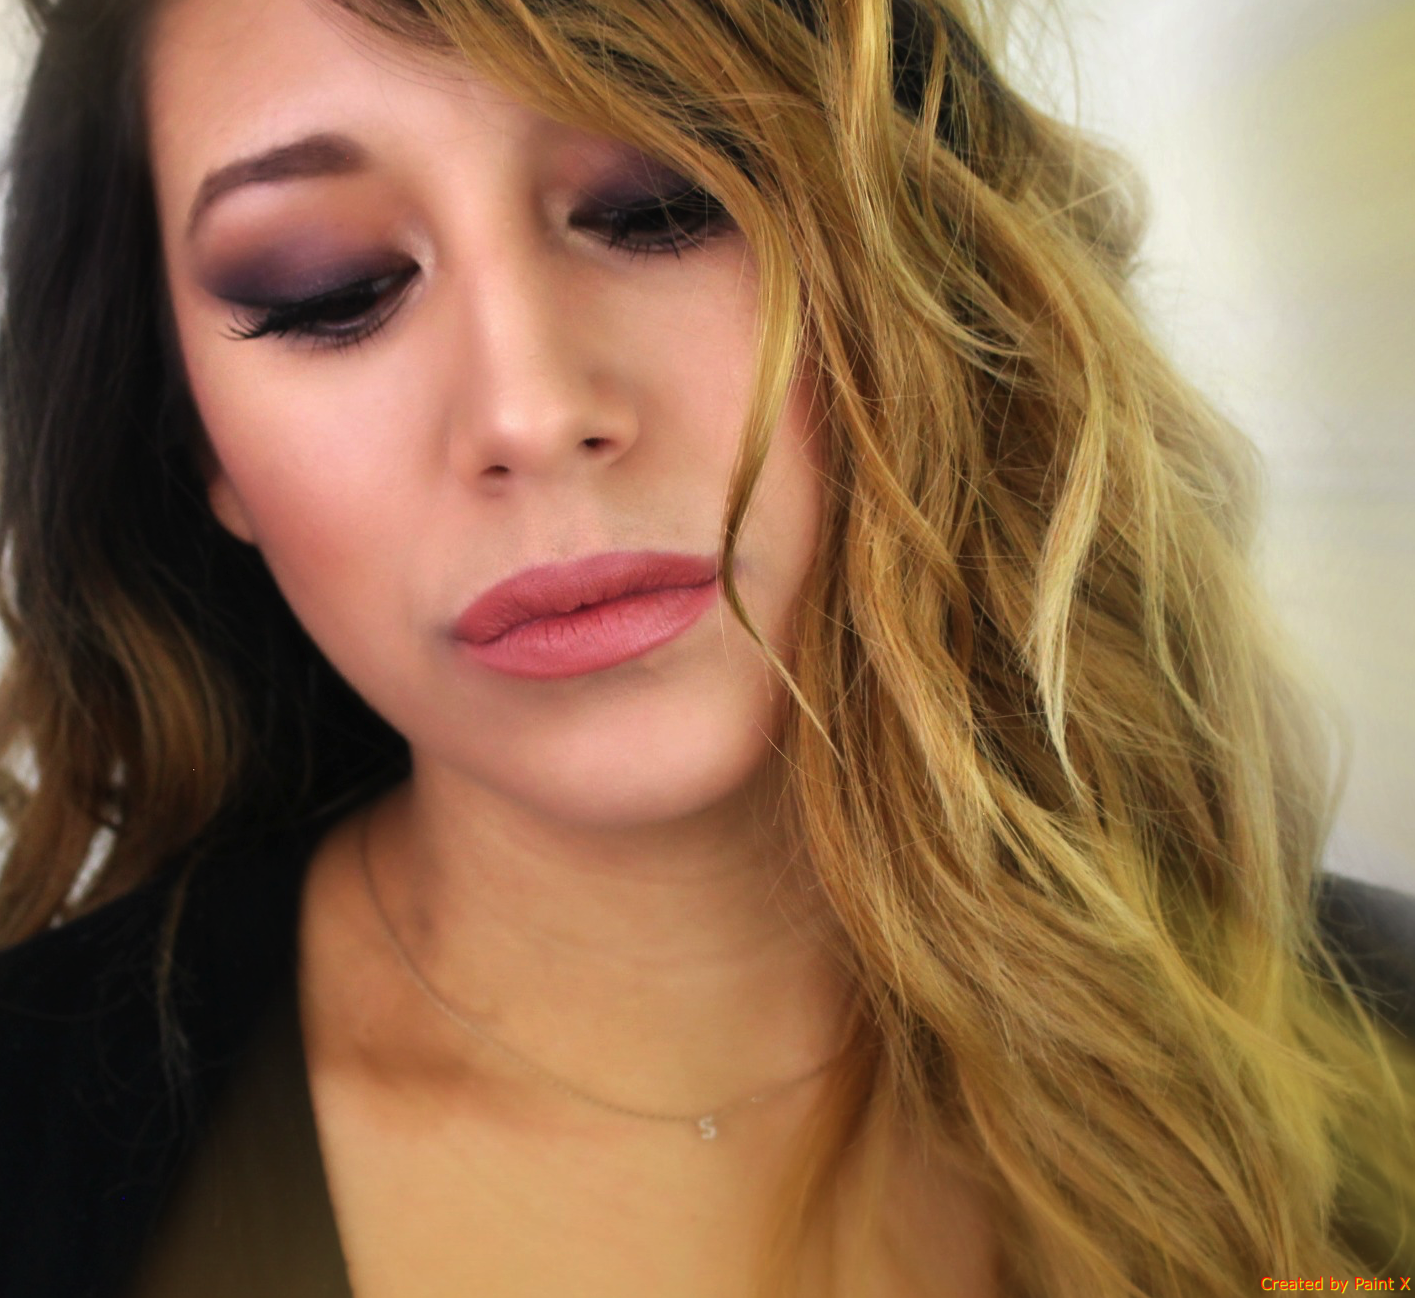
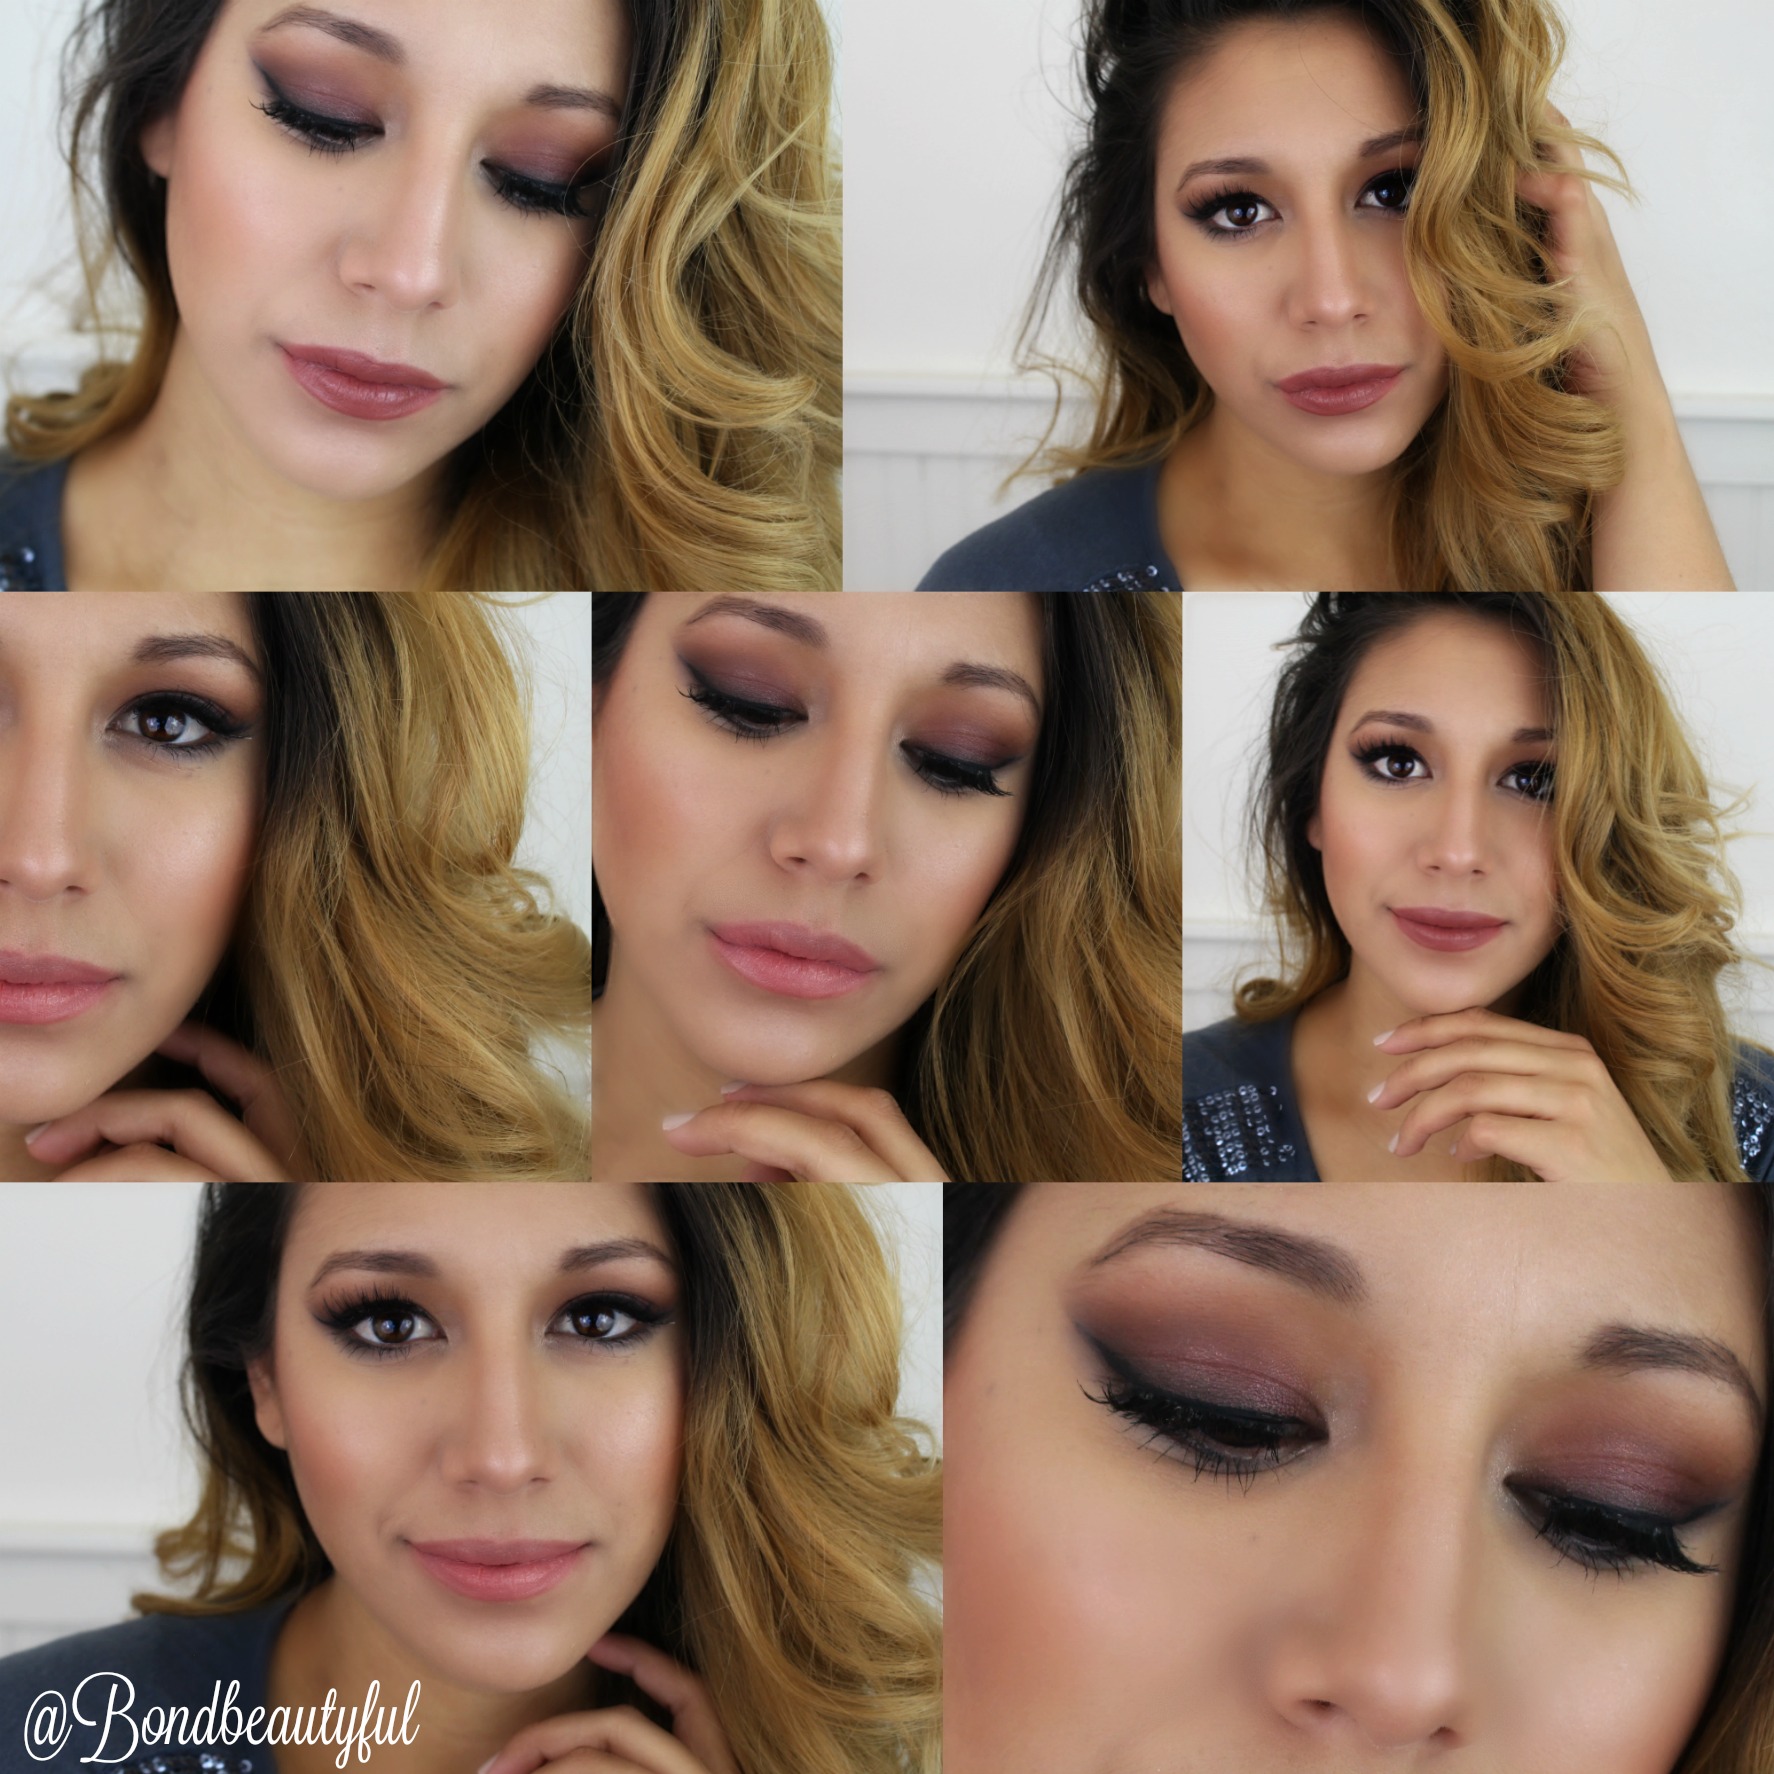
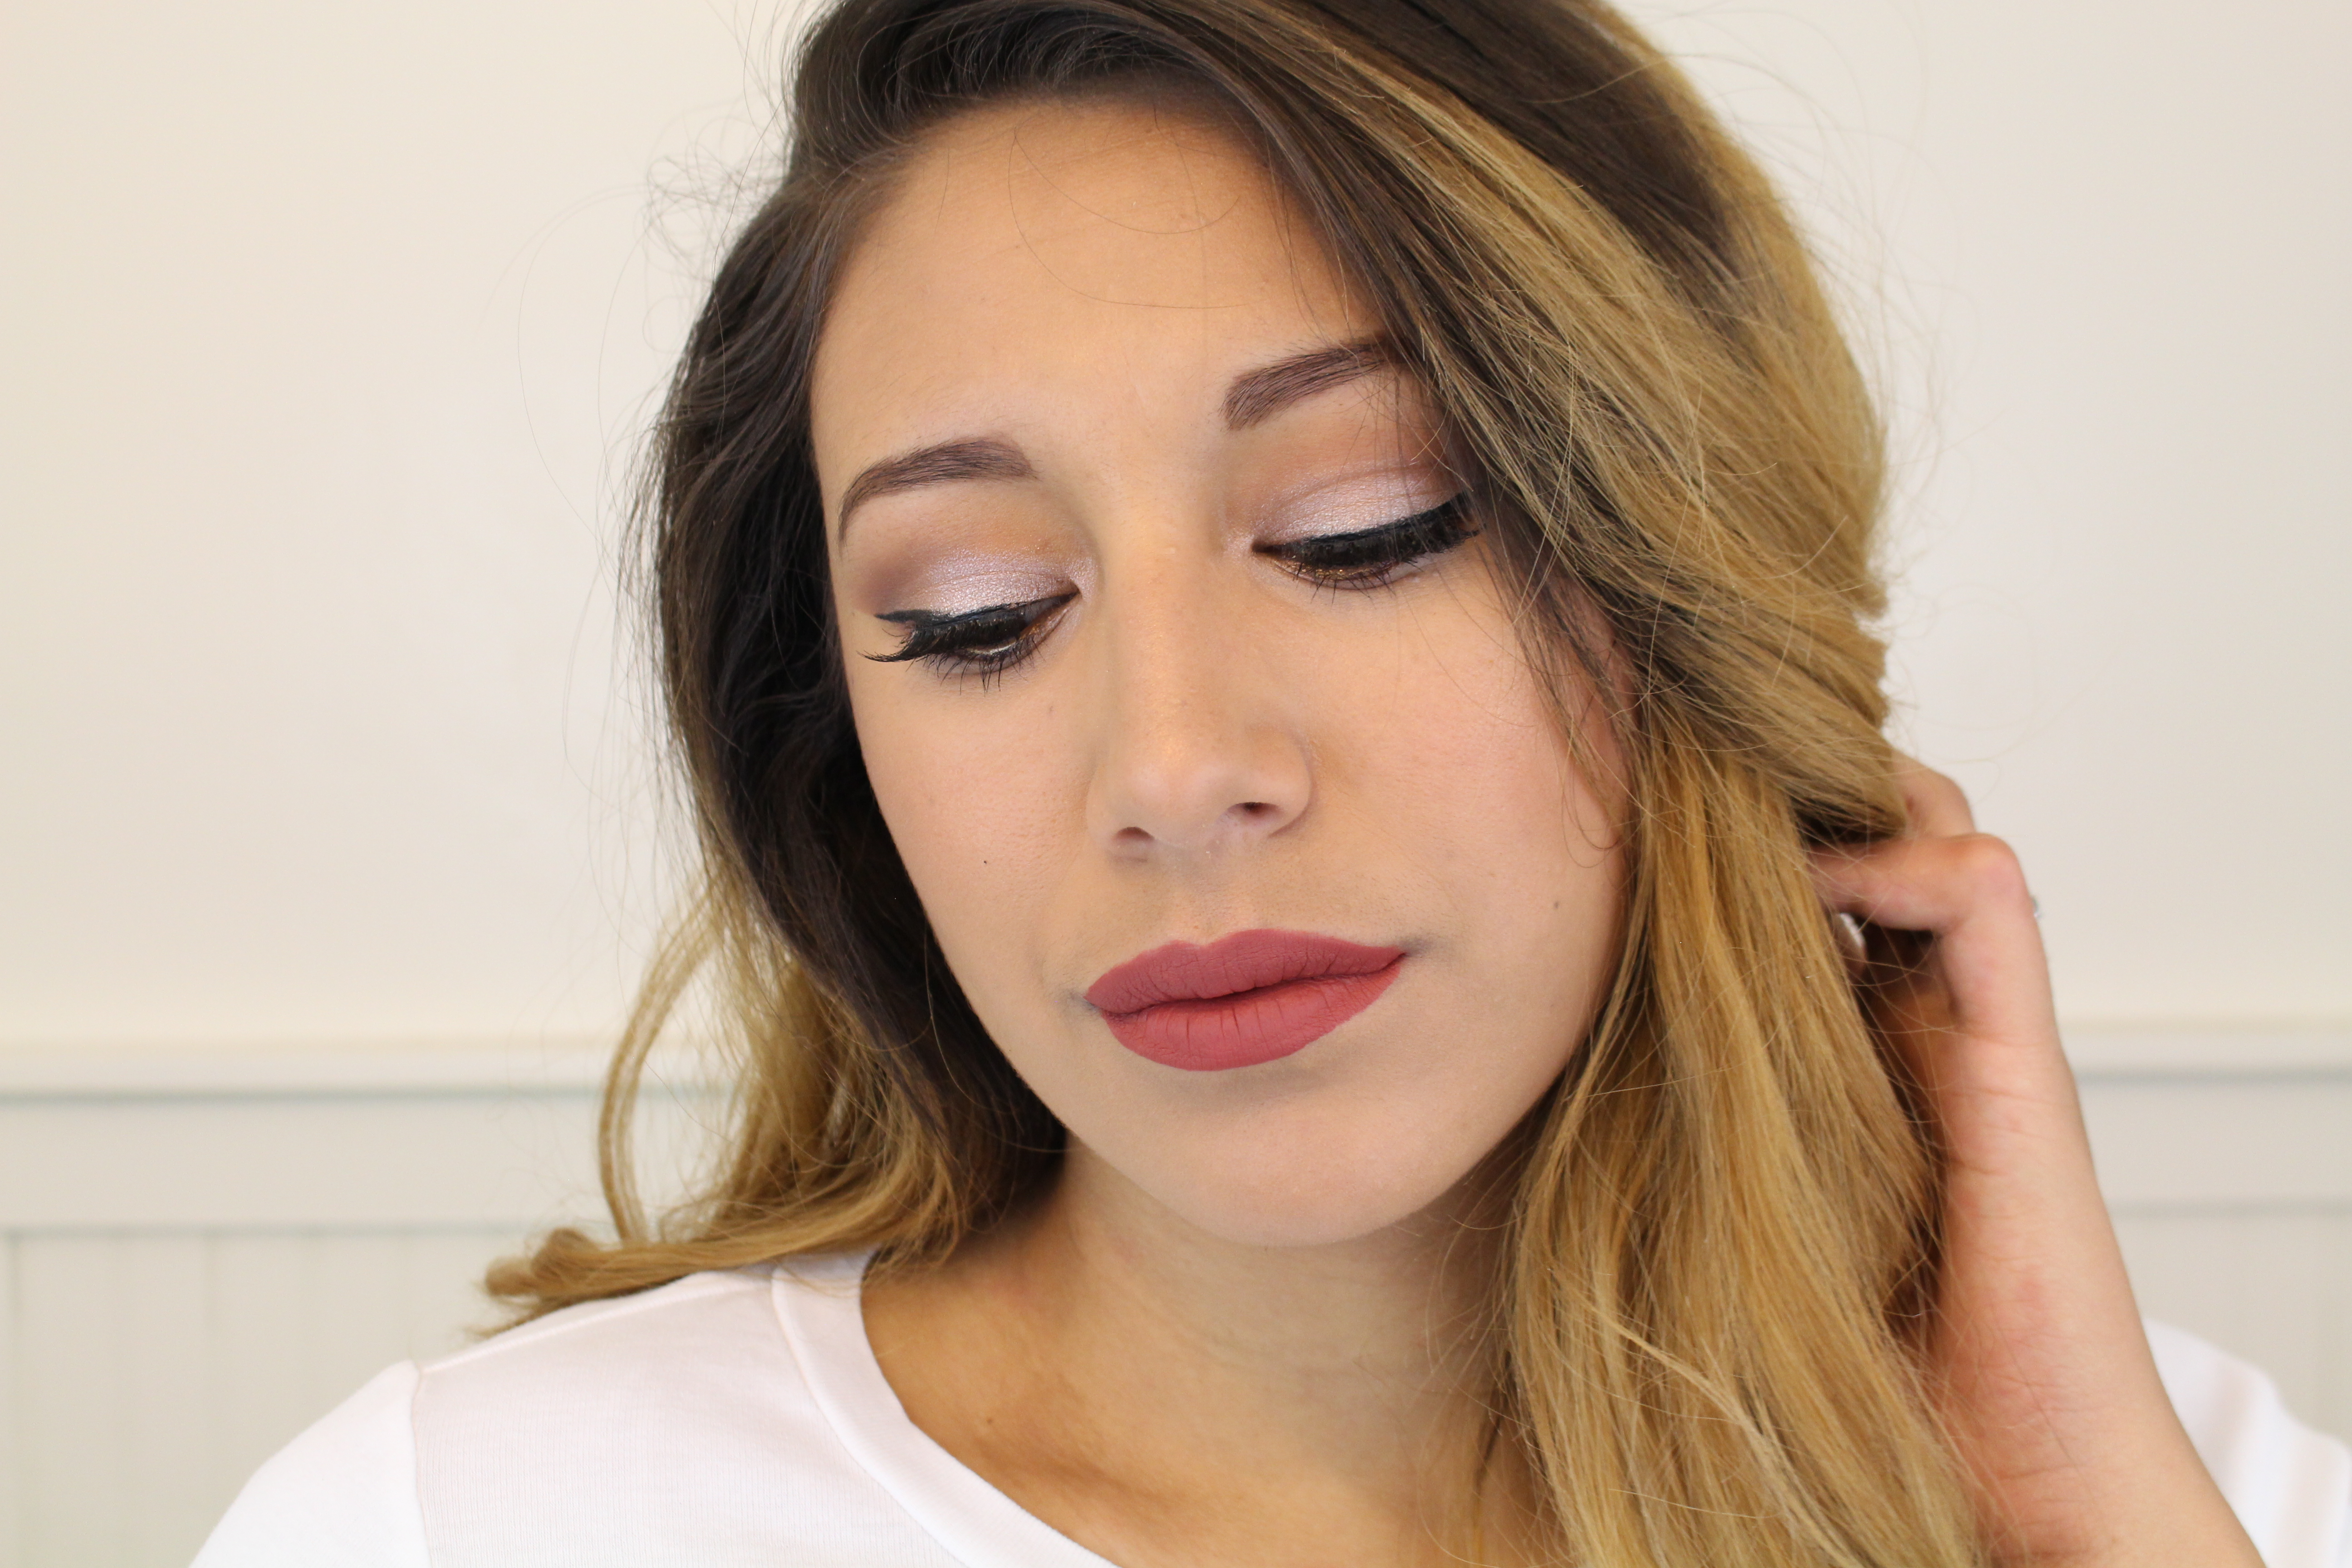
Today I am so excited to bring to you this tutorial because this is a collaboration with two other beauty you tubers! I am collaborating with Piper Hampton & Velmalee. They are amazing & talented. Plus they are also very entertaining which is why we make videos right? Any ways we are each doing a one brand tutorial using a drugstore brand. I decided to do Wet N Wild because of how CHEAP they are. I rarely use the word cheap to describe a brand, but I wanted to get my point across. They are so affordable that sometimes they get looked over because of it. Just because they are CHEAP doesn’t mean they are CHEAP. Their products are amazing and to prove it I went all out glam with this Bombshell look; using only their products.
This look is so beautiful and anyone can recreate it, I make it super simple. Its sexy & perfect for a special occasion! (Tutorial down below)
Products Used:
Wet N Wild Coverall Foundation & Primer
Wet N Wild Megaglo contouring palette contour Dulce De Leche
Wet n Wild Coloricon Blush Apri-Cot in the Middle
Wet n Wild To Reflect Shimmer Powder Boozy Brunch
Wet n Wild Megalast Lipstick Bare it All
Wet n Wild Petal Pusher Palette
Wet n Wild Single Eyeshadow Nutty
Wet n Wild Poster Child Palette (Black)
Wet n Wild illuminating concealer pen Posing Nude & A Happy Medium
Wet n Wild Color icon eyeliner pencil Mink Brown& Black
Wet n Wild H2o Proof Liquid Eyeliner Dark Brown
Wet n Wild Lengthening Mascara
This look is something that I did recently on my 100 days of makeup I am doing on my Instagram. Basically every day for 100 days I am challenging myself to do a different makeup look. I did this on Sunday on Instagram and so I decided to show you how to do this on my youtube today!(The exact picture is down below) If you are interested in all my makeup looks I have done check out my Instagram!
(In the Instagram picture I used different products but I recreated the same look using Wet n Wild down below!)
Let me know what makeup tutorials you want to see next!
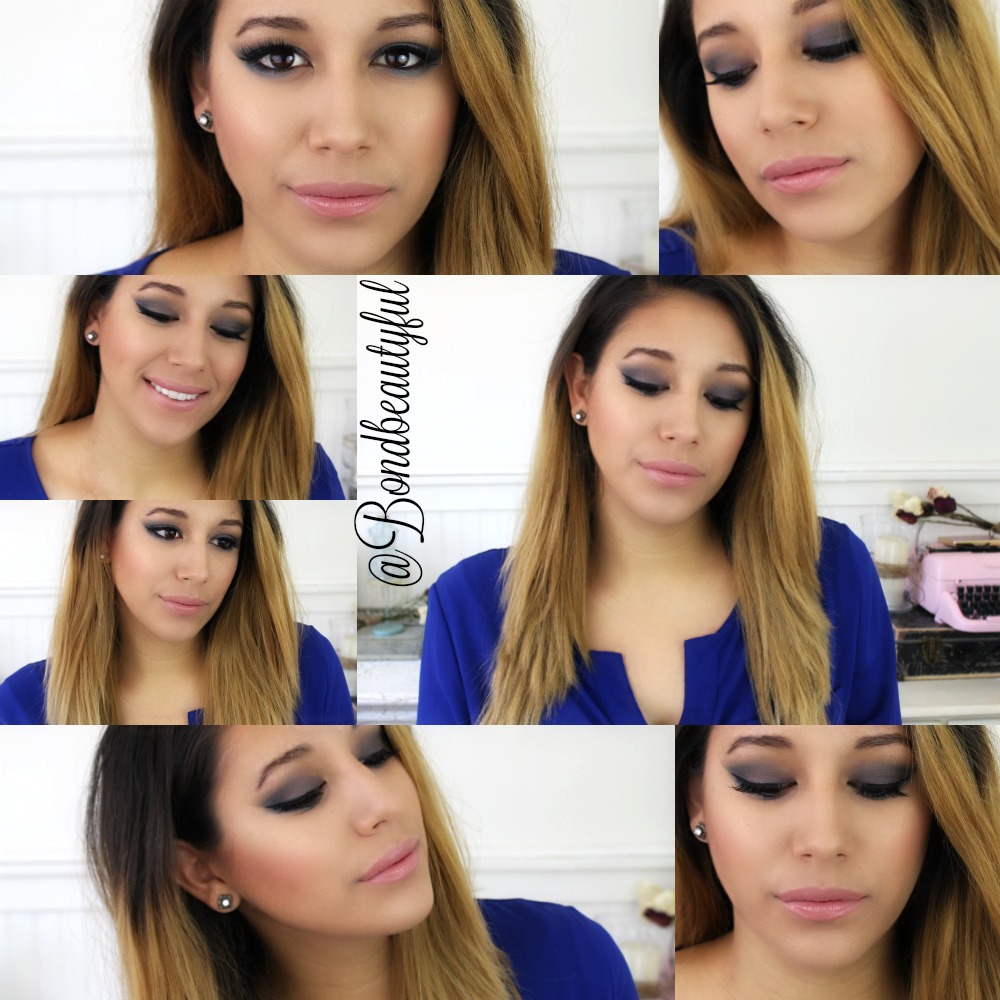
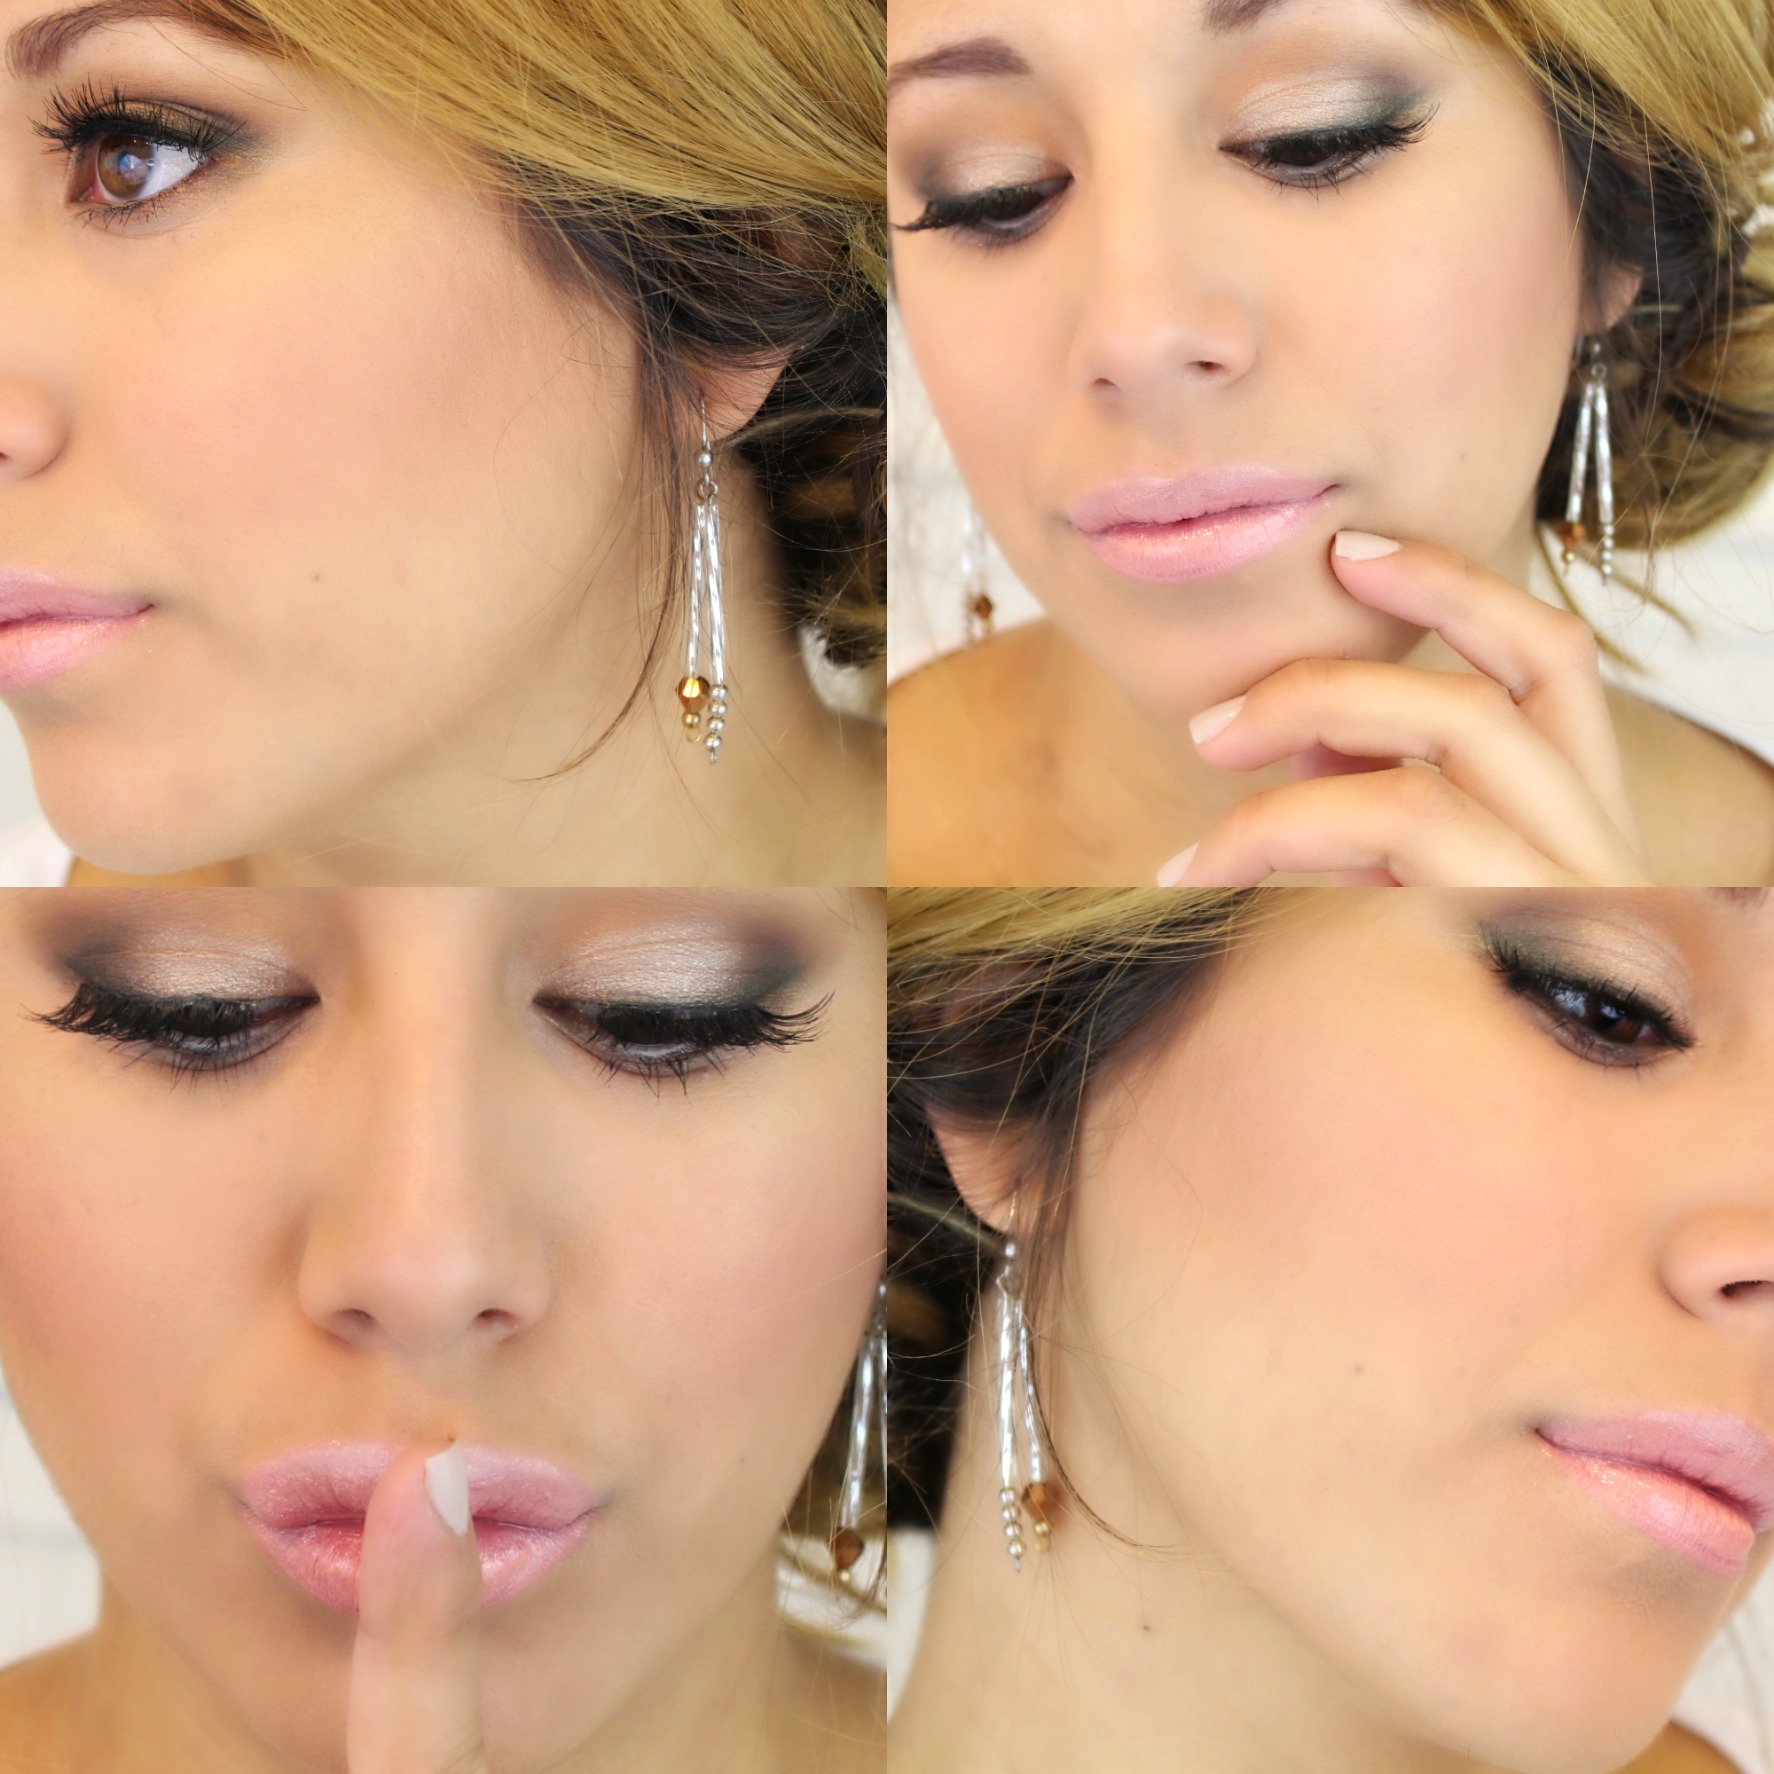
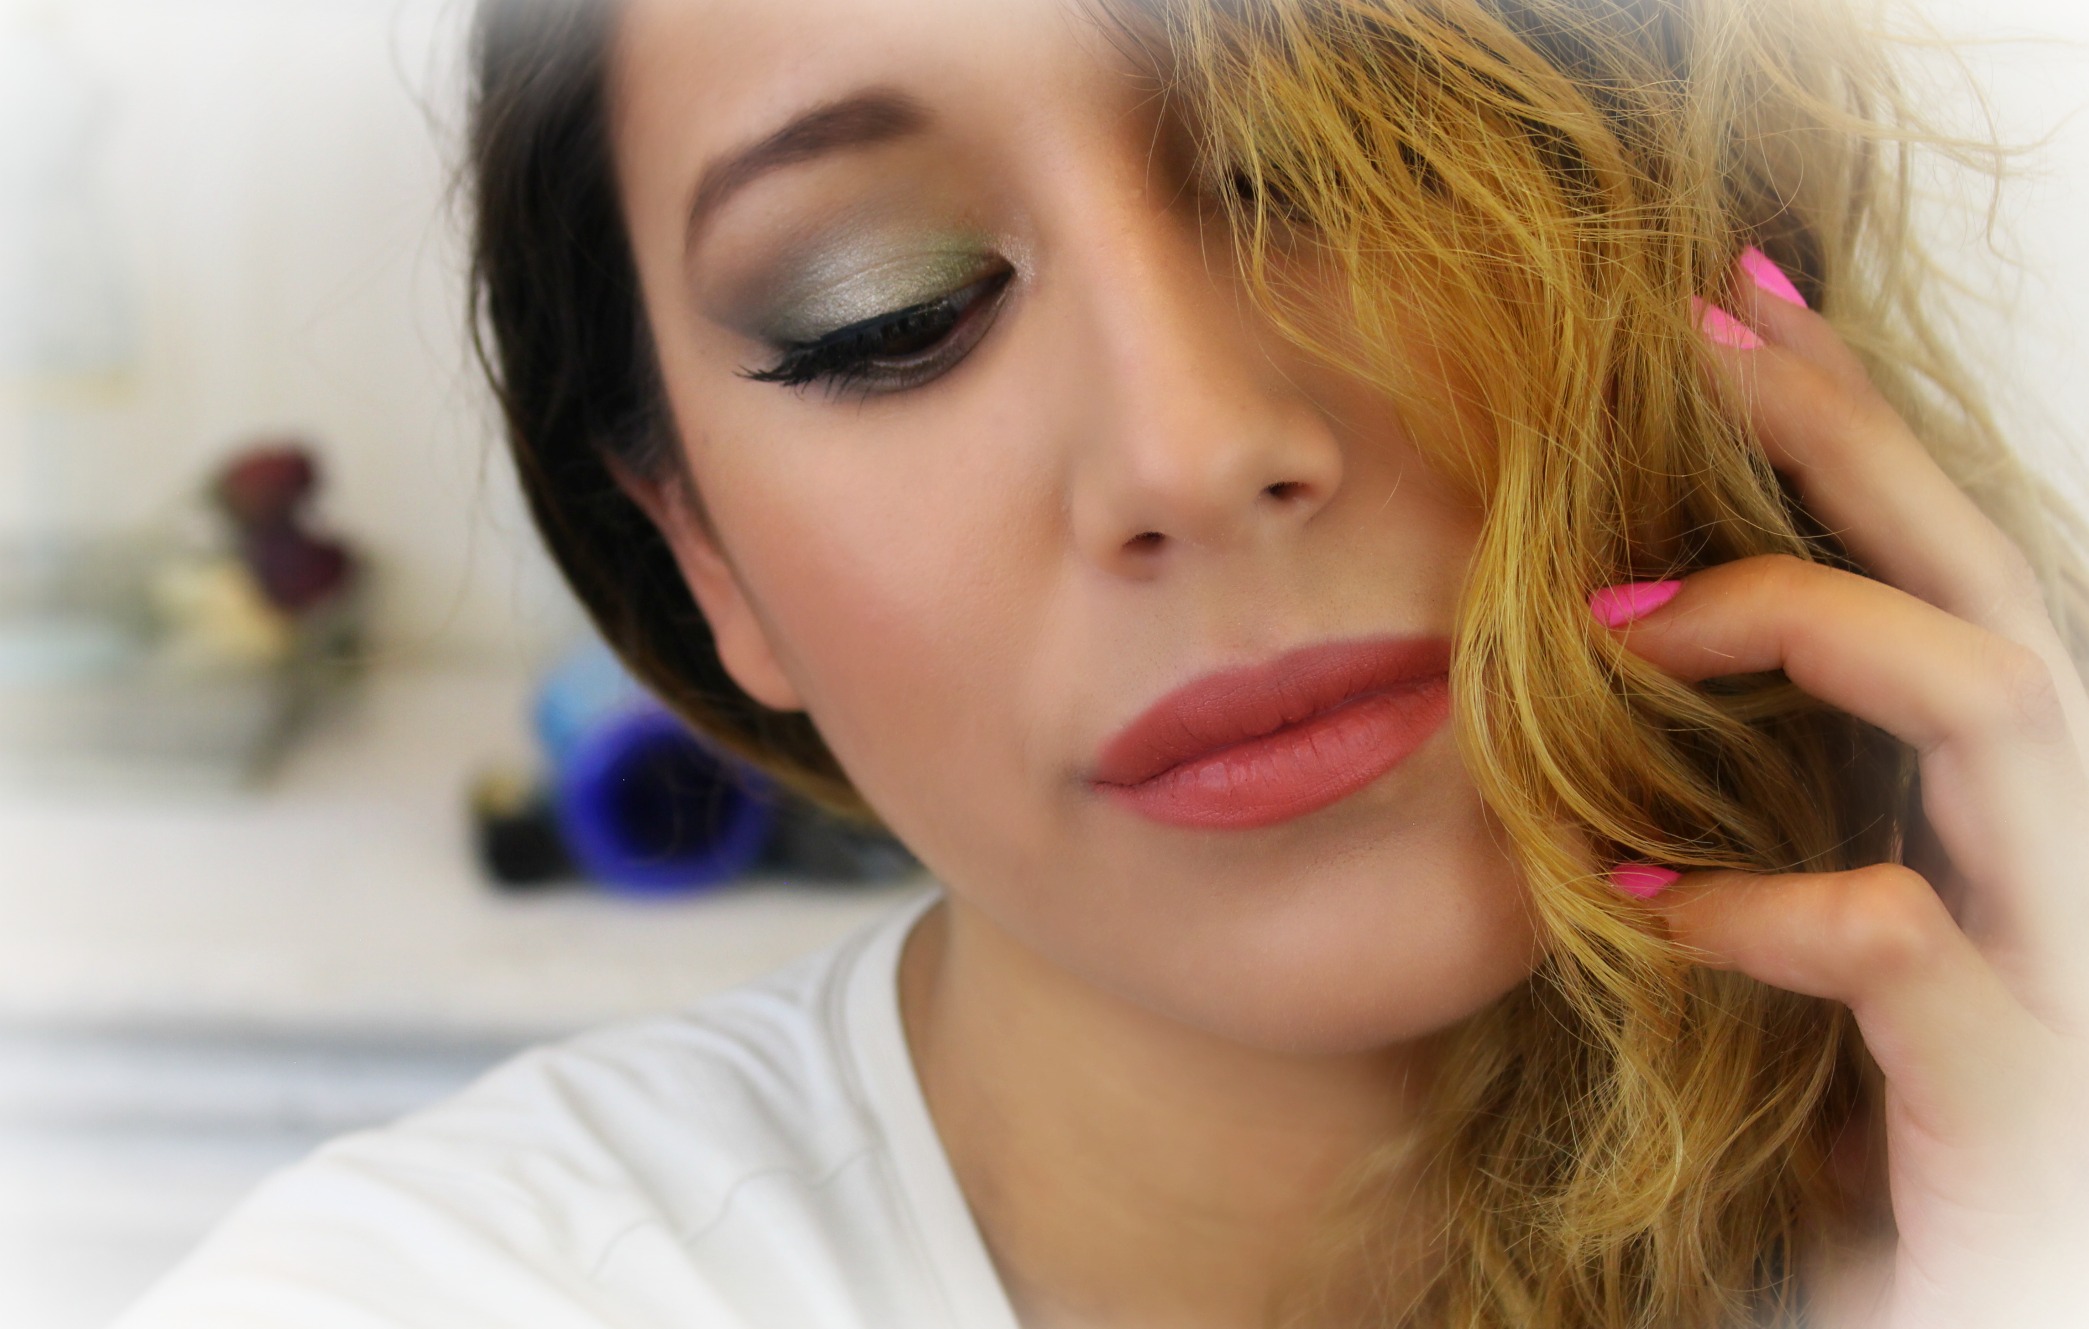
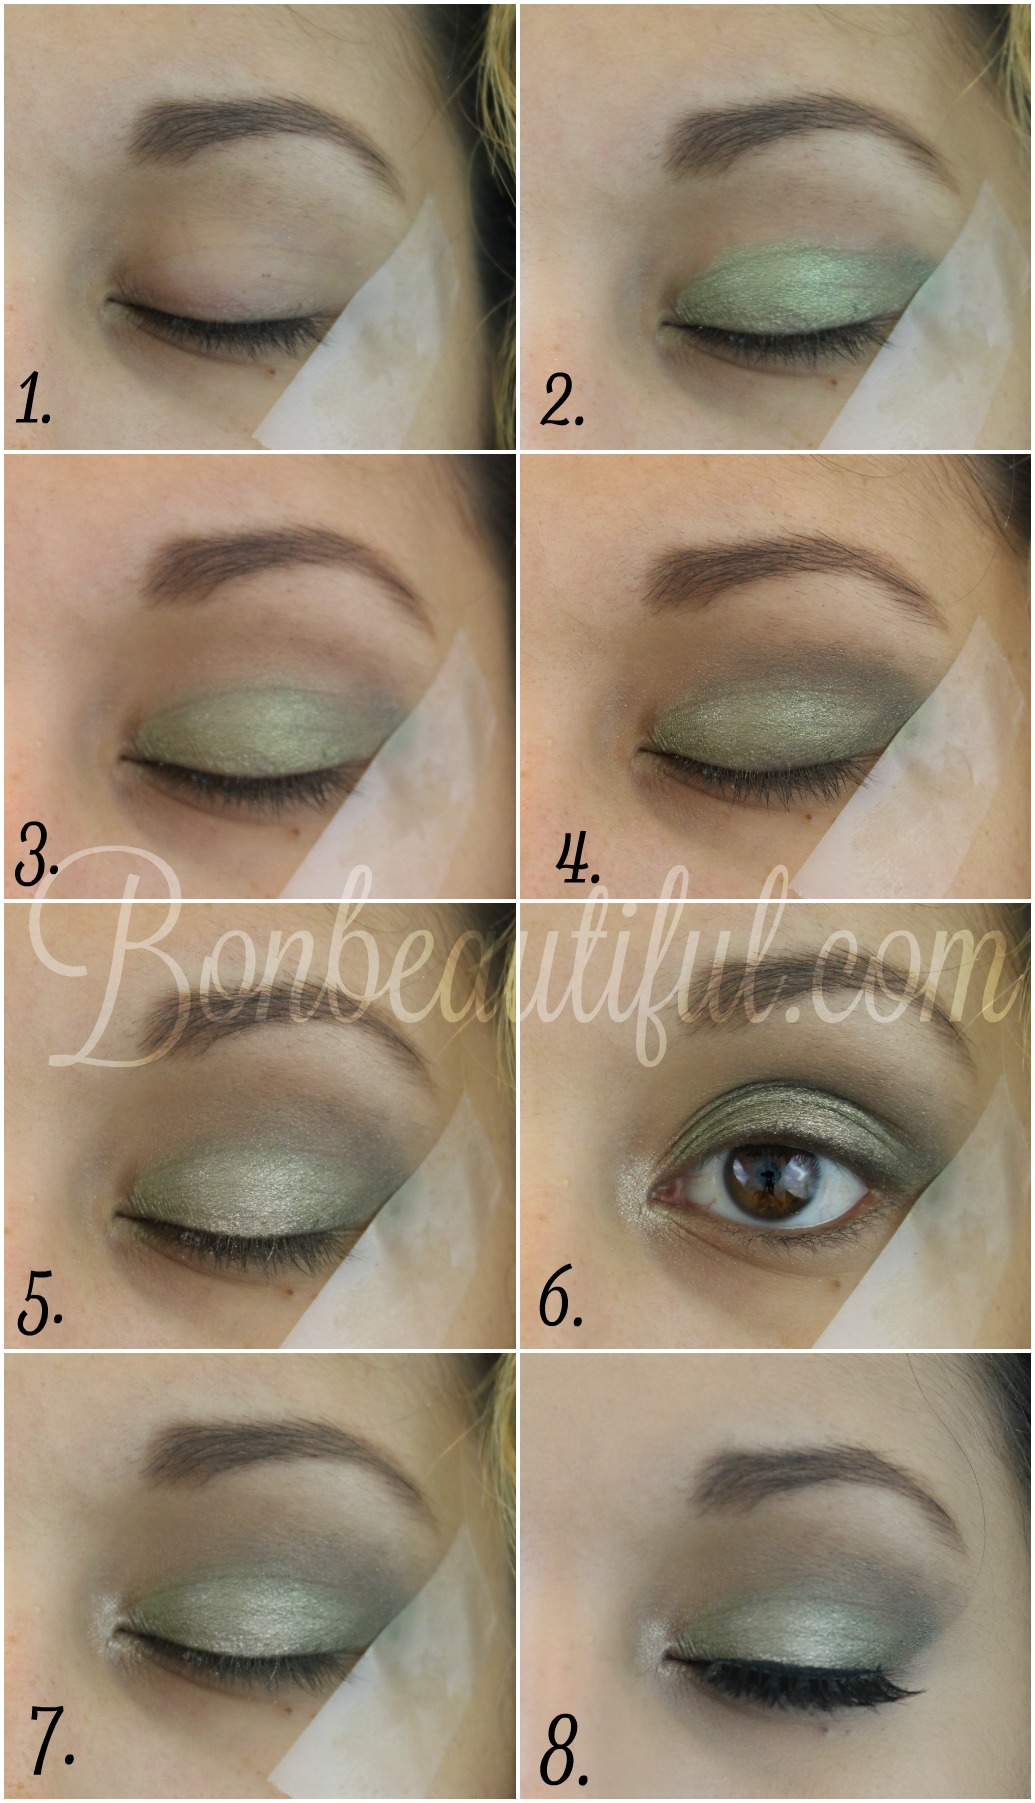
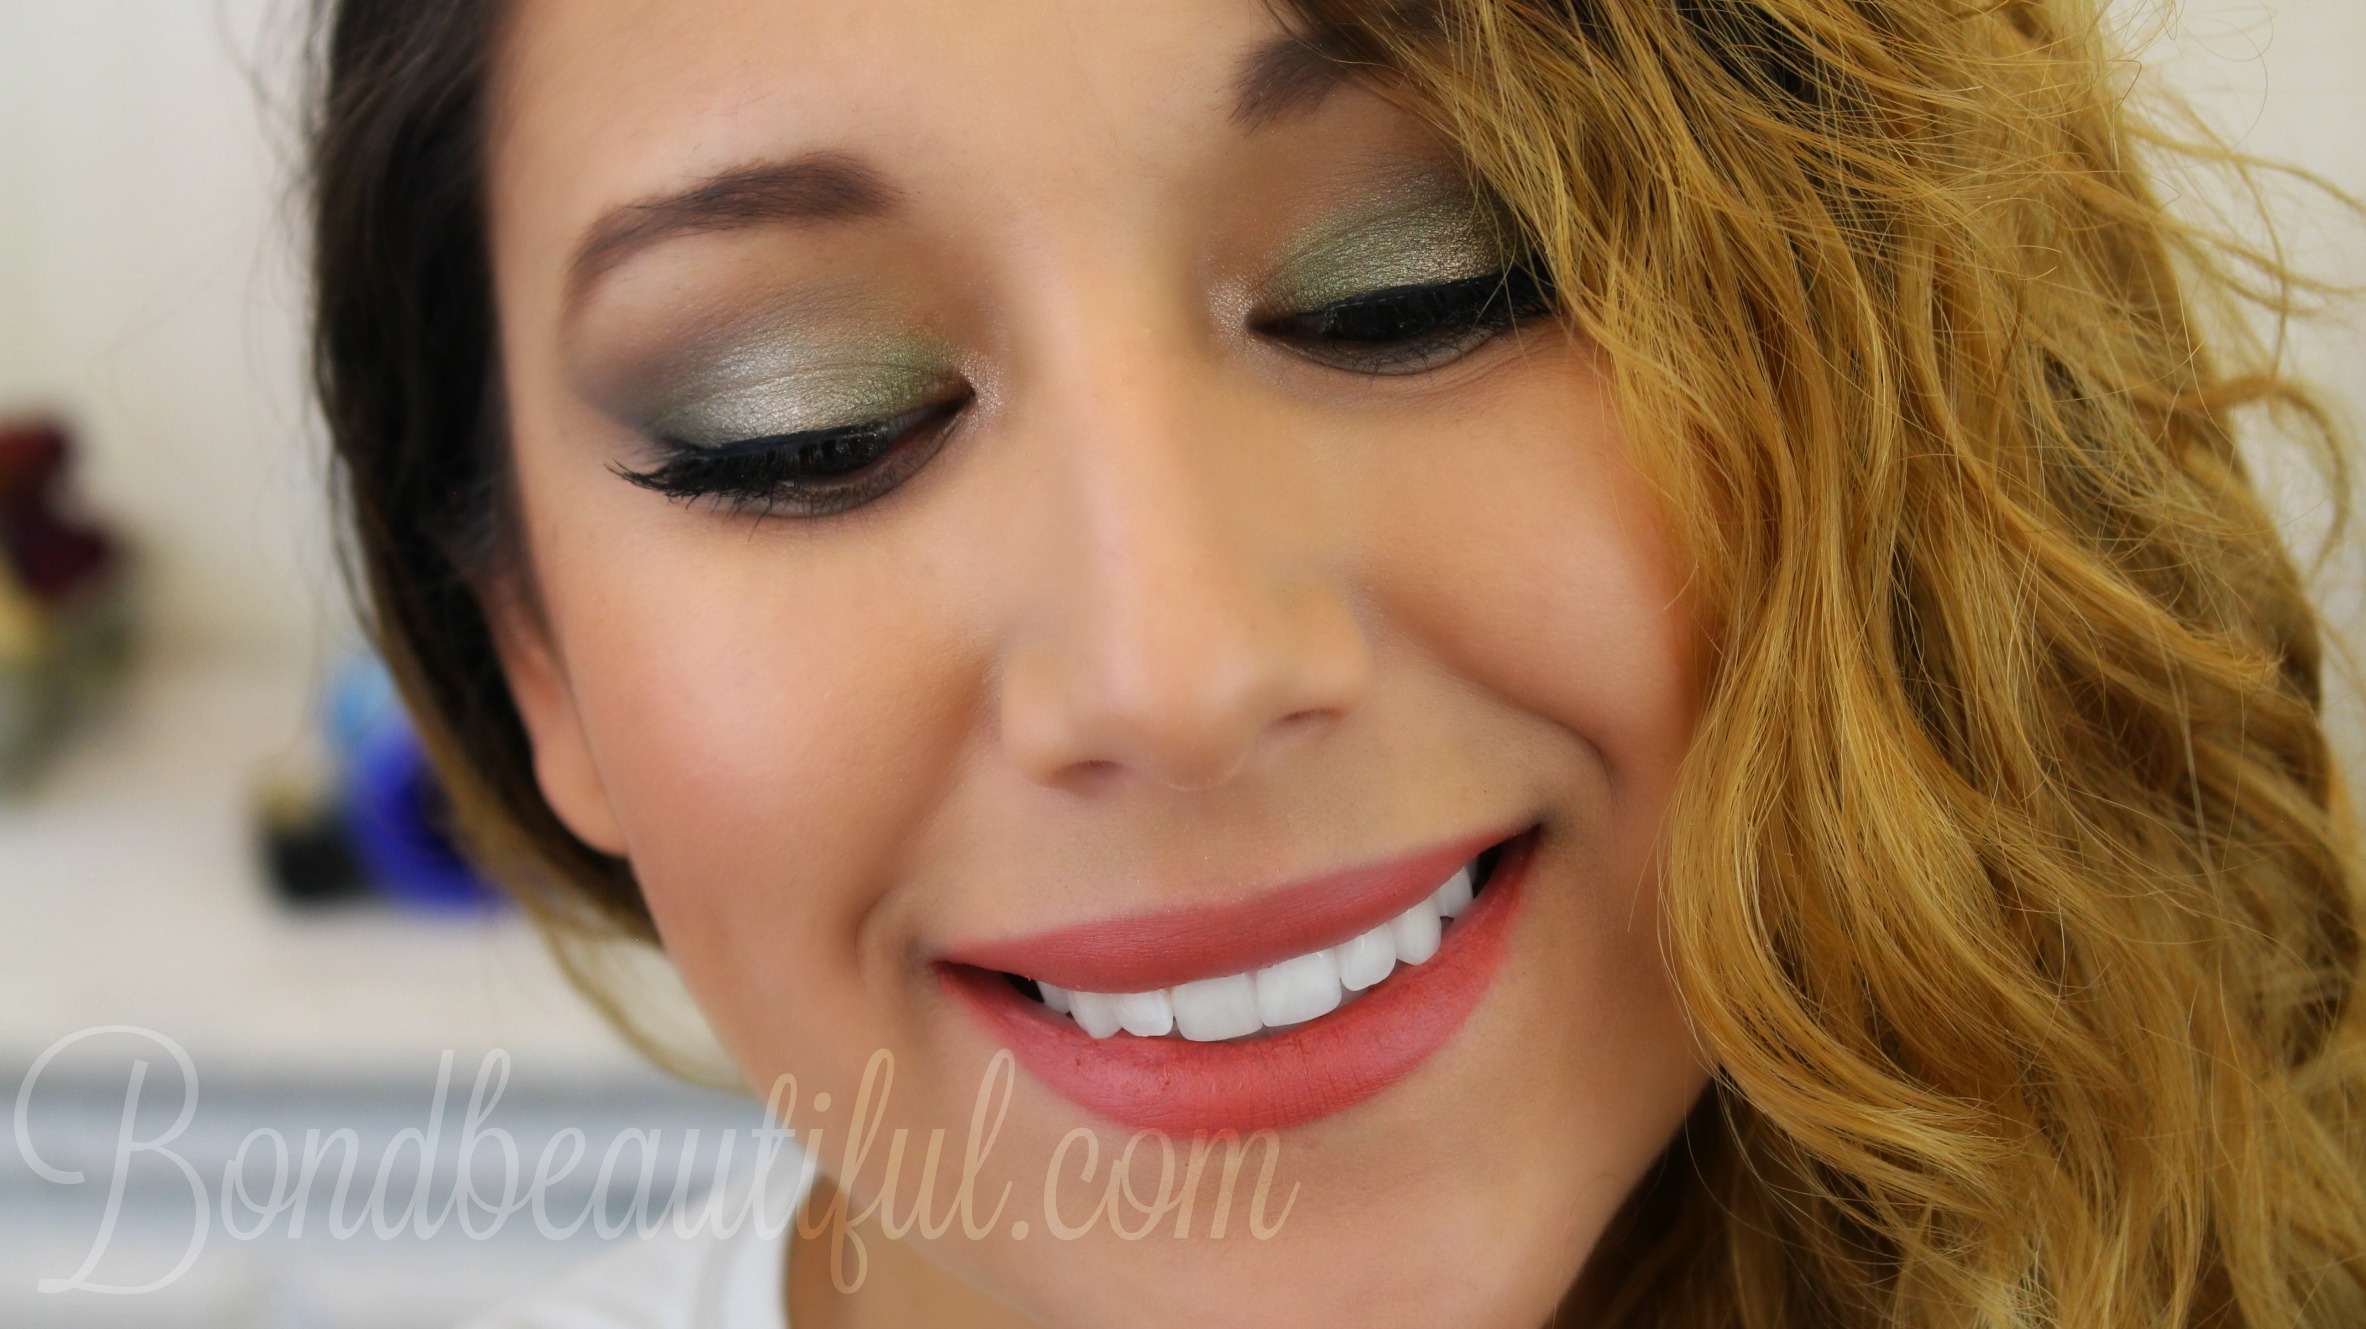
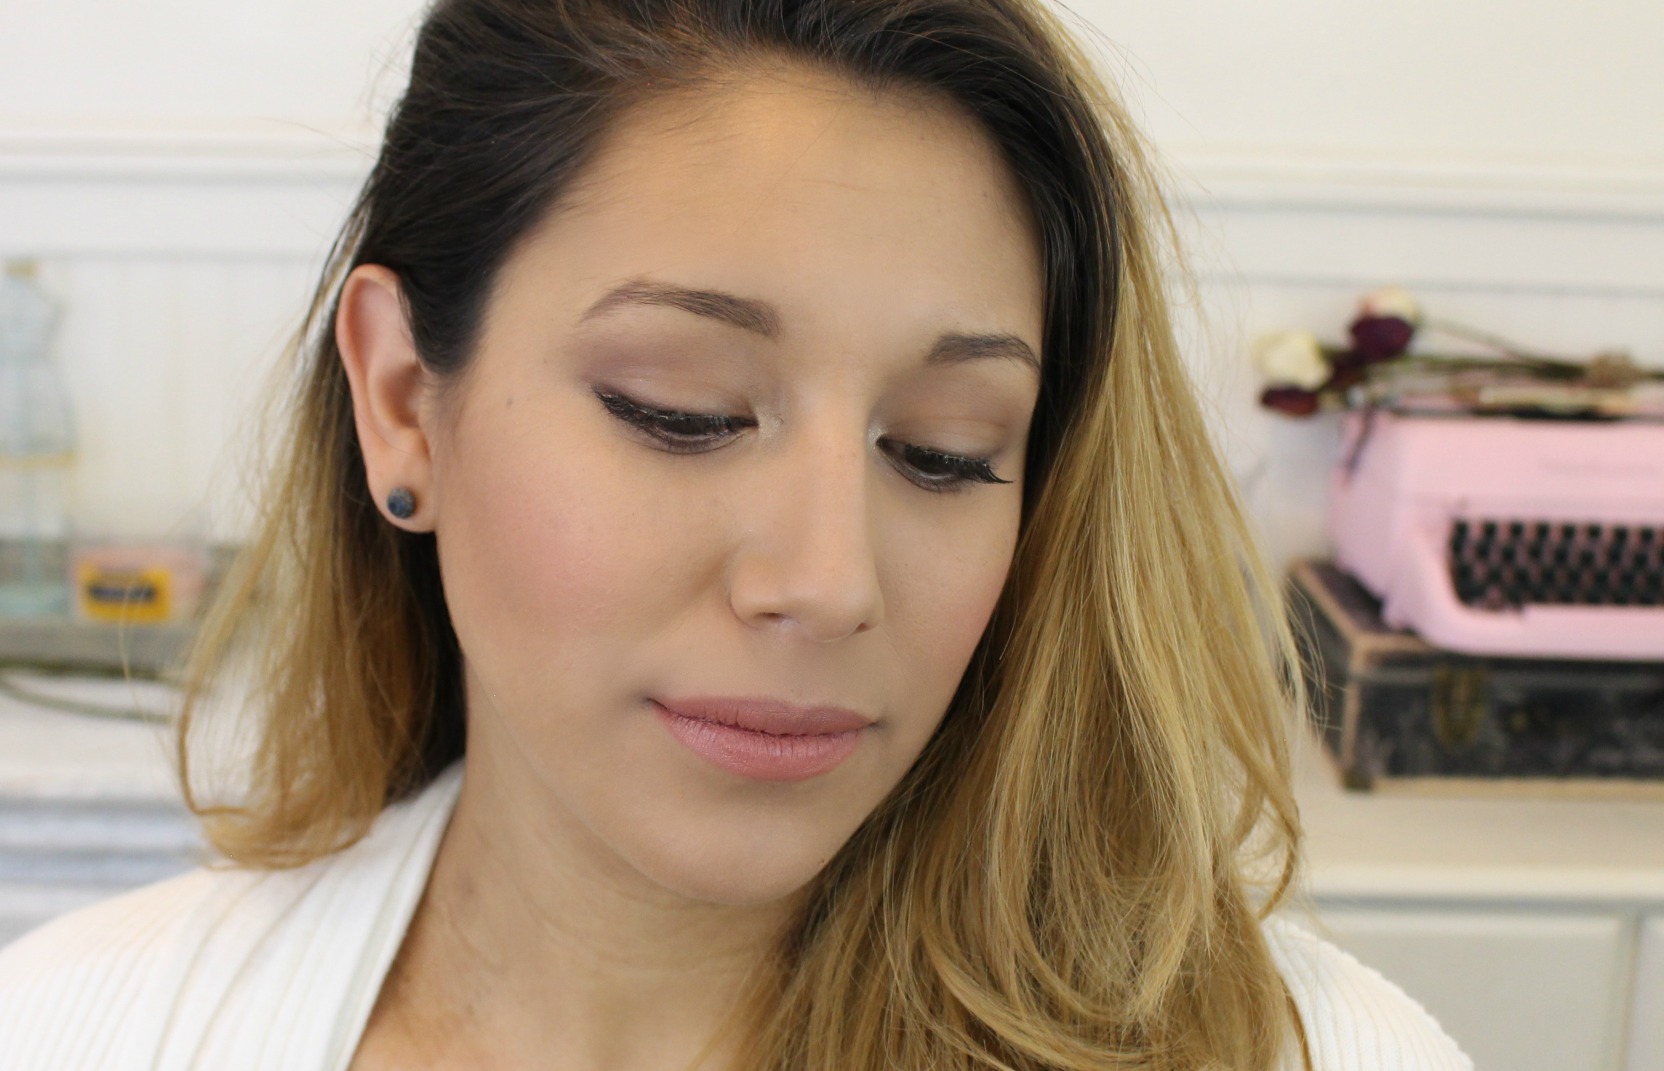
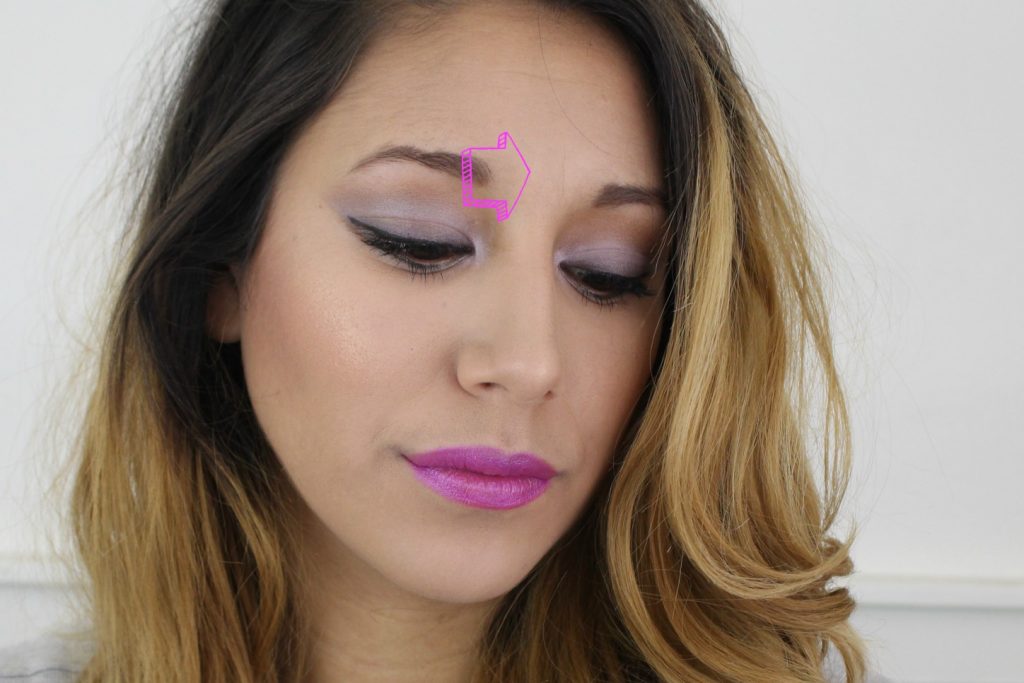
Happy, happy Friday! Friday is date night/ go out night. So I wanted to do a look that you can do for going out tonight. So here is a smokey eye. I love green because it makes brown eyes pop, or any eyes pop. There is something about green that just makes you want to look. I hope you guys really enjoy this look, and don’t be afraid to change things and make it your own. For those of you who like to actually visually see how to do this check the video below. 1. Put tape on the outer part of your eye. Helps create a crisp line
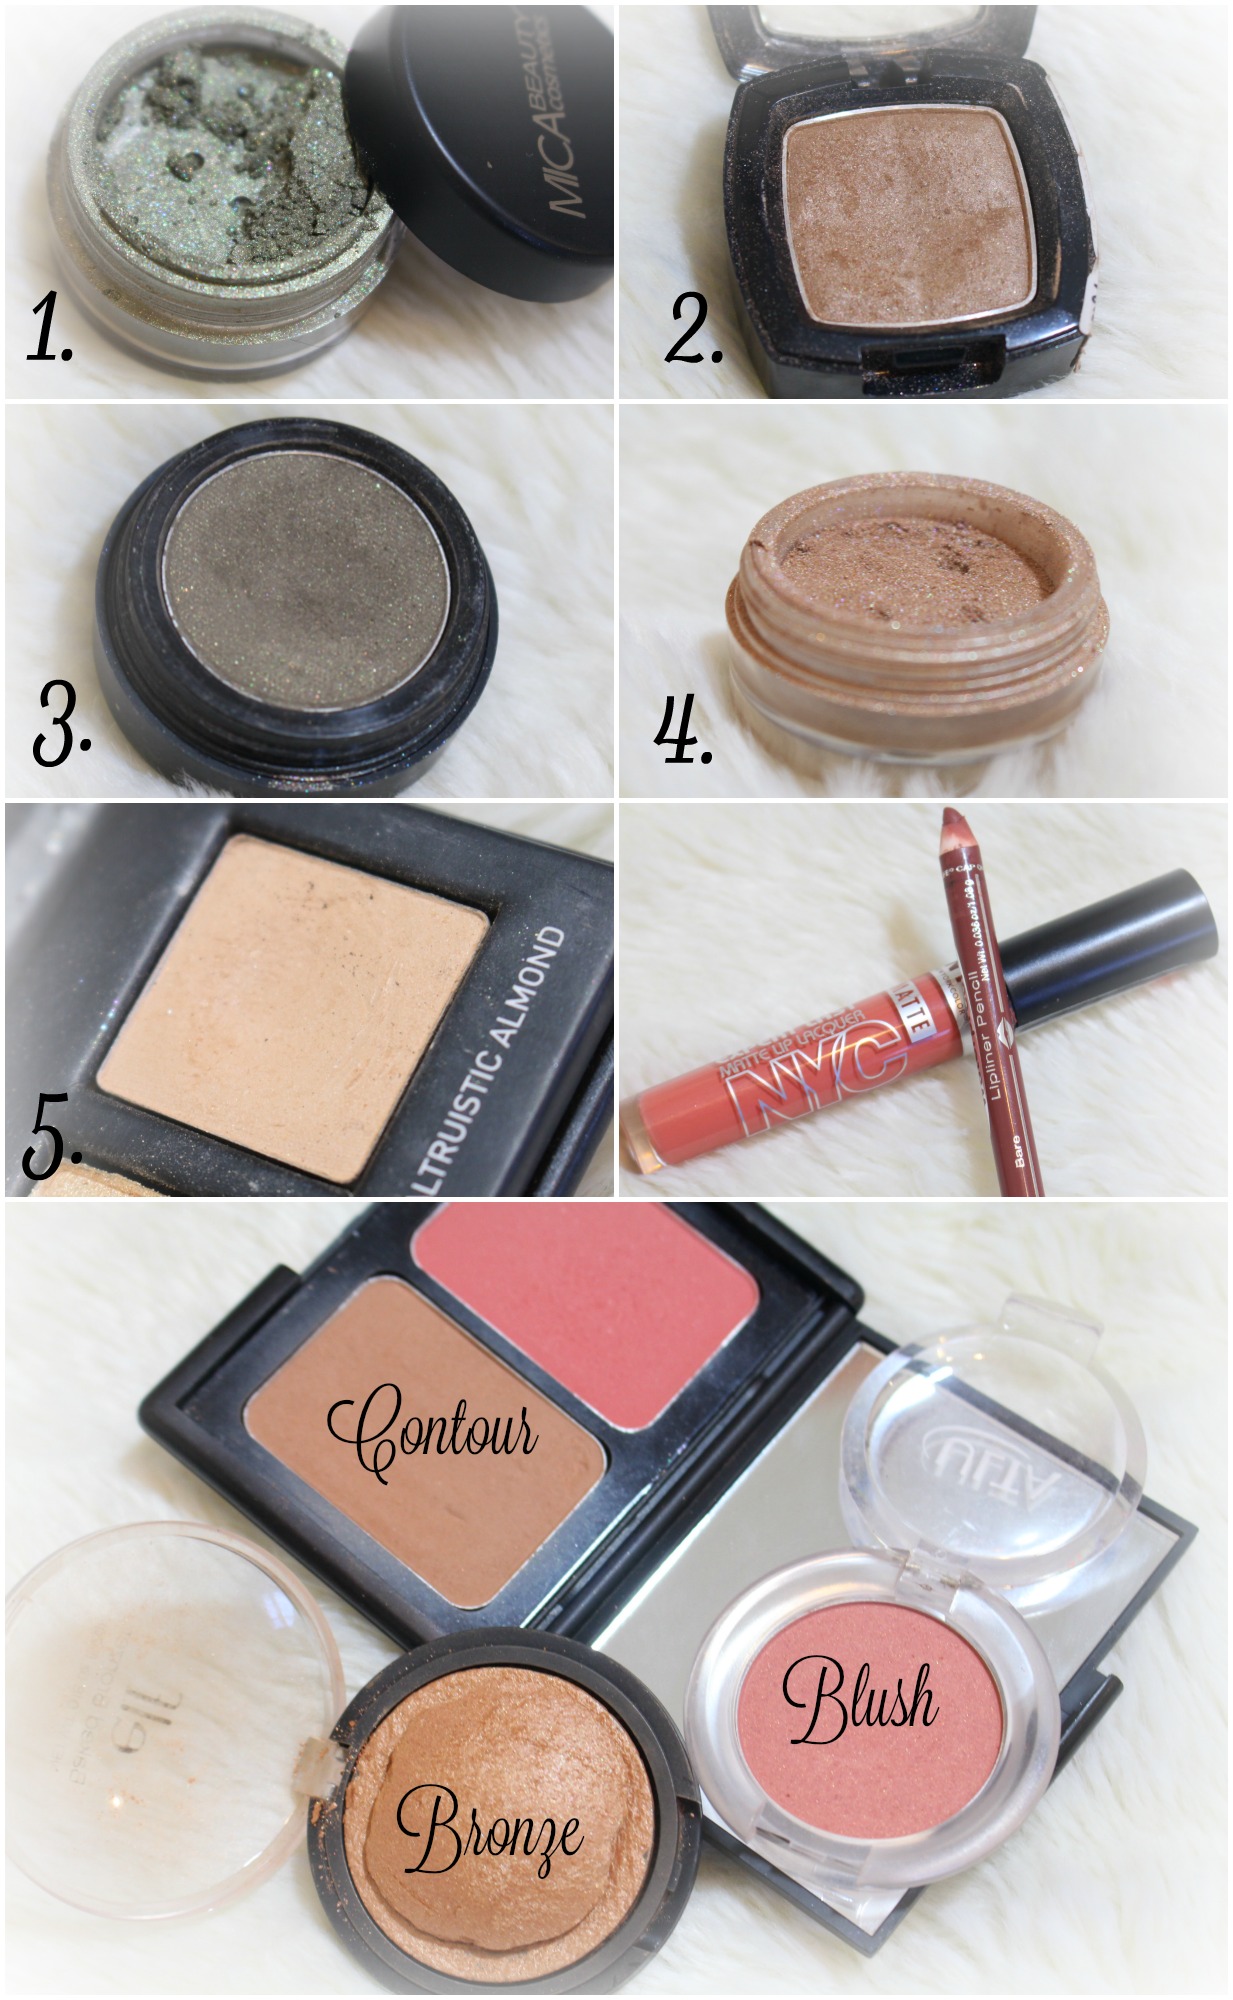
2. Use a shimmery green eyeshadow on the lid (shade 1 below)
3. Add a mid-tone brown to the crease (Shade 2)
4. Add a darker olive green(shade 3) to the crease & outer corner sweeping it inward close to the lash line (Also mix with the mid-tone brown on the lower lid)
5. Add a shimmery champaign pigment(shade 4) to the center of the lid to brighten
6. Add that same champaign eyeshadow in the tear duct area
NYC Expert Last Matte Lip Lacquer: NOHO Matte Nude
I hope you guys like this look.. Also on my Instagram I am posting a new makeup look every day for 100 days. I want to really challenge myself to create a different look everyday. So make sure to head over to my Instagram! I also now have a Tumblr & Flickr @Bondbeautyful
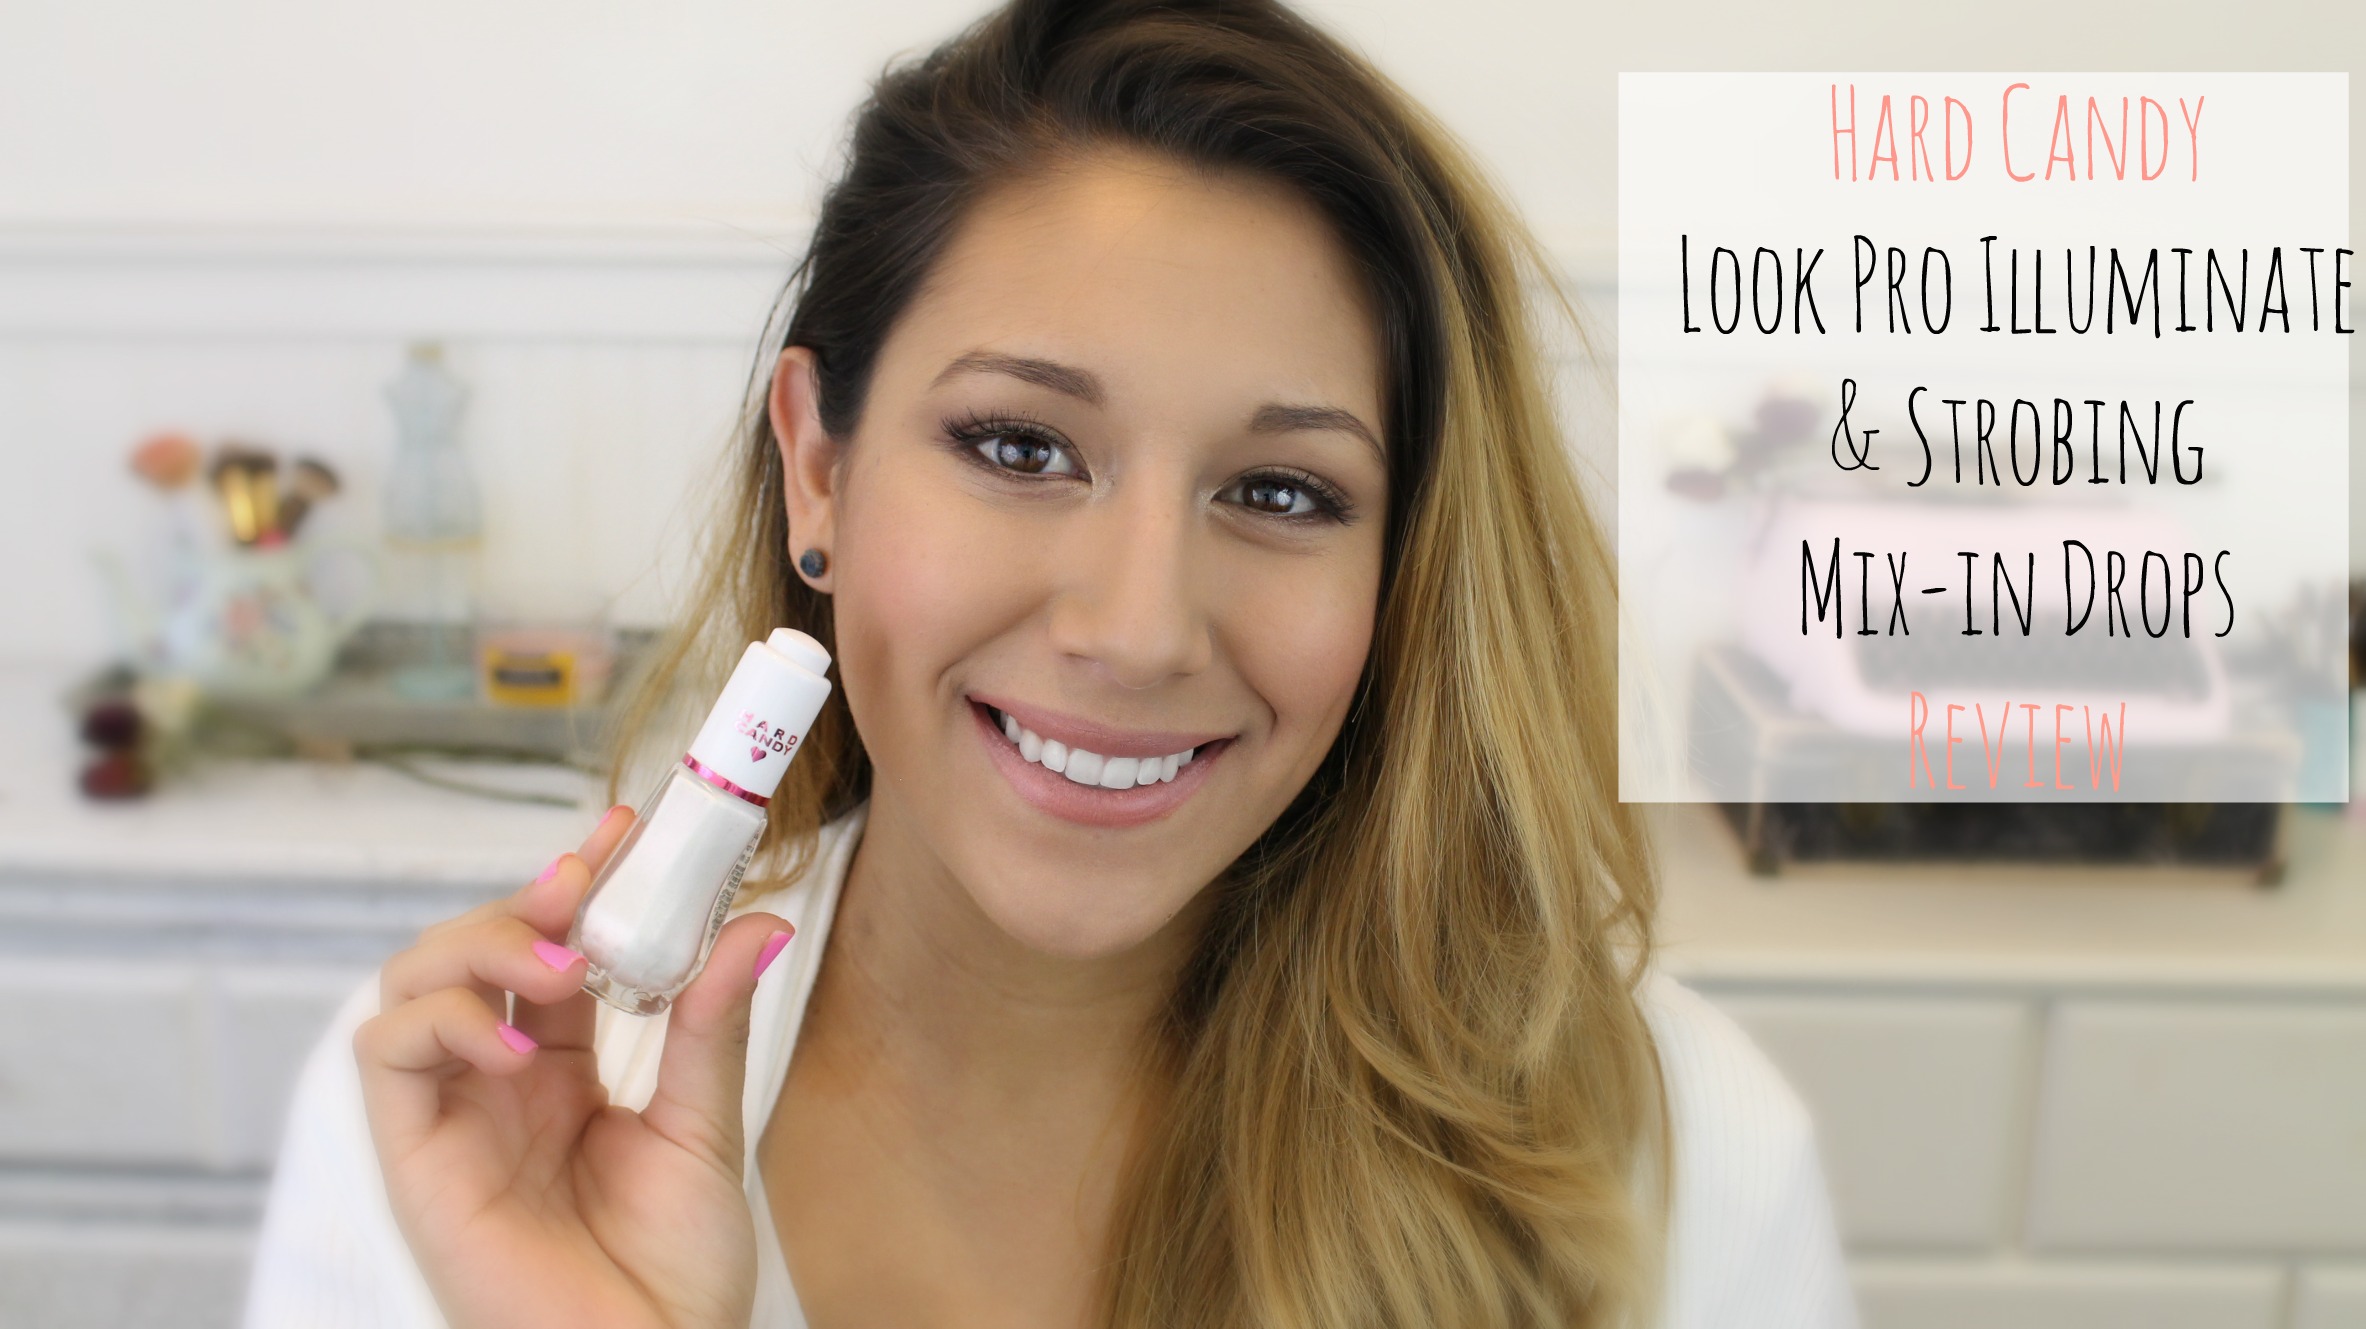
Today is such a hot a dry day here in Arizona. I would much rather have dry heat then humidity! On the other hand, something I do not want to look dry is my face. Sometimes I just wish my foundations made my skin look more fresh & illuminated. Well ladies, I am here to do a review on a product that claims to do just that.
This is the Hard Candy Look Pro Illuminate & Strobing Mix-In Drops. It is a multi-purpose, iridescent facial enhancer that instantly creates radiant, dewy complexion. Or so it claims to do so. You add it into your foundation, into your moisturizer or you can use it alone to highlight. Right now strobing is very popular.
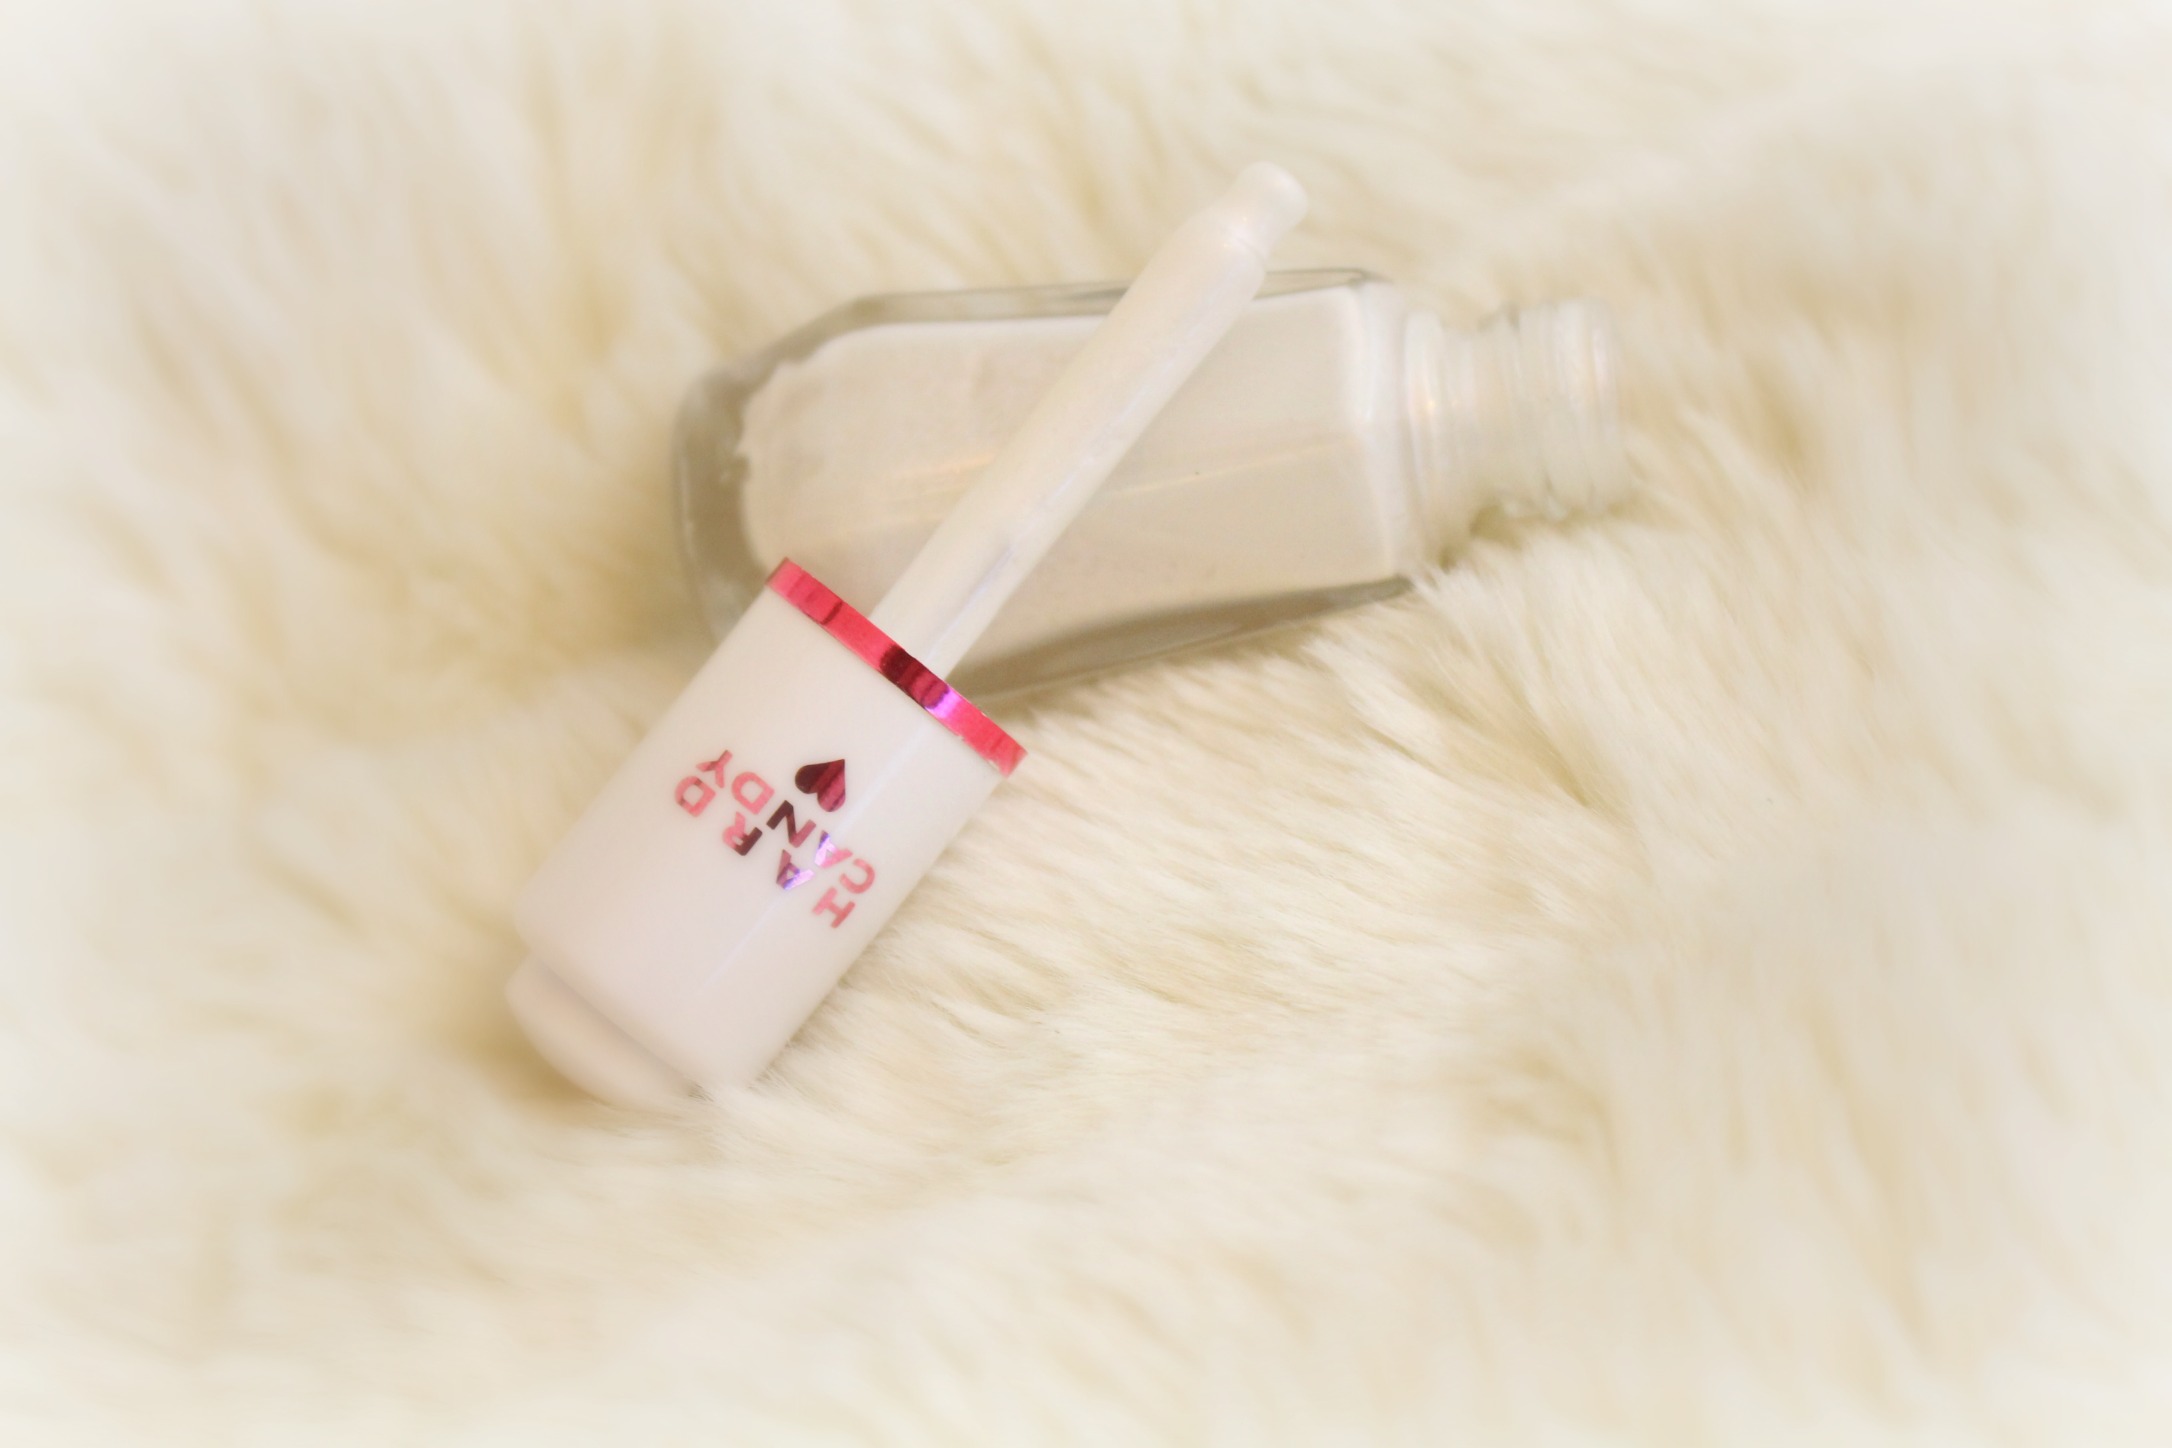
First, lets talk about packaging. It is glass bottle with a dropper. This makes it very easy to mix into your foundation. I have been using this for about two weeks now. My favorite way to use this is to mix one drop into my Maybelline Fit Me Matte Foundation. I love the finish it gives me with that one. We will talk more about that later.
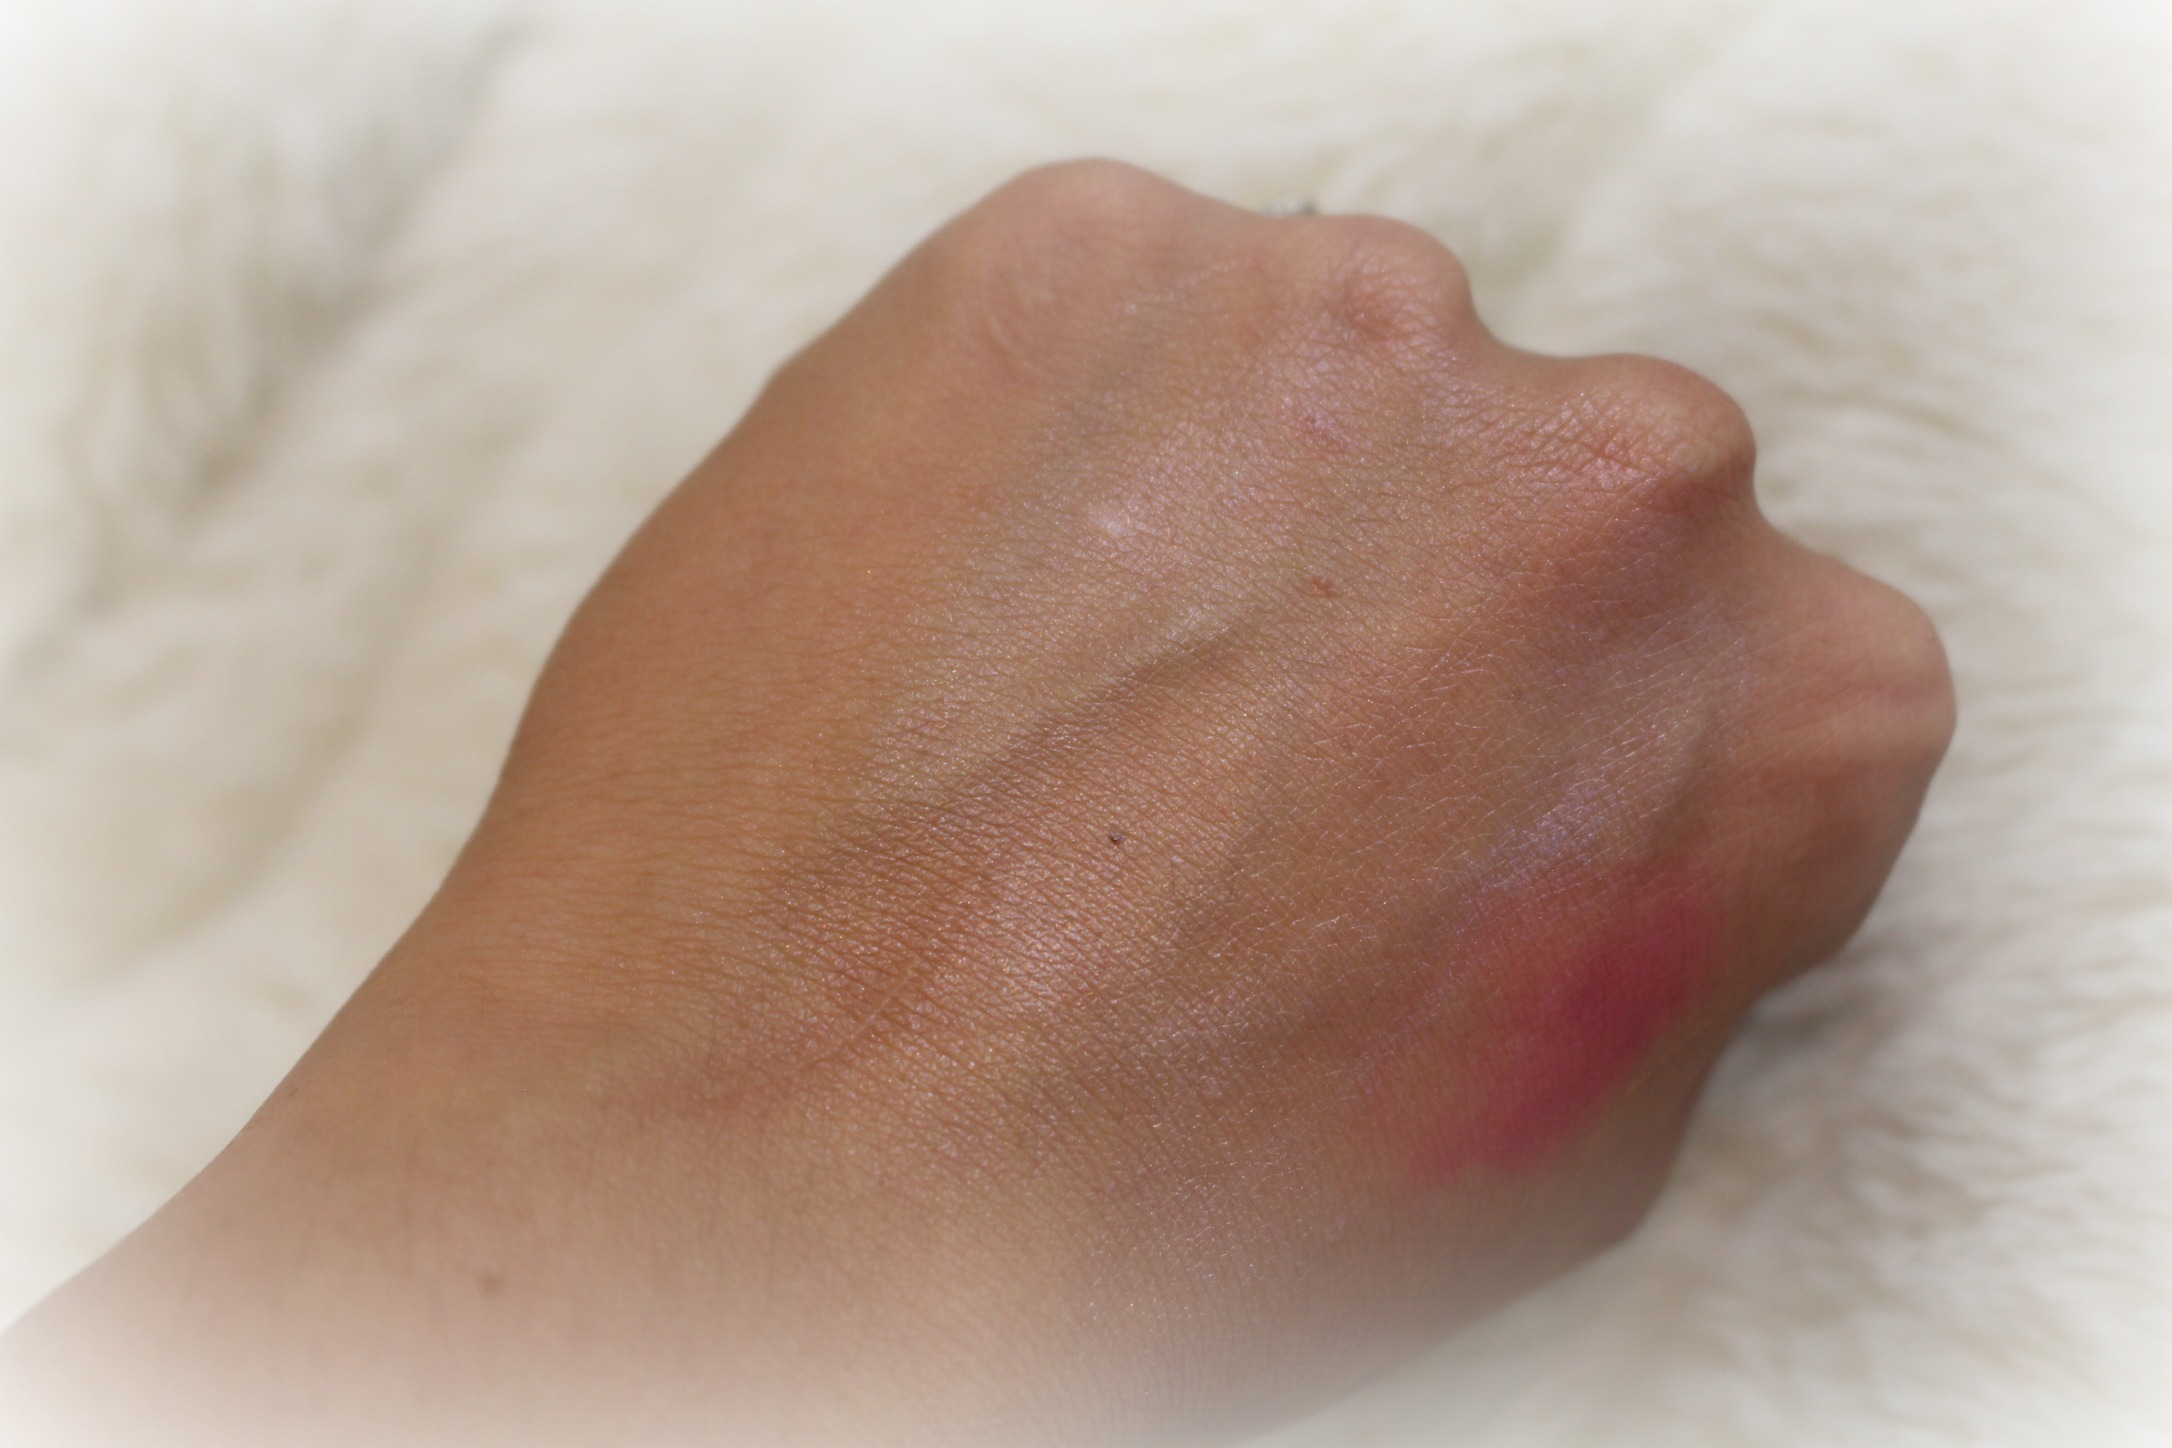
These drops are very thin and easy to blend out. Its a white formula with an iridescent pinkness to it that catches the light beautifully. Looks very pearly to me. As a highlight alone it is beautiful. I recommend ,if you are using it to highlight, to spread a drop on your hand first. Then dab it on your face with your finger. It will be very easy to blend, but if you want to build the intensity I suggest doing it while it is still wet. I notice that when I try to add more when it is already dry the formula breaks down. It ends up looking cakey and it balls up. This is not something I would use for strobing unless I am using it as a base for a powder highlight. I think its more of a everyday highlight.
My absolute favorite way to us this is mixed into my foundation. I mix a single drop into my foundation then spread it around with my finger before dotting it onto my face. I notice that it gives me a fresh natural looking finish when mixed into a matte foundation (shown above). I it doesn’t look dewy or shimmery just very fresh and healthy.
I talk more about it and show a demo of how I like to apply it in the video below.
https://youtu.be/c6D1esTnWIQ
I have really been into a subtle highlight look lately. With that said this product is perfect for me. It gives me a healthy glow and I love it!
So, are you into a subtle highlight or strobing? Let me know in the comments!


 Hello My Bondbeautys,