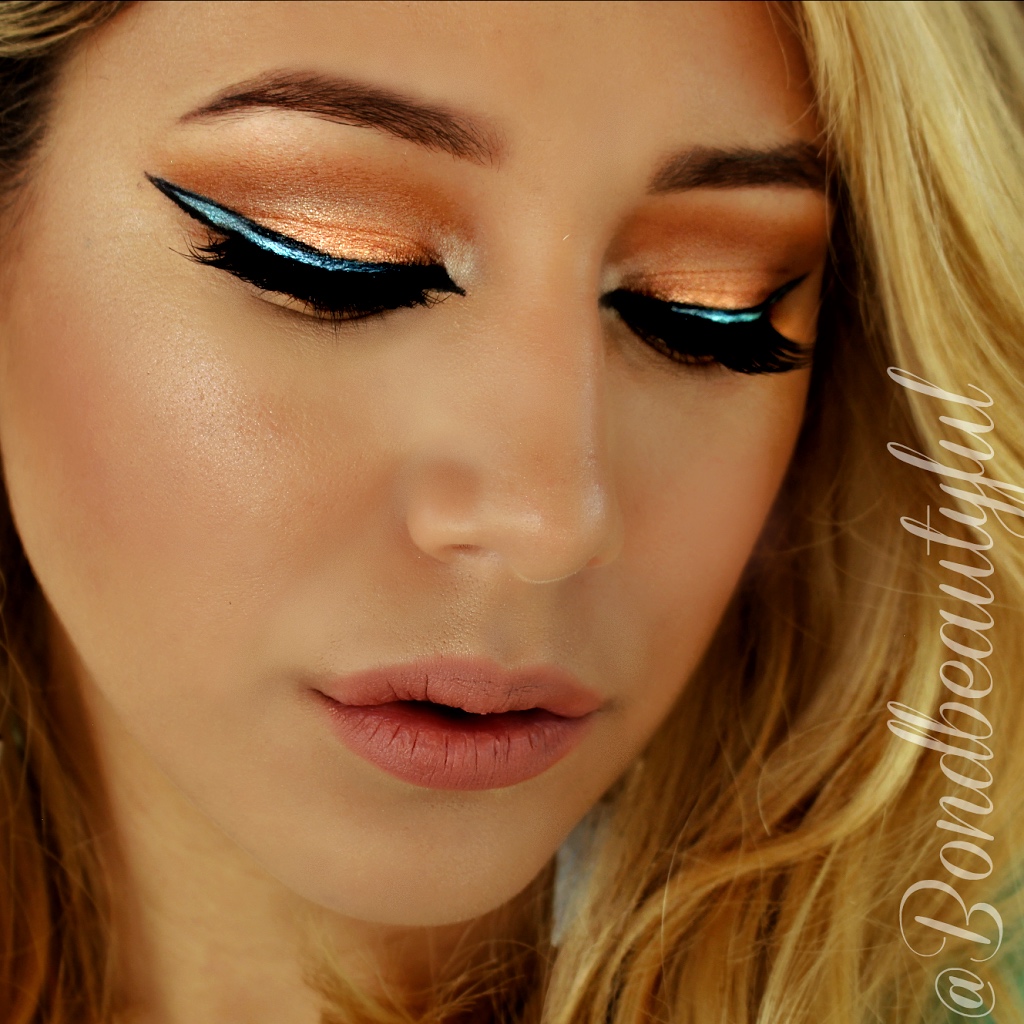
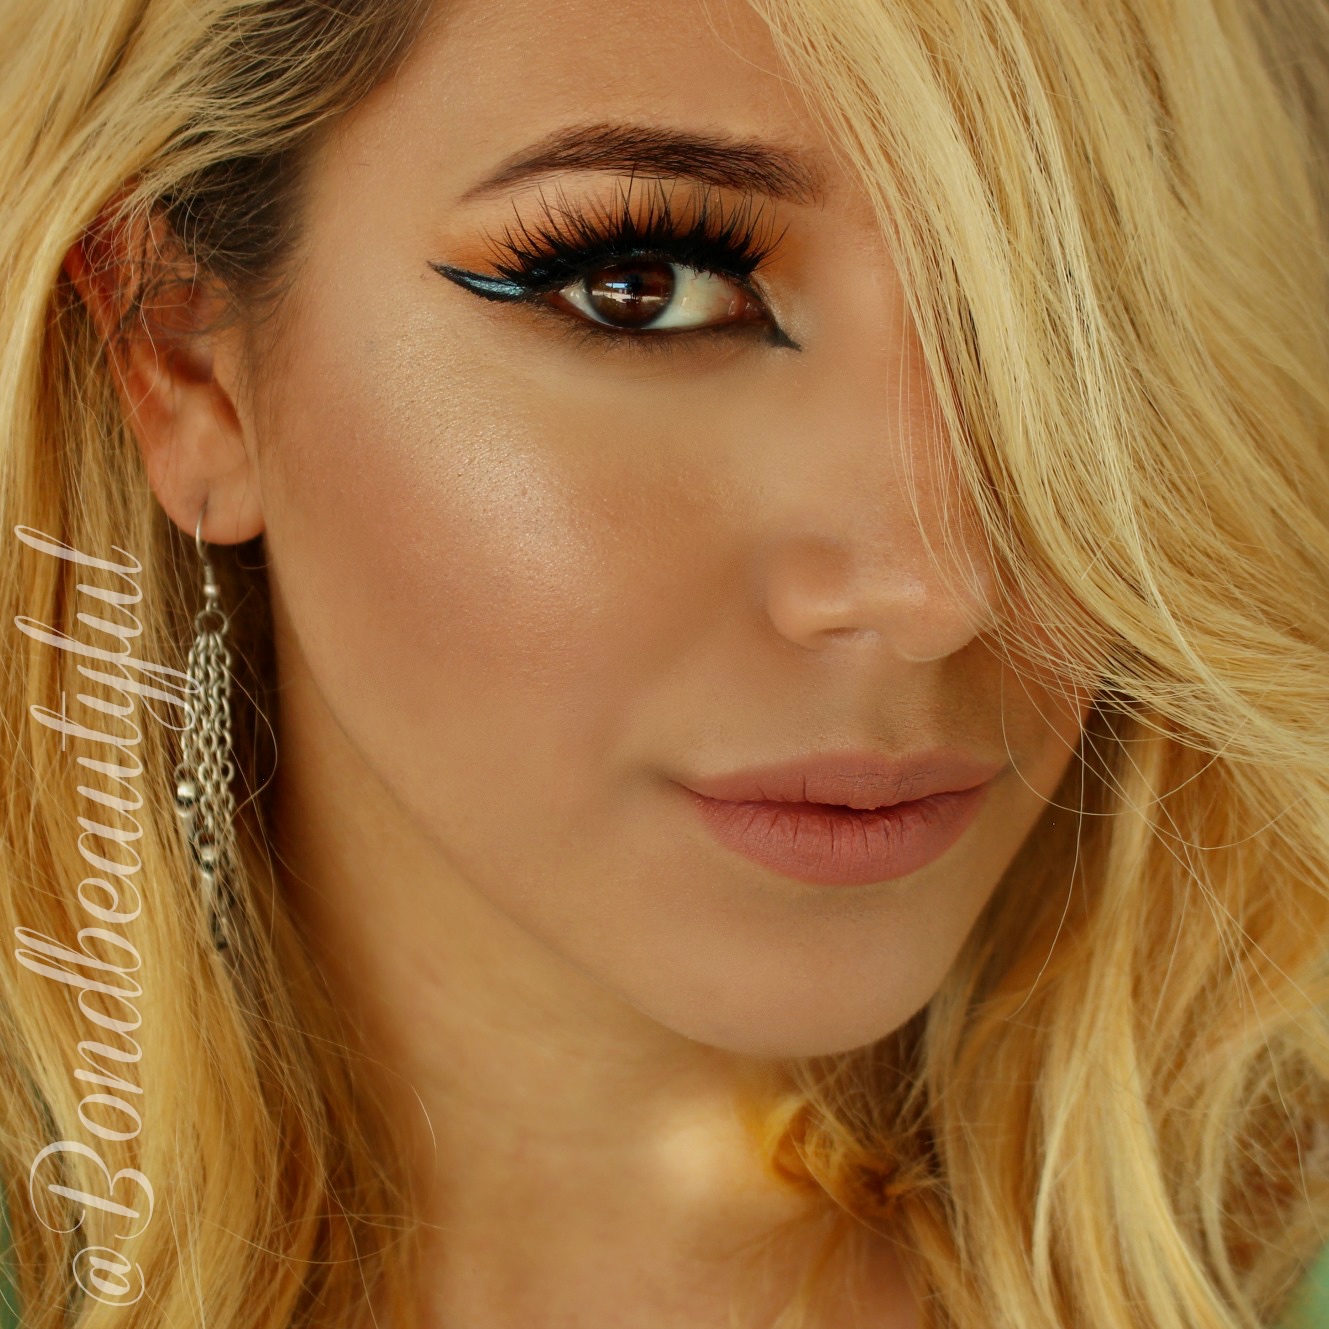
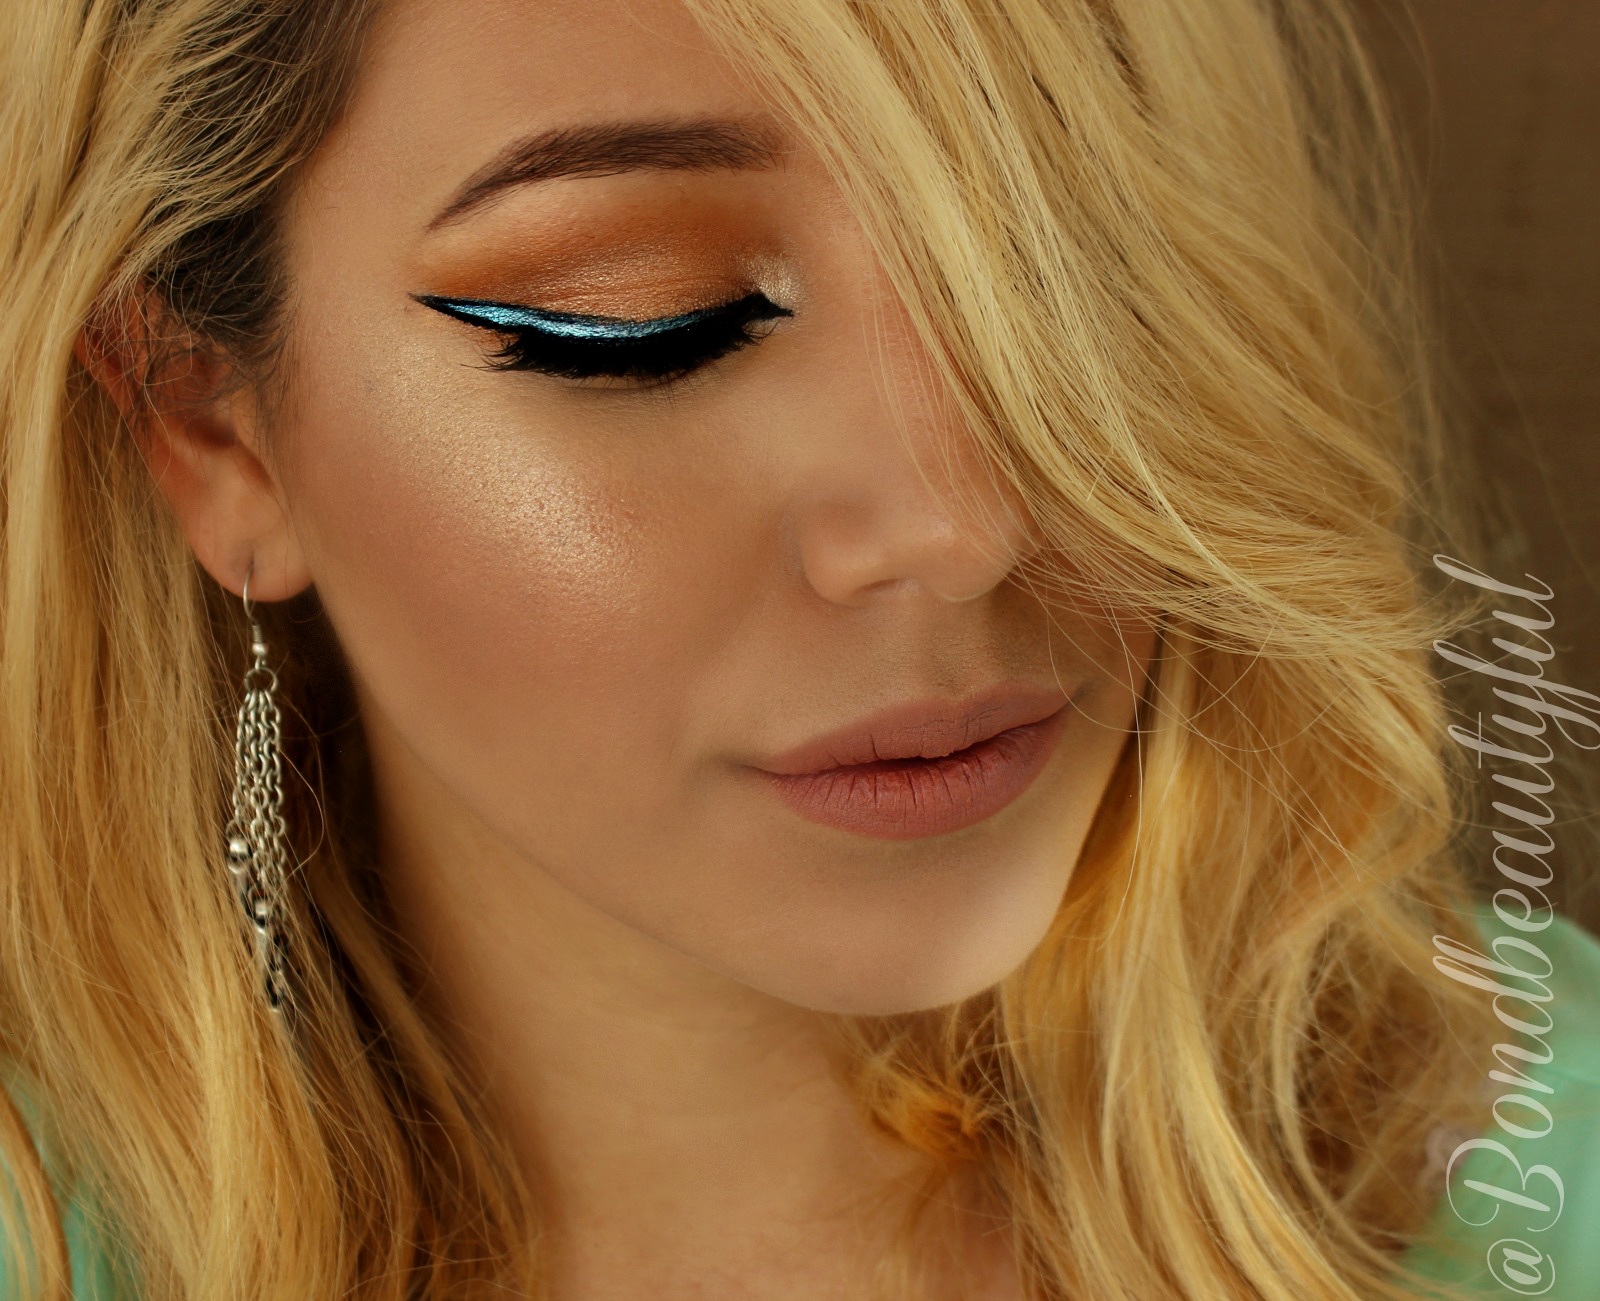
Another beautiful Friday and I’m ready to share this fun, trendy makeup look with you! Im going to cut down on chit chat and lets just get started. I have been obsessing over the Cartoon Eyeliner Trend that has been taking over Instagram. I wanted to recreate a summer bronzey look & combine it with Cartoon Liner. I love how it turned out and I know you will too. (Full Tutorial Below)
I started out with a Gold Bronzey Eyeshadow look and added a pop of color with the liner. Surprisingly Cartoon liner is really simple! I just made a super bold cat eye shape with Teal Gel Liner. Then I outlined it with a black eyeliner. It took time and patience but it was worth it. Take your time, its ok if its not perfect. In the tutorial below I show you how I to fix the lines if they arn’t as straight as you would like them to be.
Heres a list of the products I used for this makeup Look.
Too Faced Bronzer Wheel- Summer Love Bronzer & Pink Leopard
Ulta Cheek Color : Flushed
No7 Lift & luminate foundation
Morphe X Kathleen Lights Palette (Use any warm bronzey, gold shades you have!)
L’OREAL Infallible Gel Liner Black
Hua Mian LI Waterproof Liner 11: Wish APP ( Nyx Liners are good too!)
Milani Lipstick Matte Naked
Becca Skin Perfecter OPAL
WetnWild Contour Stick Where’s Walnut
NYX Micro Brow Pencil Ash Brown
Don’t forget to see the tutorial below
Also there is a GIVEAWAY GOING ON. Im giving away a Asavea Gold Titanium Curling Wand All you have to do is click Here to enter. Its free and it going on until July 1st.
So tell me whats your favorite Makeup Trend of the moment? COMMENT BELOW and lets get a fun conversation going!
Its been a long time since I have done a post. With that said one of my new years resolution is to be more consistent in my blog & youtube. I really want to do more this year and I hope you guys are as excited as I am for this new year! So Im starting out this year right with a giveaway! With that said you will have to wait till the end to learn more about that. Today I wanted to tell you my thoughts and experience with the AsaVea Hair Straightening Brush*. I was sent this brush a couple weeks ago to try out and I have been so impressed with it that I decided to do a whole blog post about it.
Lets talk about what the company claims really quickly (Inserted exactly from the website*) Advanced MCH ceramic heat technology delivers a consistent optimum temperature Suitable for a variety of hair types with seven temperature levelsfrom 330˚F to 450˚F Give you smooth, straight, frizz-free hair in half the time it takes to use a flat iron.
PROS:
Heats up & Cools Down Quickly
Because of the Bristles it creates a barrier between you and the flat iron part to help prevent burning; although the bristle still get hot they are not as hot as the iron plate underneath.
Decreases frizz when straightening because of the brush & iron combo. (although for my hair it definitely illuminates some of the frizz but not all because of how frizzy & damaged my hair truely is)
Temperature is suitable to fit all hair types. I like to have it at 410
Straightens & styles my hair without leaving it flat. It straightens it & gives it volume.
Love how it styles BANGS does an amazing job & makes it easier. (see video below for small demo)
Minimizes damage because I only pull it through my hair 2 times!
CONS:
Takes the same amount of time for me to straighten my hair. (But for others with super super curly hair & non manageable hair it can minimize your hair straightening time if you use this first)
If you have really tangly or damaged hair you need to use a brush first or it will rip your hair out. Its not soft enough to use this to get tangles out!
For some the Price will be a CON it retails for $54.94* ; But with that said to get a really nice straightener it costs about the same or even less than a CHI
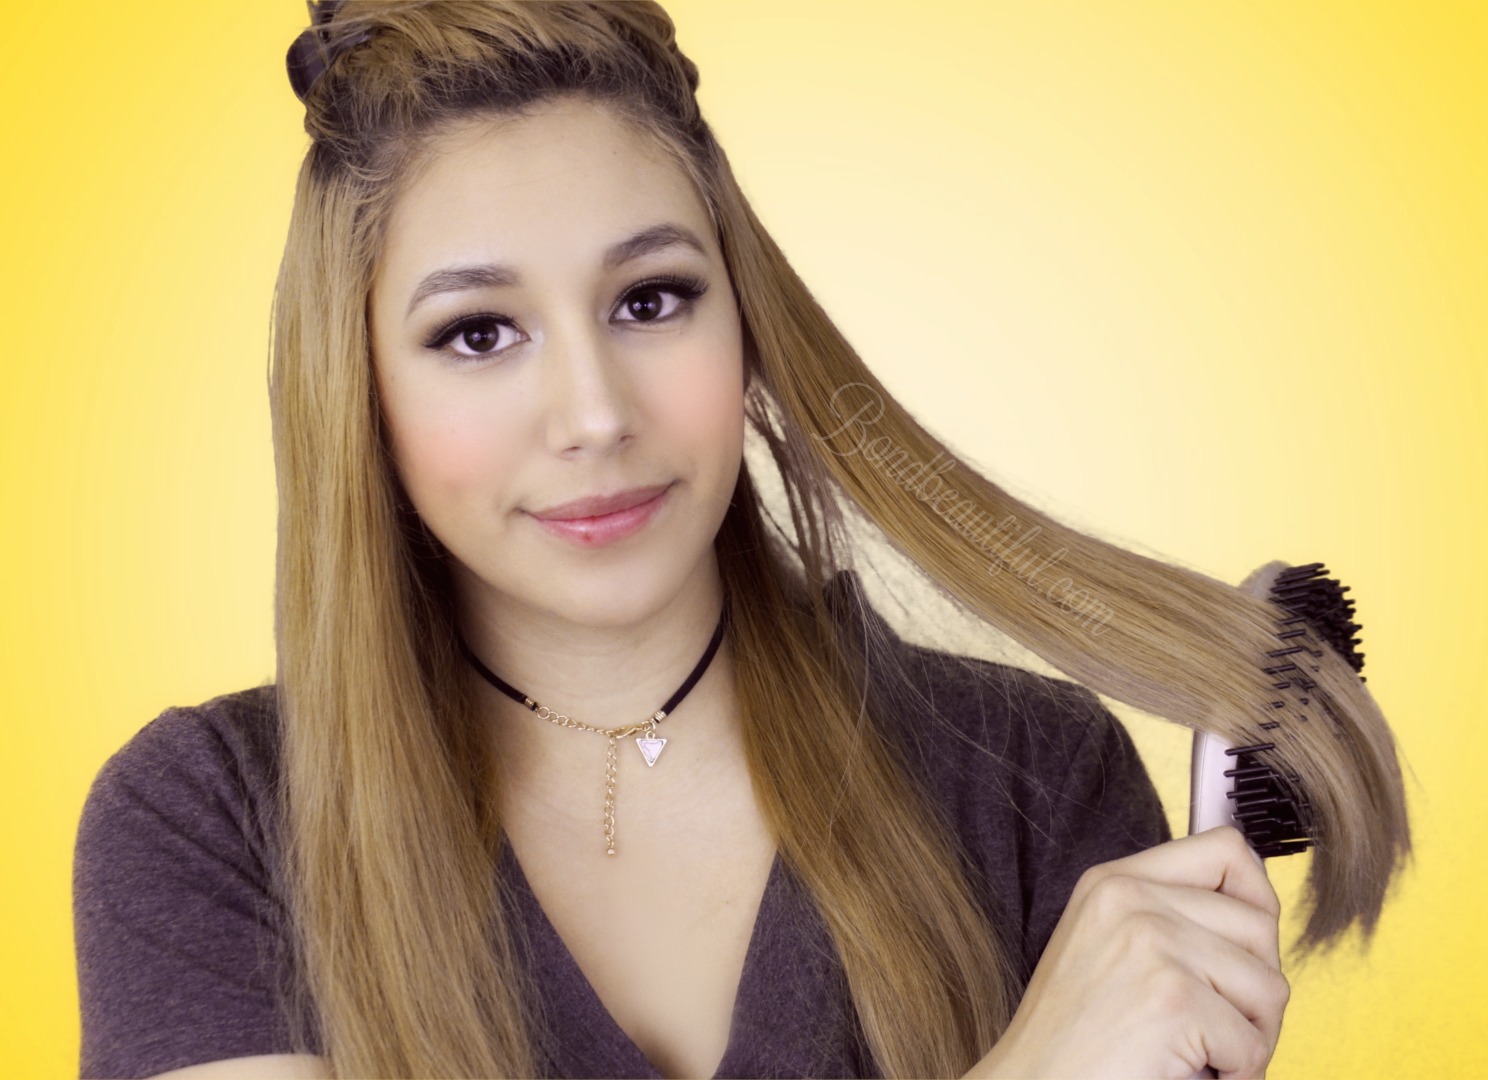
So with that said lets talk about some Tips & Tricks to making this the most affective.
I comb my hair through before using this
I divide it into 1inch sections
I pull my hair straight (still gently) while I pull the comb through
Start at the very roots & pull through slowly
DO NOT STOP Always keep moving to prevent any burning or damage
AT the very end curl the ends by turning your wrist in or out depending on what look you are going for
At the Crown I Will divide the section I would usually tease and put Comb at the base & pull backwards (Making a n motion)to give it extra volume. (See video same motion as I do with my bangs)
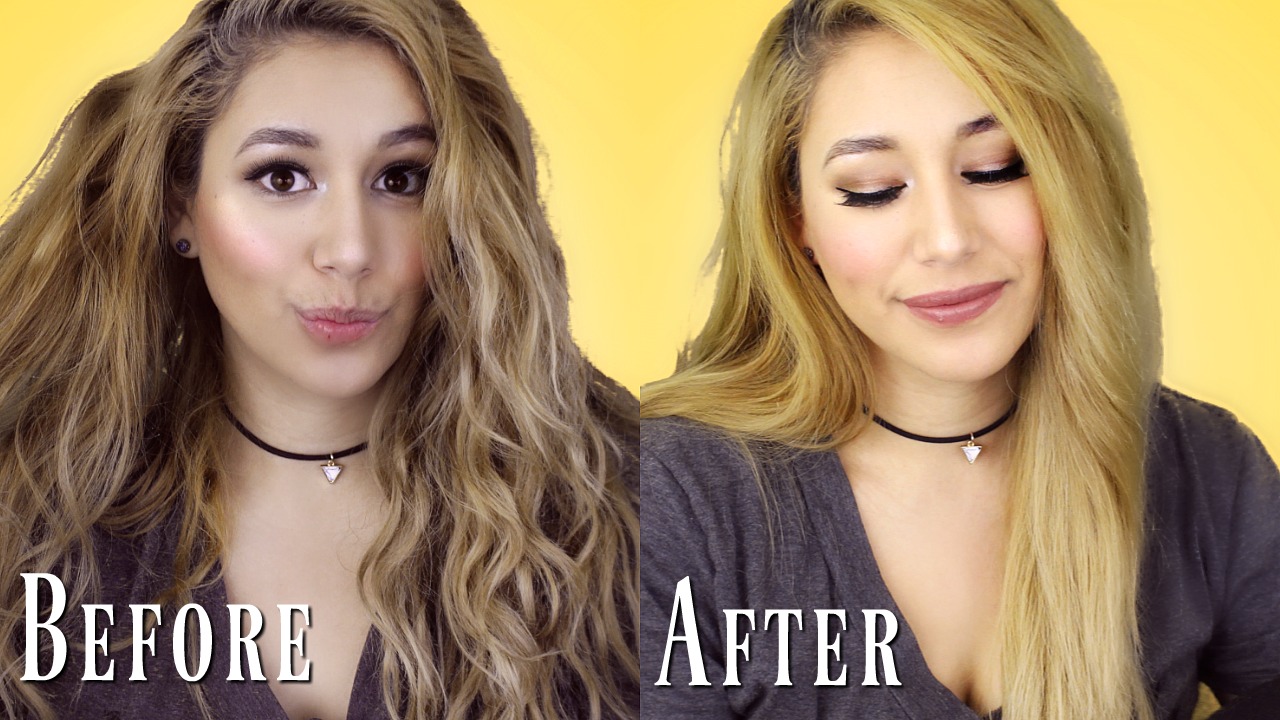
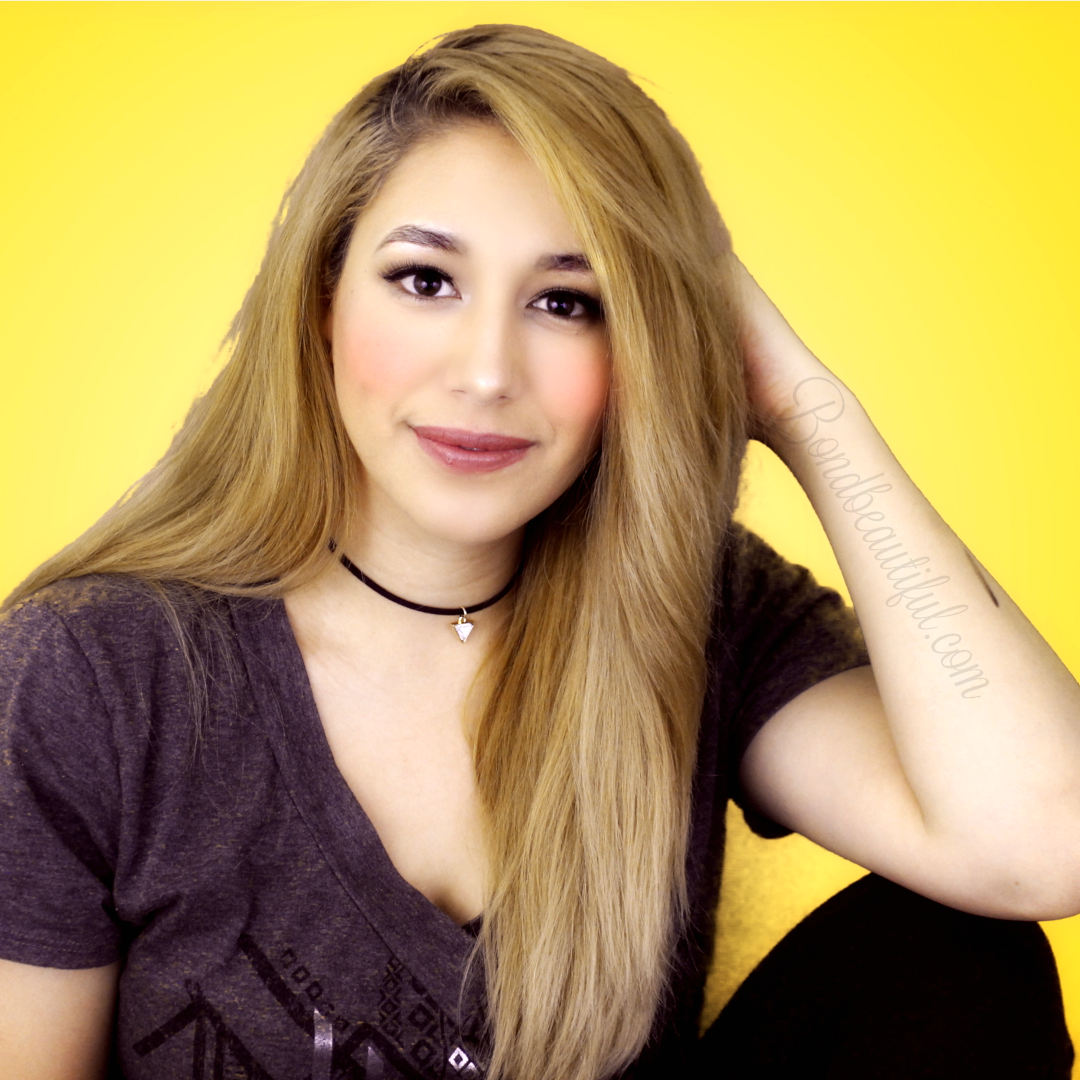
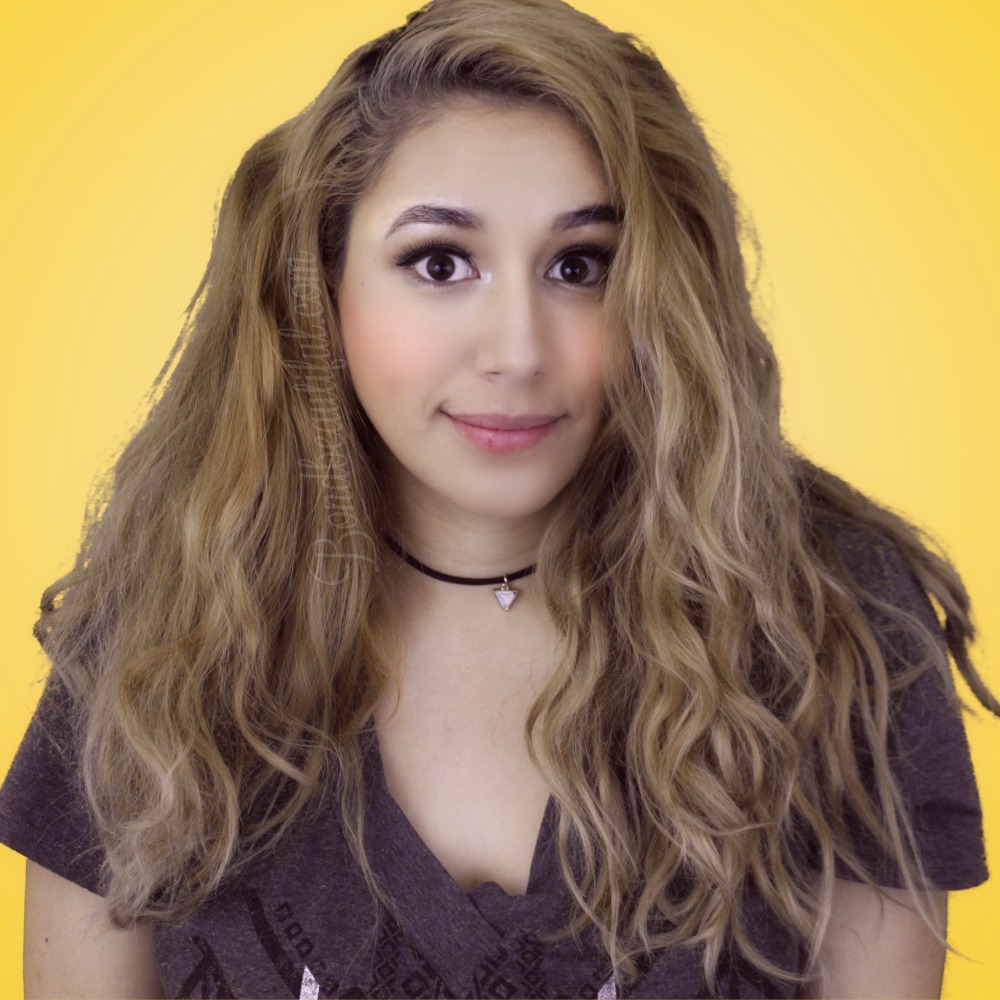
Here is how my hair turned out: Before & After (see video below)
I was a skeptic but now I have converted to the Straightening brush way haha. I really do enjoy using it and because I don’t get burned as easily I will definitely use this more than my straightener. Even though I do not have really curly kinky hair I have seen it used on that hair type and it works wonders as well. So with all that said in my opinion I think it will work on all hair types & it is worth the buy.
Here is my full review , where I show the Straightening Brush & I show you a full demo of me using it!
For the giveaway just click here to enter! All you need to be is subscribe to my youtube and then you get lots of bonus entries! Make sure to read the rules carefully too! Good luck!
So tell me tell me what is one of your new years resolutions?
*I do receive a small amount of compensation if you click and use my link. If you choose not to feel free to look the product up on amazon or google!