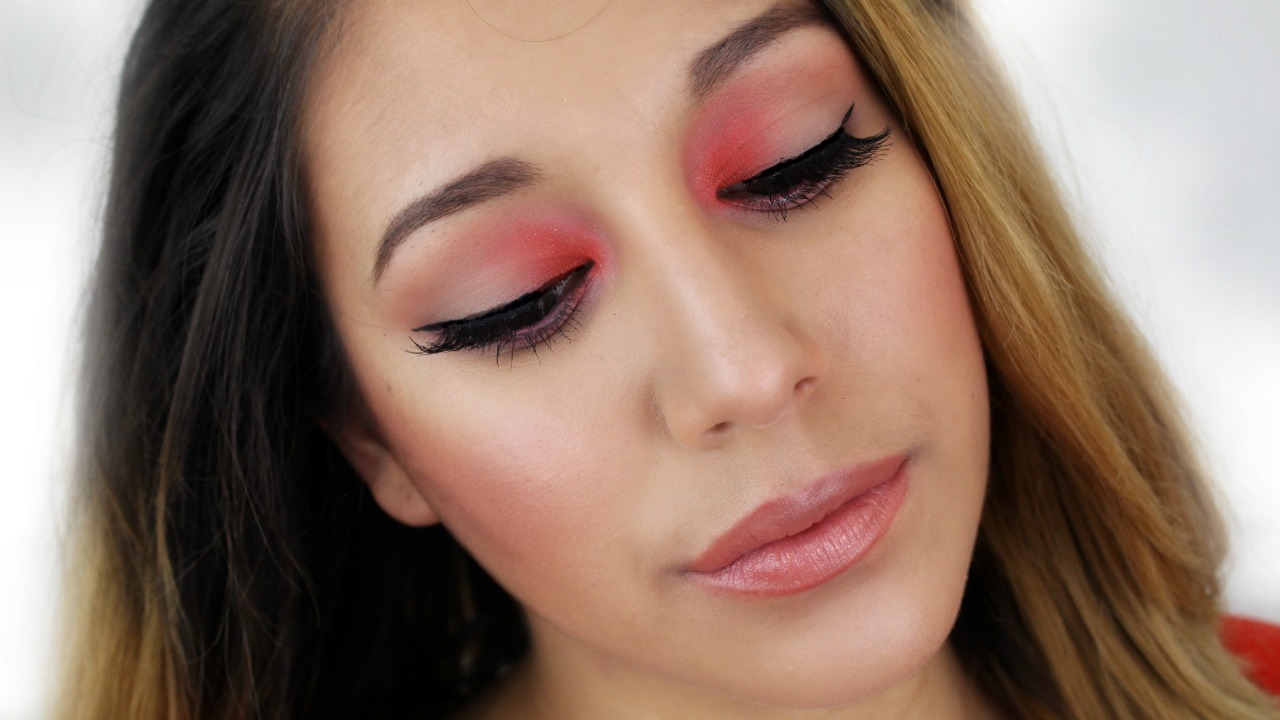
Today I’m doing a very summery look using my new favorite eyeshadow. The star of the show is the Ittse Eyeshadow Golden Gate. I am so obsessed with this color its not even funny. I have used this in 3 different makeup looks for my 100 days of makeup on my social media. So I decided to show you how I did this particular look which was day 16. Its super easy to do and if I can do it so can you!
Products Used:
Boo Boo Coverup Concealer
Wet N Wild Highlighting pen
Fit me foundation 220
Pura D’or Argan Oil for the face & Body
Ittse Eyeshadow: Golden Gate
Wet n Wild Contouring Powder Dulce de Leche
Doll 10 Cream Highlighter: Champaign
Elf Bronzer Sunkissed
Elf Little black beauty book Festival
Tartelette in Bloom Palette
LA Colors Eyeshadow Stick
Ittse Eyeshadow: Grace
NYC Liquid Eyeliner
Jordana Extreme Mascara
Ultra Cheek Color Flushed
Revlon Lip Butter Creme Brûlée
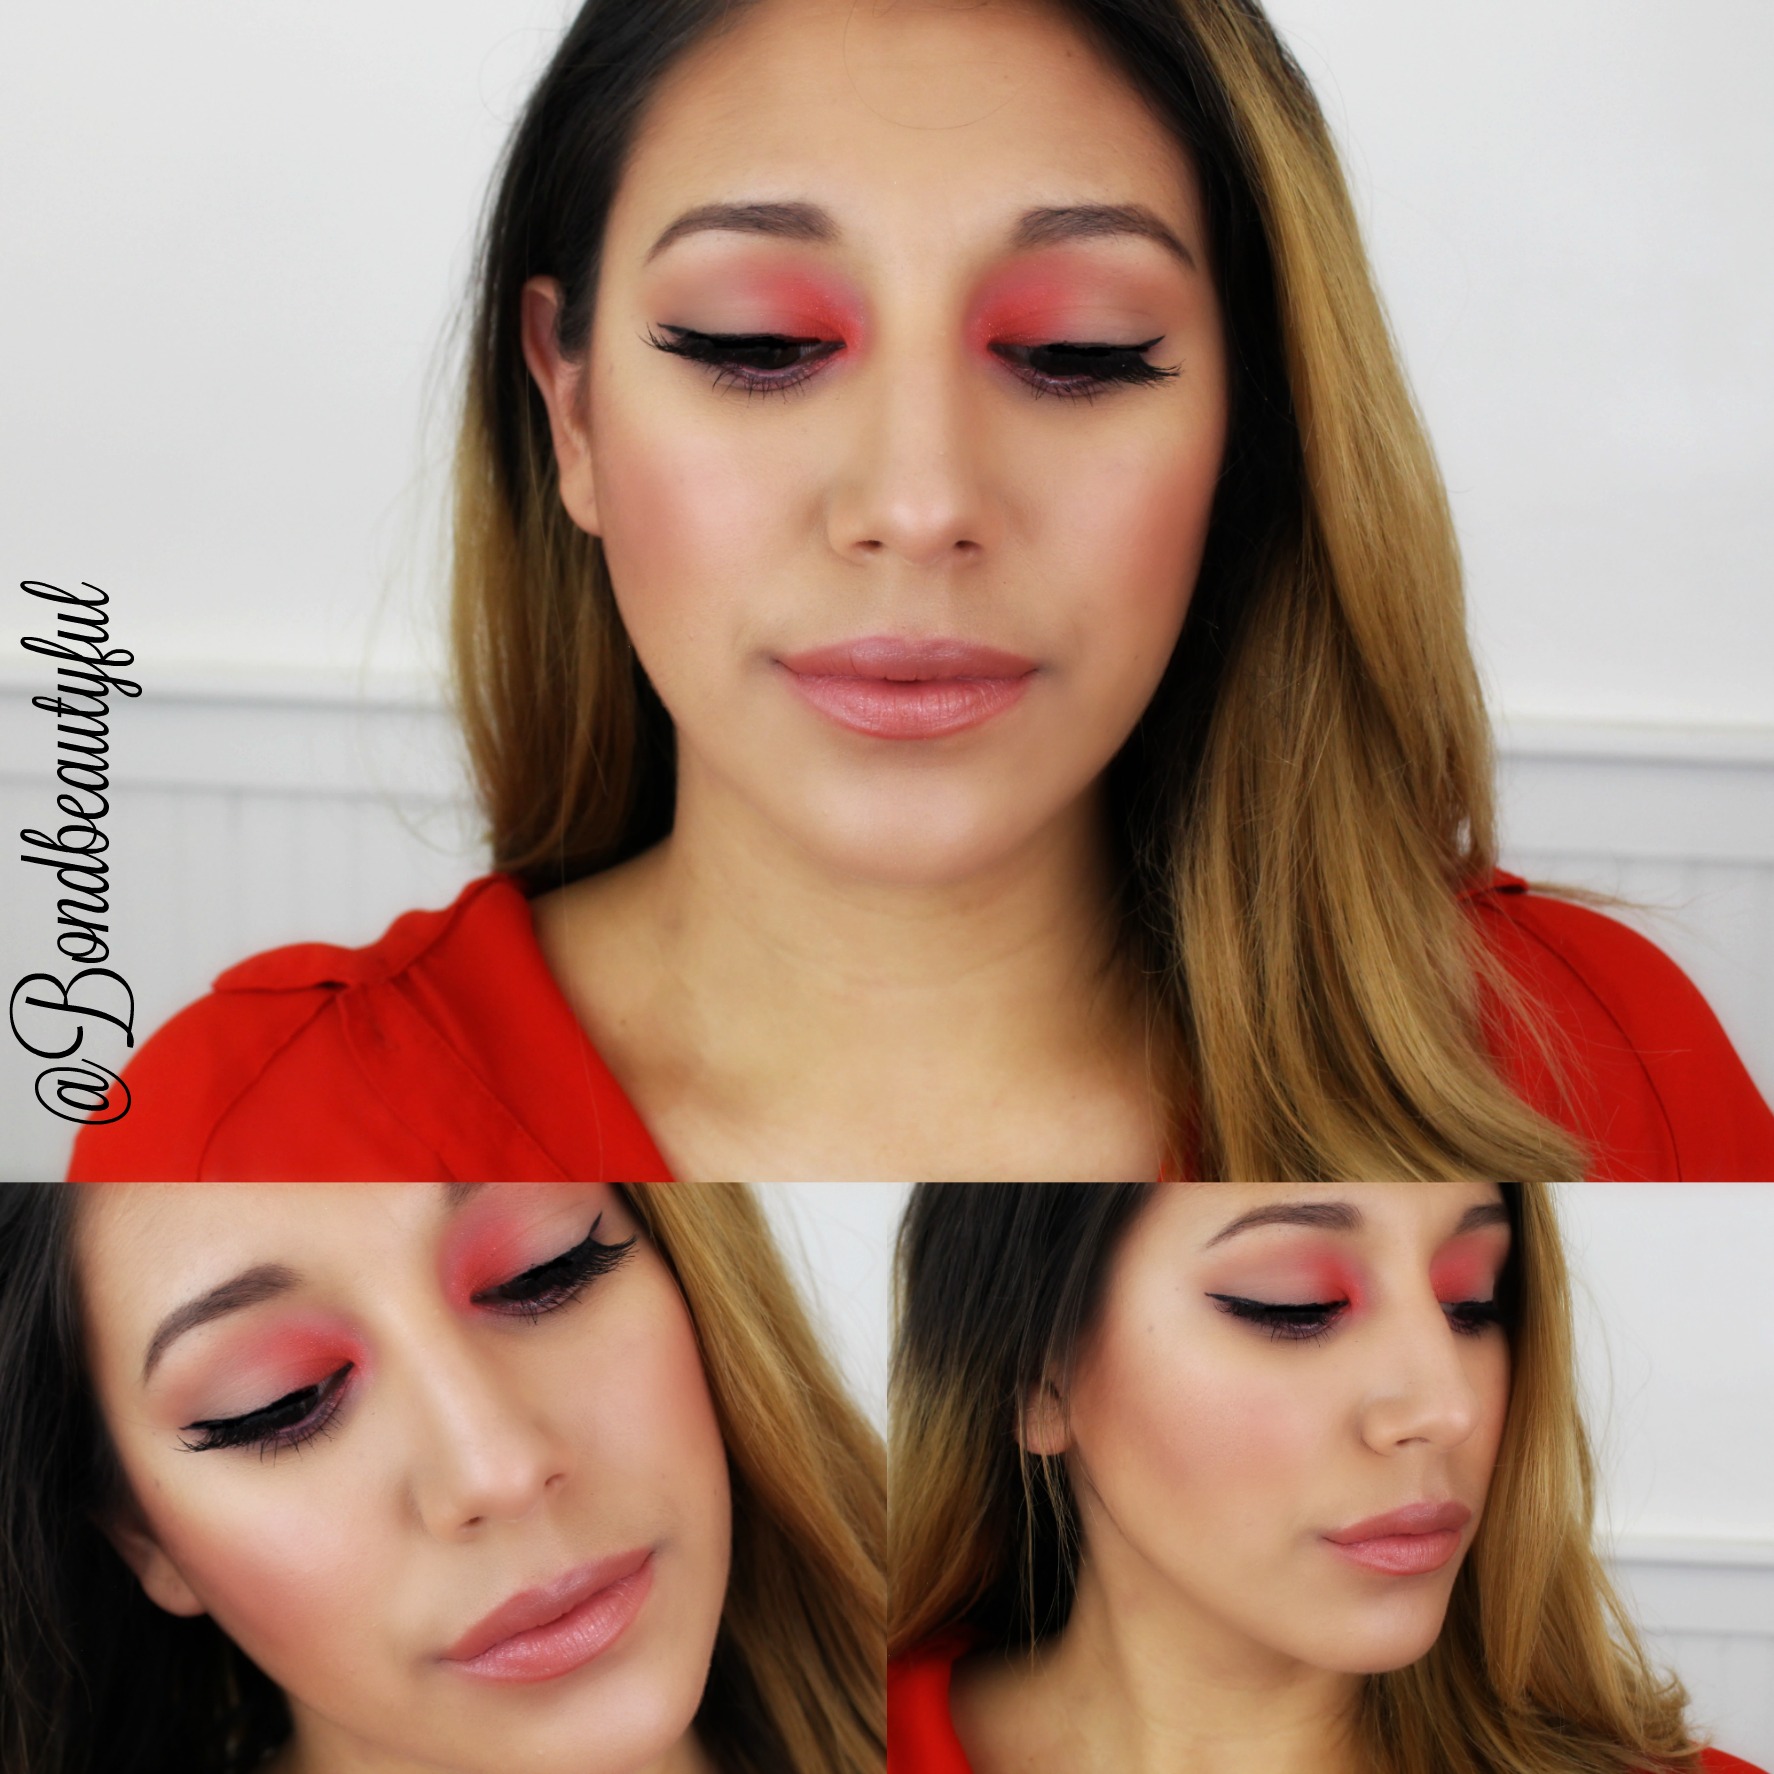
Here is what my Day 16 picture looked like on Instagram. If you don’t follow me at all my social media then go follow me. I am doing 100 days of makeup; which means everyday a new makeup look different from the day before.
I love this look because It adds drama to the inner corner instead of the outer corner which is so unique. Make sure that you wear winged out eyelashes to help balance the look!
So I am guessing you actually want to see how to do this makeup? (Click below)
I hope this got you in the summer mood. Don’t be afraid to play around with makeup and do something different. You are beautiful and you can show who you are through your makeup.
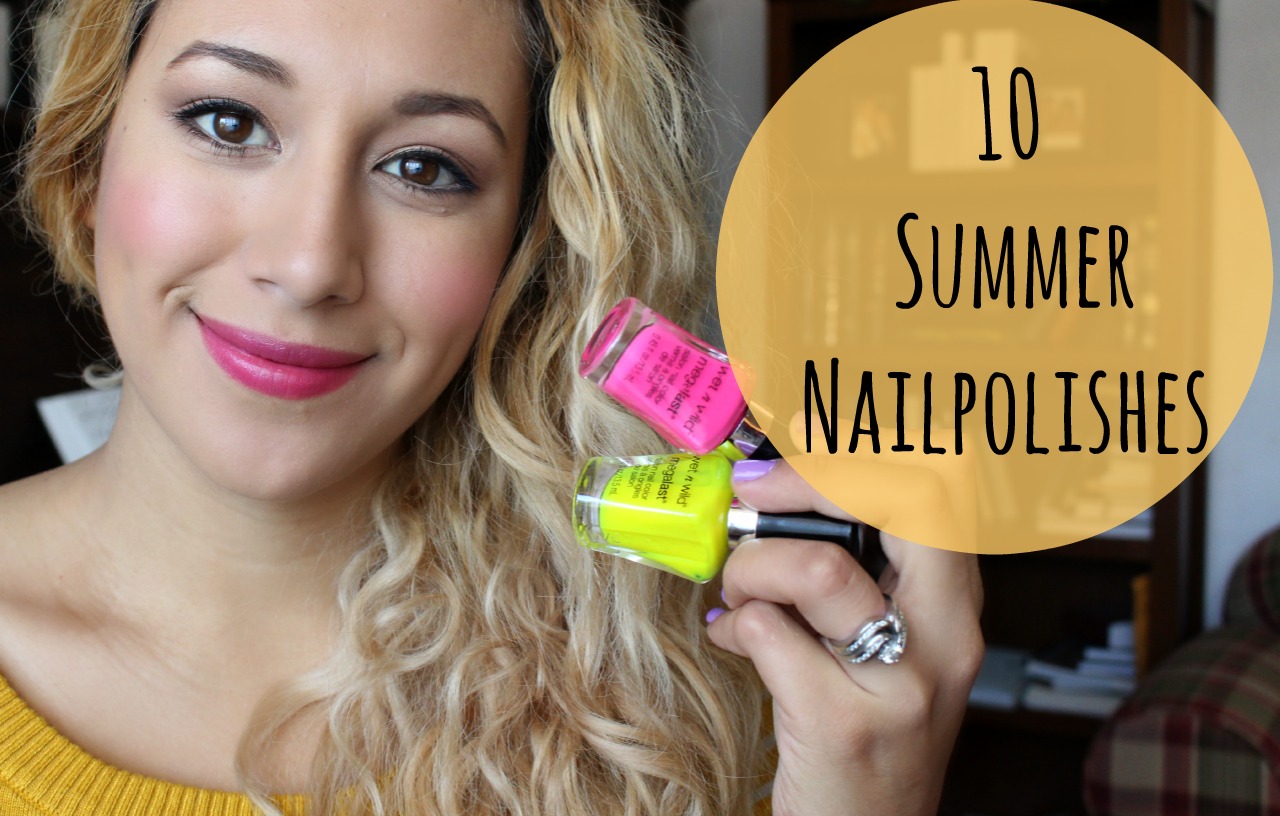
Happy Monday, I hope you are having a wonderful holiday. Last week was just about the craziest ever. My Phone is broken and my Mac started to act crazy to the point that I had to erase everything even my Final Cut Pro. So I was unable to do any videos or blog posts. Don’t worry I sorted everything out and I am going to share with you some summer nailpolish picks.
So I chose ten nailpolishes so that YOU can find a nailpolish pick that would fit you! I have nudes, brights, neutrals, bolds and fun picks.
Wet N Wild Wild Shine: Yo Soy http://go.magik.ly/r/BondBeautyful/8cfb/
So today Im doing a fun Feastive Nail Tutorial… HALLOWEEN Candy Corn Boo Nails to be exact! I love rocking nail art but Im not going to lie im terrible and doing my own nails! So if I can do this then you can do! Its super easy and fool proof! I broke It down step by step and all the products I am using are Found at WALGREENS & they are no more than $2 products At most!
I hope you guys enjoy I love doing these sorts of things for you guys and I had loads of fun doing it!
All You Will Need:
Scotch Tape
NailPolish Remover
Bobby Pin (To Make the Boo)
Orange Poilish- Wet N Wild Wild Shine : Sunny Side Up $1
Black Polish- Wet N Wild Wild Shine- Black Creme $1
White Polish- Sinful Colors Professional- Snow Me White $1.99
Nail Art Polish-Sinful colors nail art- Bright Orange: Orange Alert $1.99 Orange: Sunset $1.99 Yellow: Sunset $1.99 Shimmery Silver: What a night $1.99 (you can find them at walgreens)
Top Coat
Step 1 :Remove your previous nail polish…
Step 2: Apply the Orange & Black Nailpolish On your nails any way you would Like I thought the Black on only the two middle fingers was super cute! Dont forget to apply 2 Coats and make sure you dry them completely or else when you apply the tape it will rip off the nailpolish underneath!
Step 3:
Apply Your Scotch Tape: I tried to stick them on surfaces and play around with them before I put them on my nails so that the tape wouldn’t be too sticky, then I made a triangle and applyed them like so on my nails , This is going to make our candy corn look flawless..
Step 4: Then I grabbed my White Nailpolish and applied it right over top of the Tape, dont worry the tape wont let you mess up the black part around the candy corn so just go ahead and apply it all over …Let that dry without taking the tape off!
Step 5:Then You can grab your bright orange nail art polish and start designing your candy corn on top of the white, (leave the tape on there to prevent any mess ups) So candy corn is white, orange then a yellow base so I applied the orange in the middle…
Step 6: Then I bet you can guess.. I did the yellow next using the yellow nail art Polish from sinful colors ( these polishes are super great and they have many different colors… I have the whole collection!)
Step 7: Now I wanted to add Some glittery silver outline onto my candy corn this is totally optional! I just thought It added a nice effect and with the tape on there it is full proof and gurantees a straight line!
Step 8:Now all you have to do is pull of the tape once its dry or when its wet its up to you! I prefer to wait when its completely dry because I have a smudging problem! NOw this alone is sooo cute , you definitly do not have to add Boo’s to the other nails but if you want to like I did, Ill show you how!
Step 9:
Now you can grab your handy dandy bobby pin and you want to have a piece of paper or plate , you are going to put some nailpolish on your paper and then your going to dip your bobby pin in . Then Go ahead and start making your BOO, I just started by making two dots for the B and then I connected them Then Two dots for the OO Super easy!
Step 10:Now I wanted to add Some Black dots in the Middle of The B I thought It looked like little eyeballs and It just made the B stand out more! Completely optional thought , all you do is put some black polish on a paper and then dip in your bobby pin like before….
Step 11: Now again totally optional I wanted to add some stitch marks on the nails with the boo on it, Kind of like frankienstein stitches I just used the orange nail art polish that was a little darker than the one I used on the candy Corn and I made my Lines & Stitches……
Last :
Just apply a top coat and you are all finished!!!! As easy as that … Now To make It even easier I made a video Tutorial showing you how I did this… Take a look……
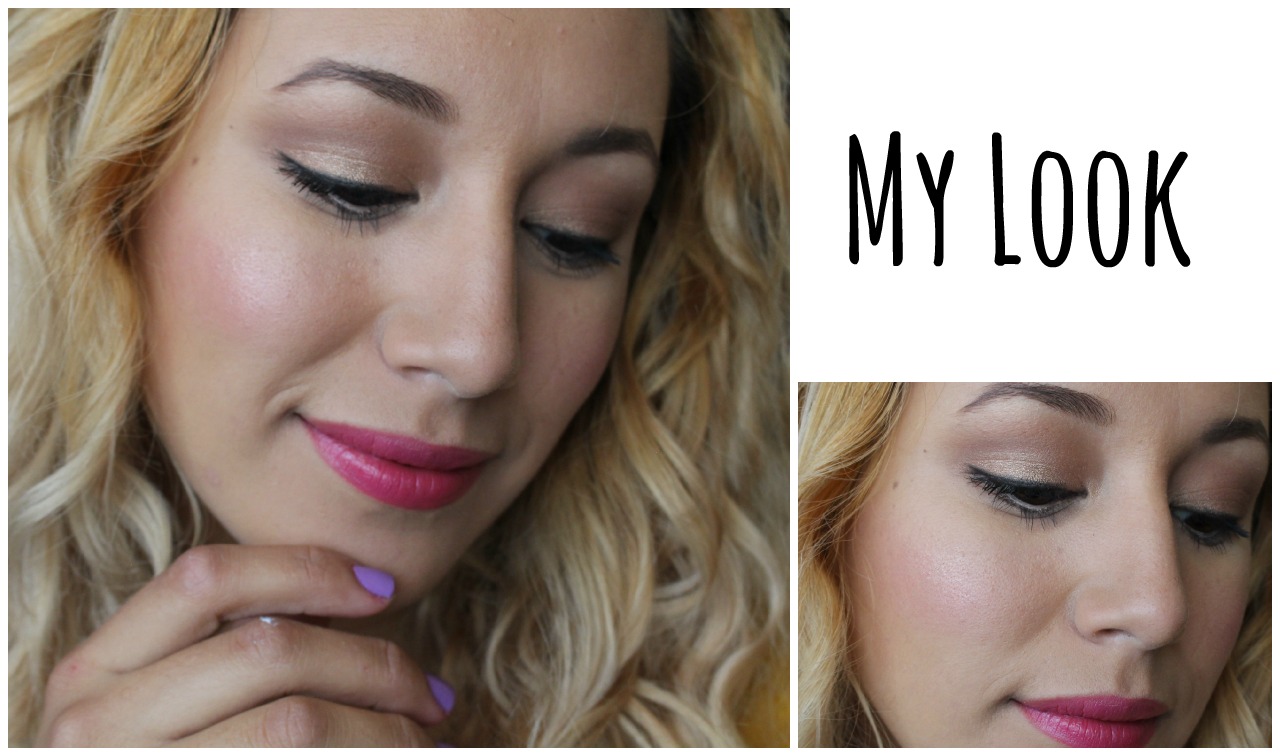
Do you want to see my outfit + Makeup for the day? Then Take a look at my Look of the day Naturals post…. I decided this was enough writing for one post!